Table of contents:
Available actions for an added attachment
Example of adding an attachment
The "Attachments" section allows you to store additional materials. It is used, for example, to collect documentation that is not directly map data but is necessary for project execution.
Adding an attachment
The option to add an attachment is available in the project view, in the left-hand side panel. It is the last tile in the list.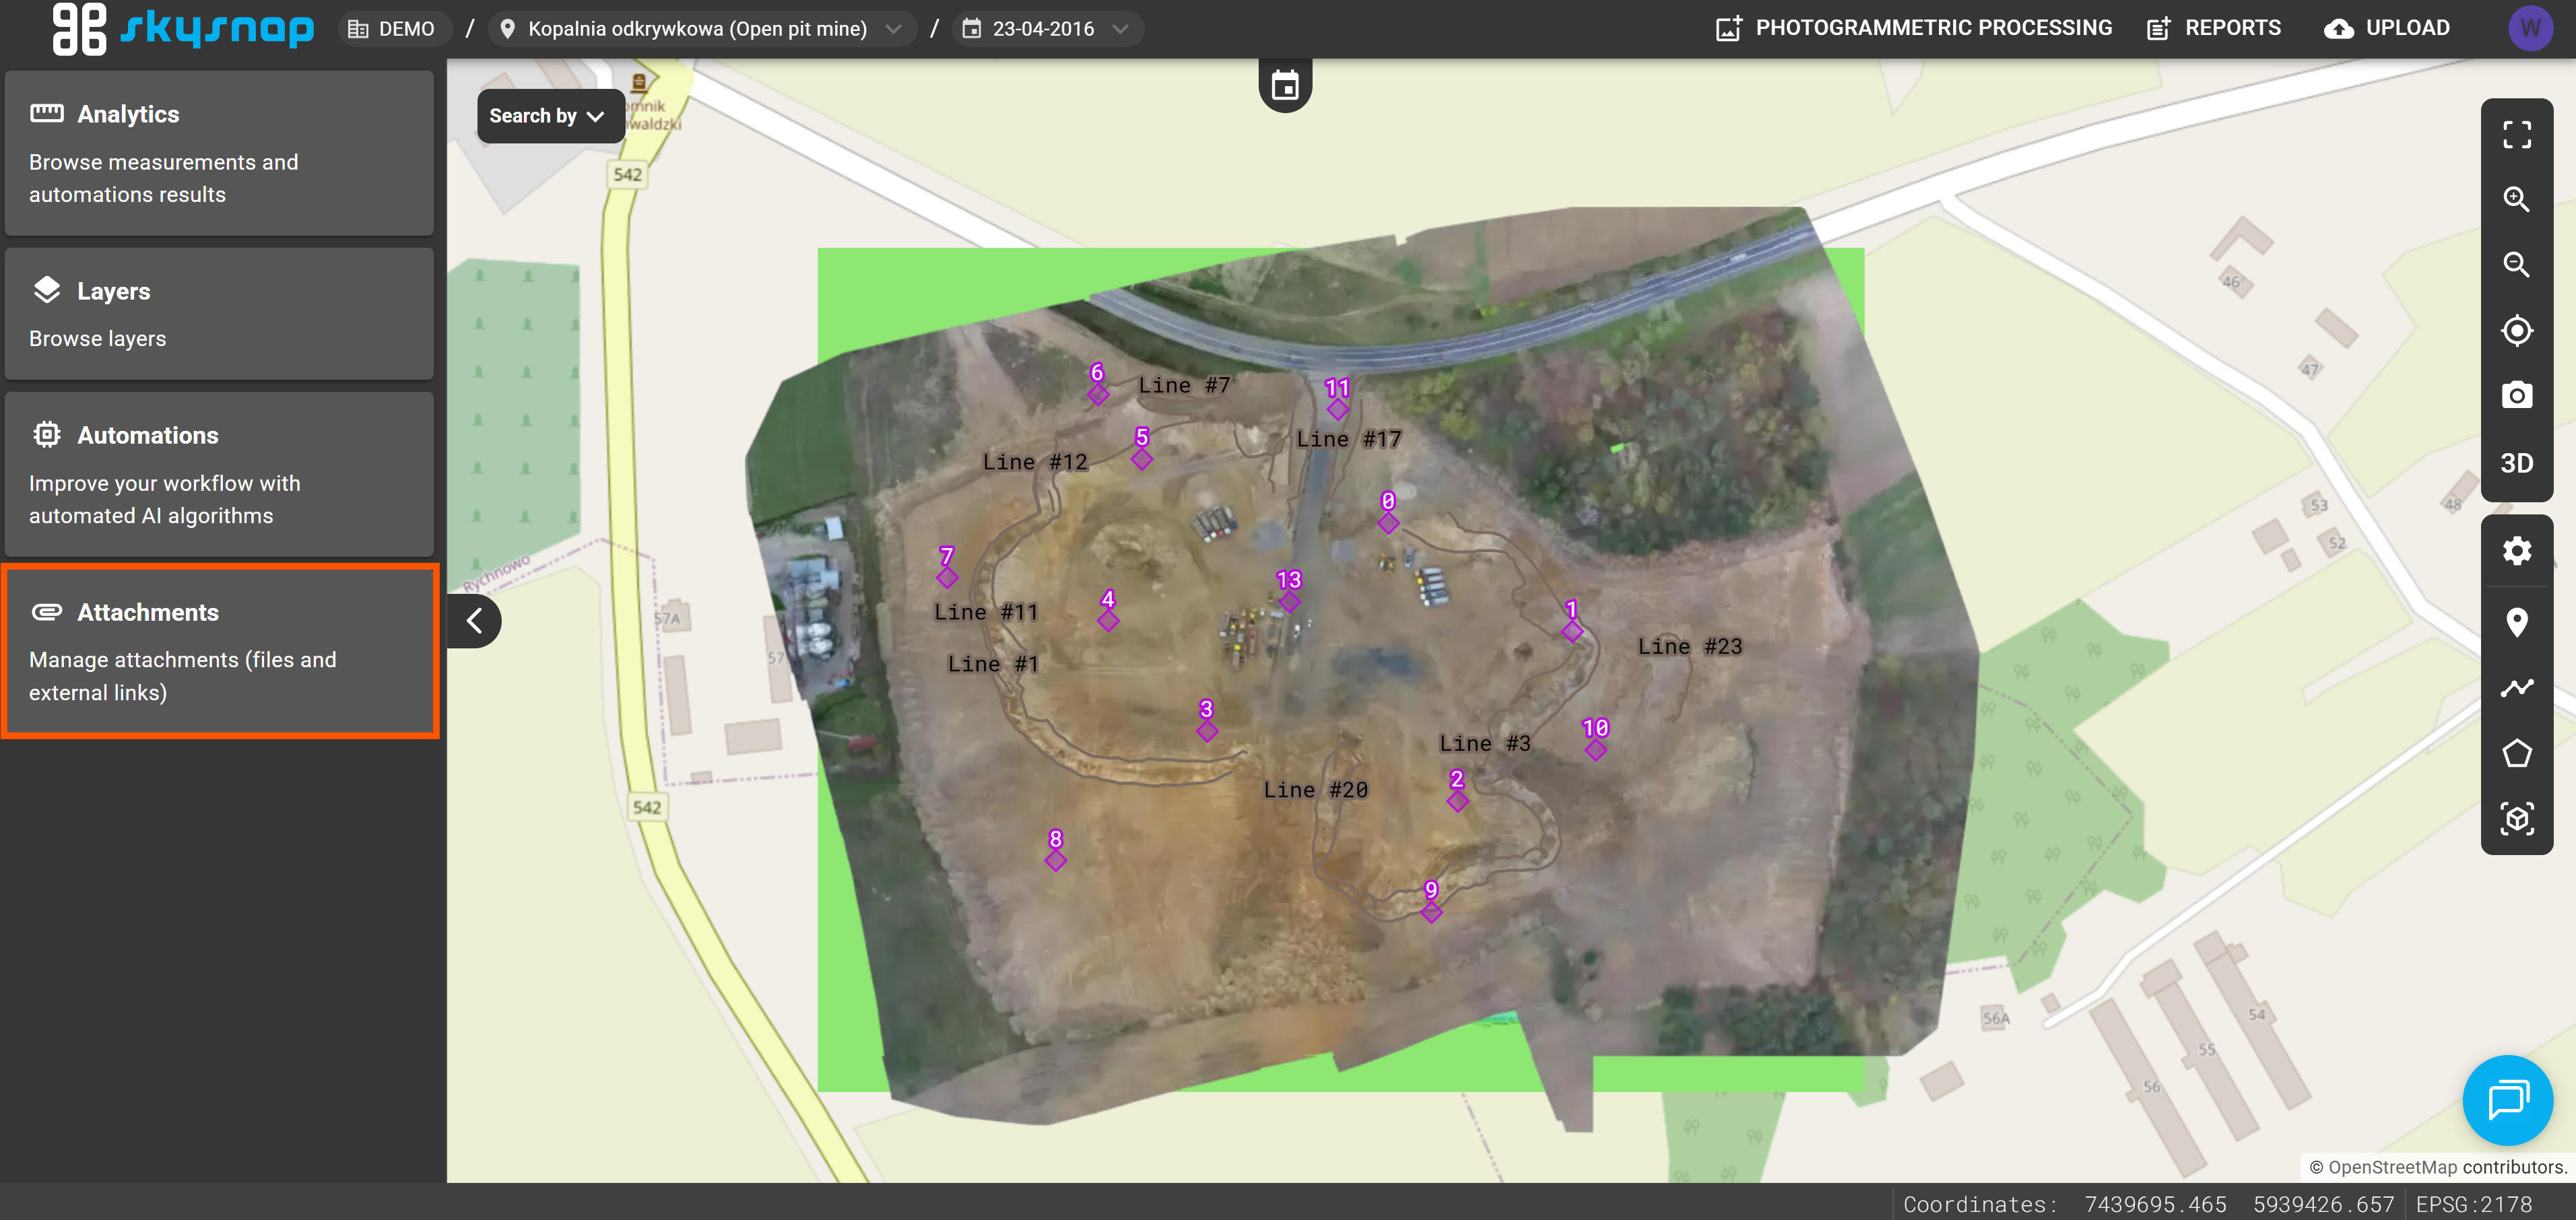
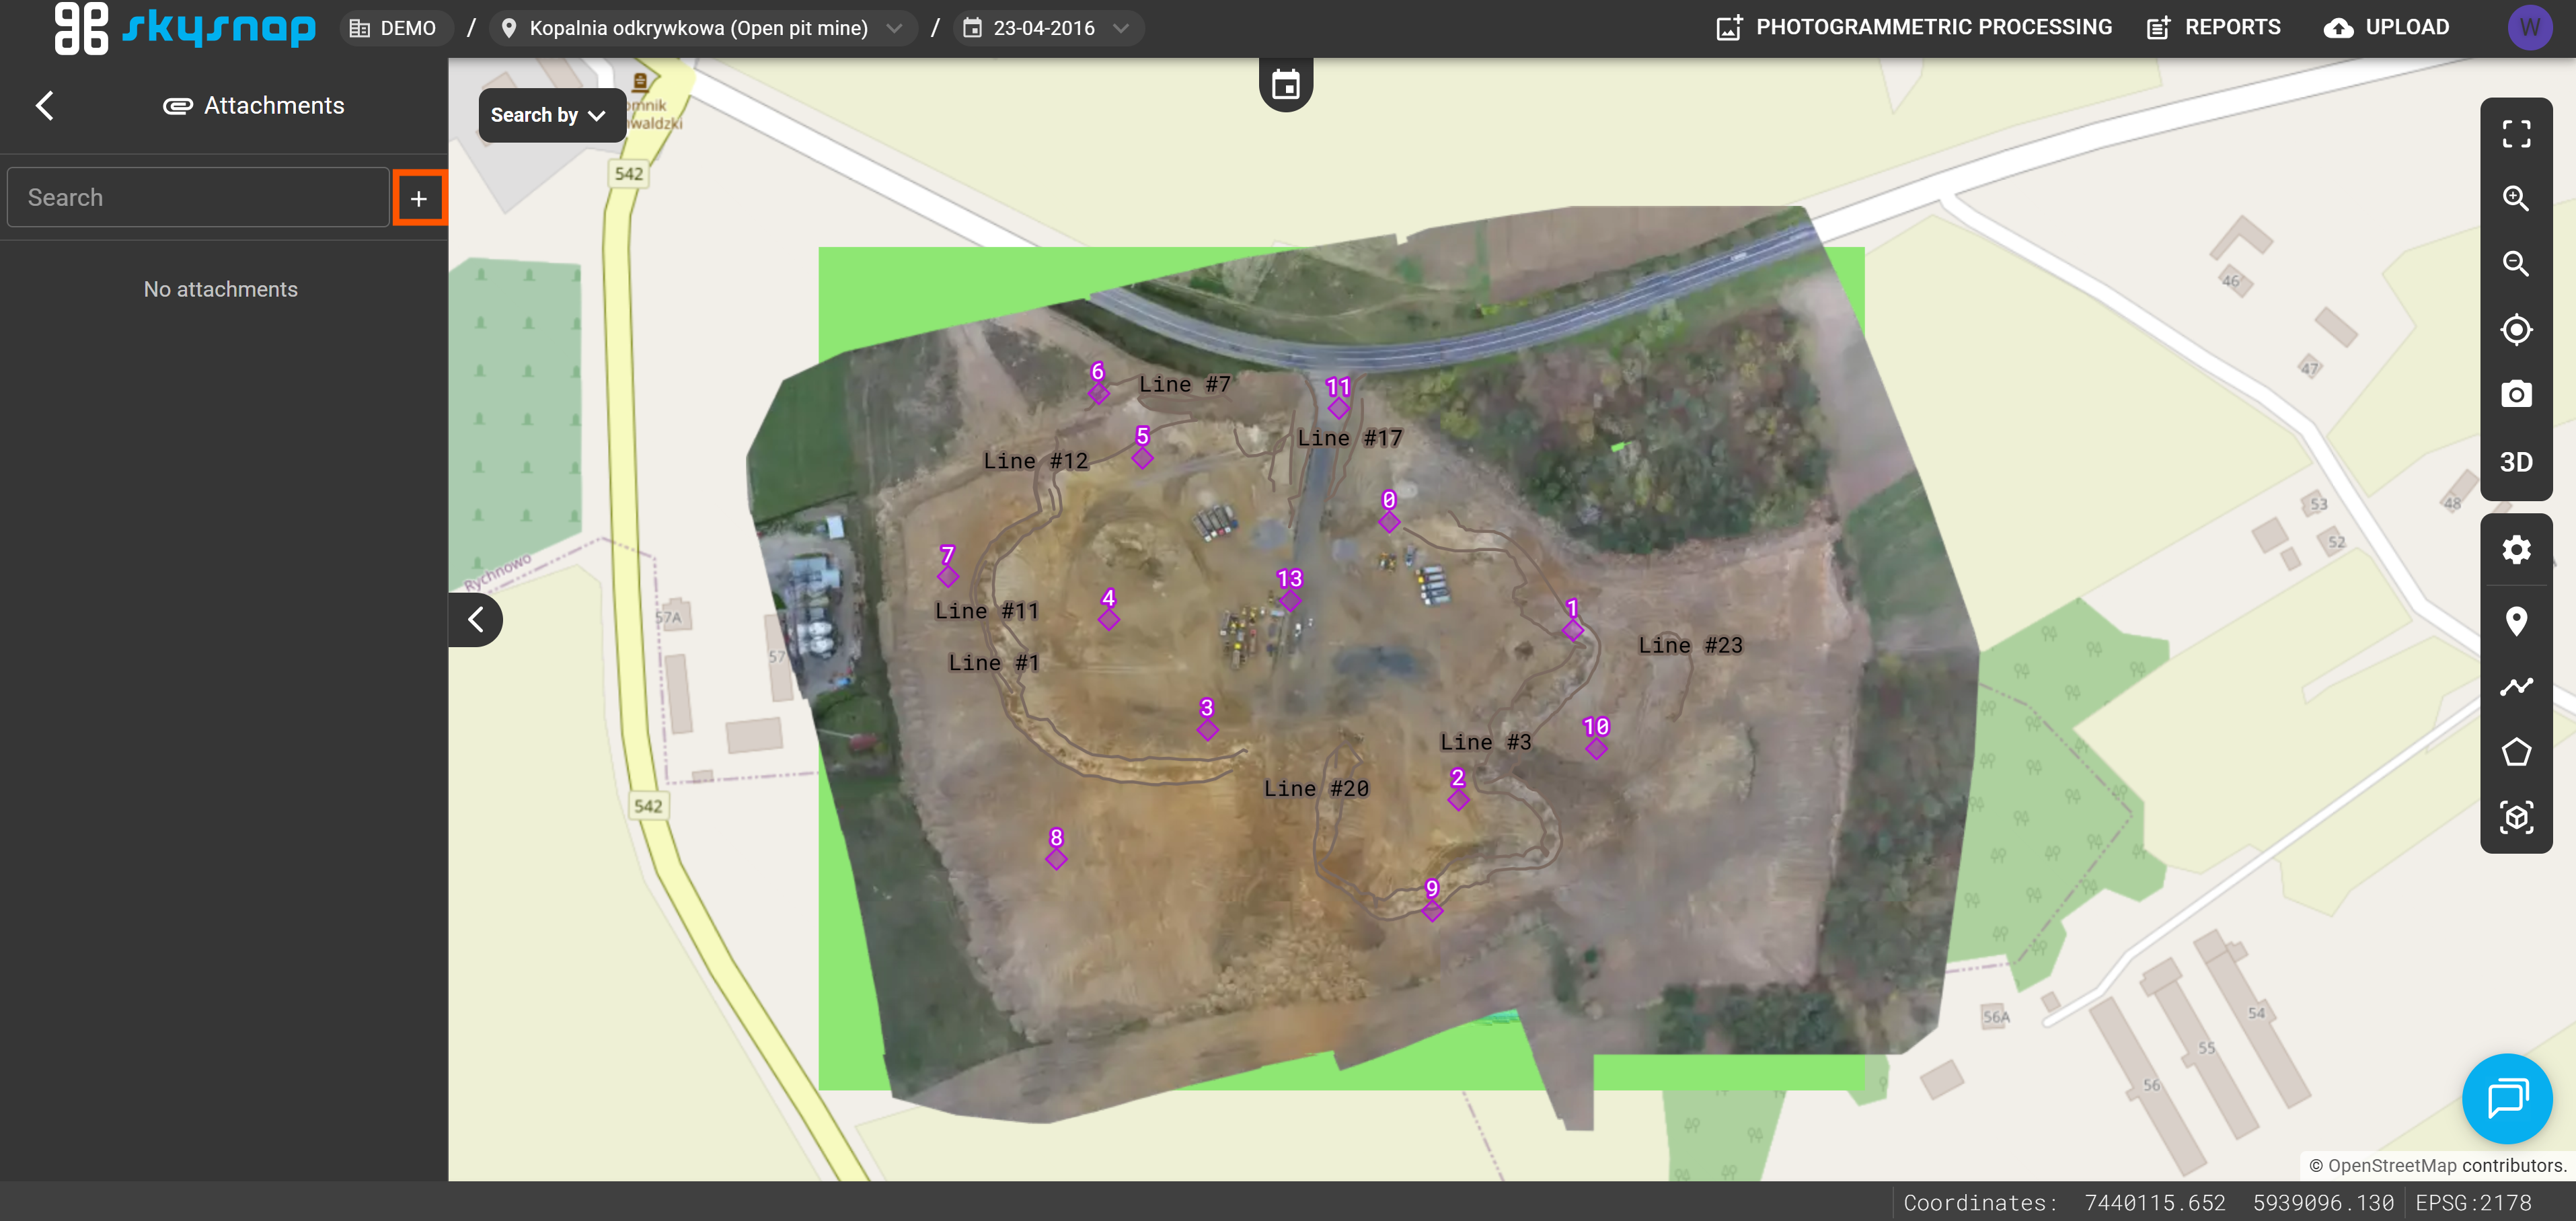
When you open it, you will see the attachments added to the project or site. If there are many of them, you can find a specific attachment using the “Search” box.
Name
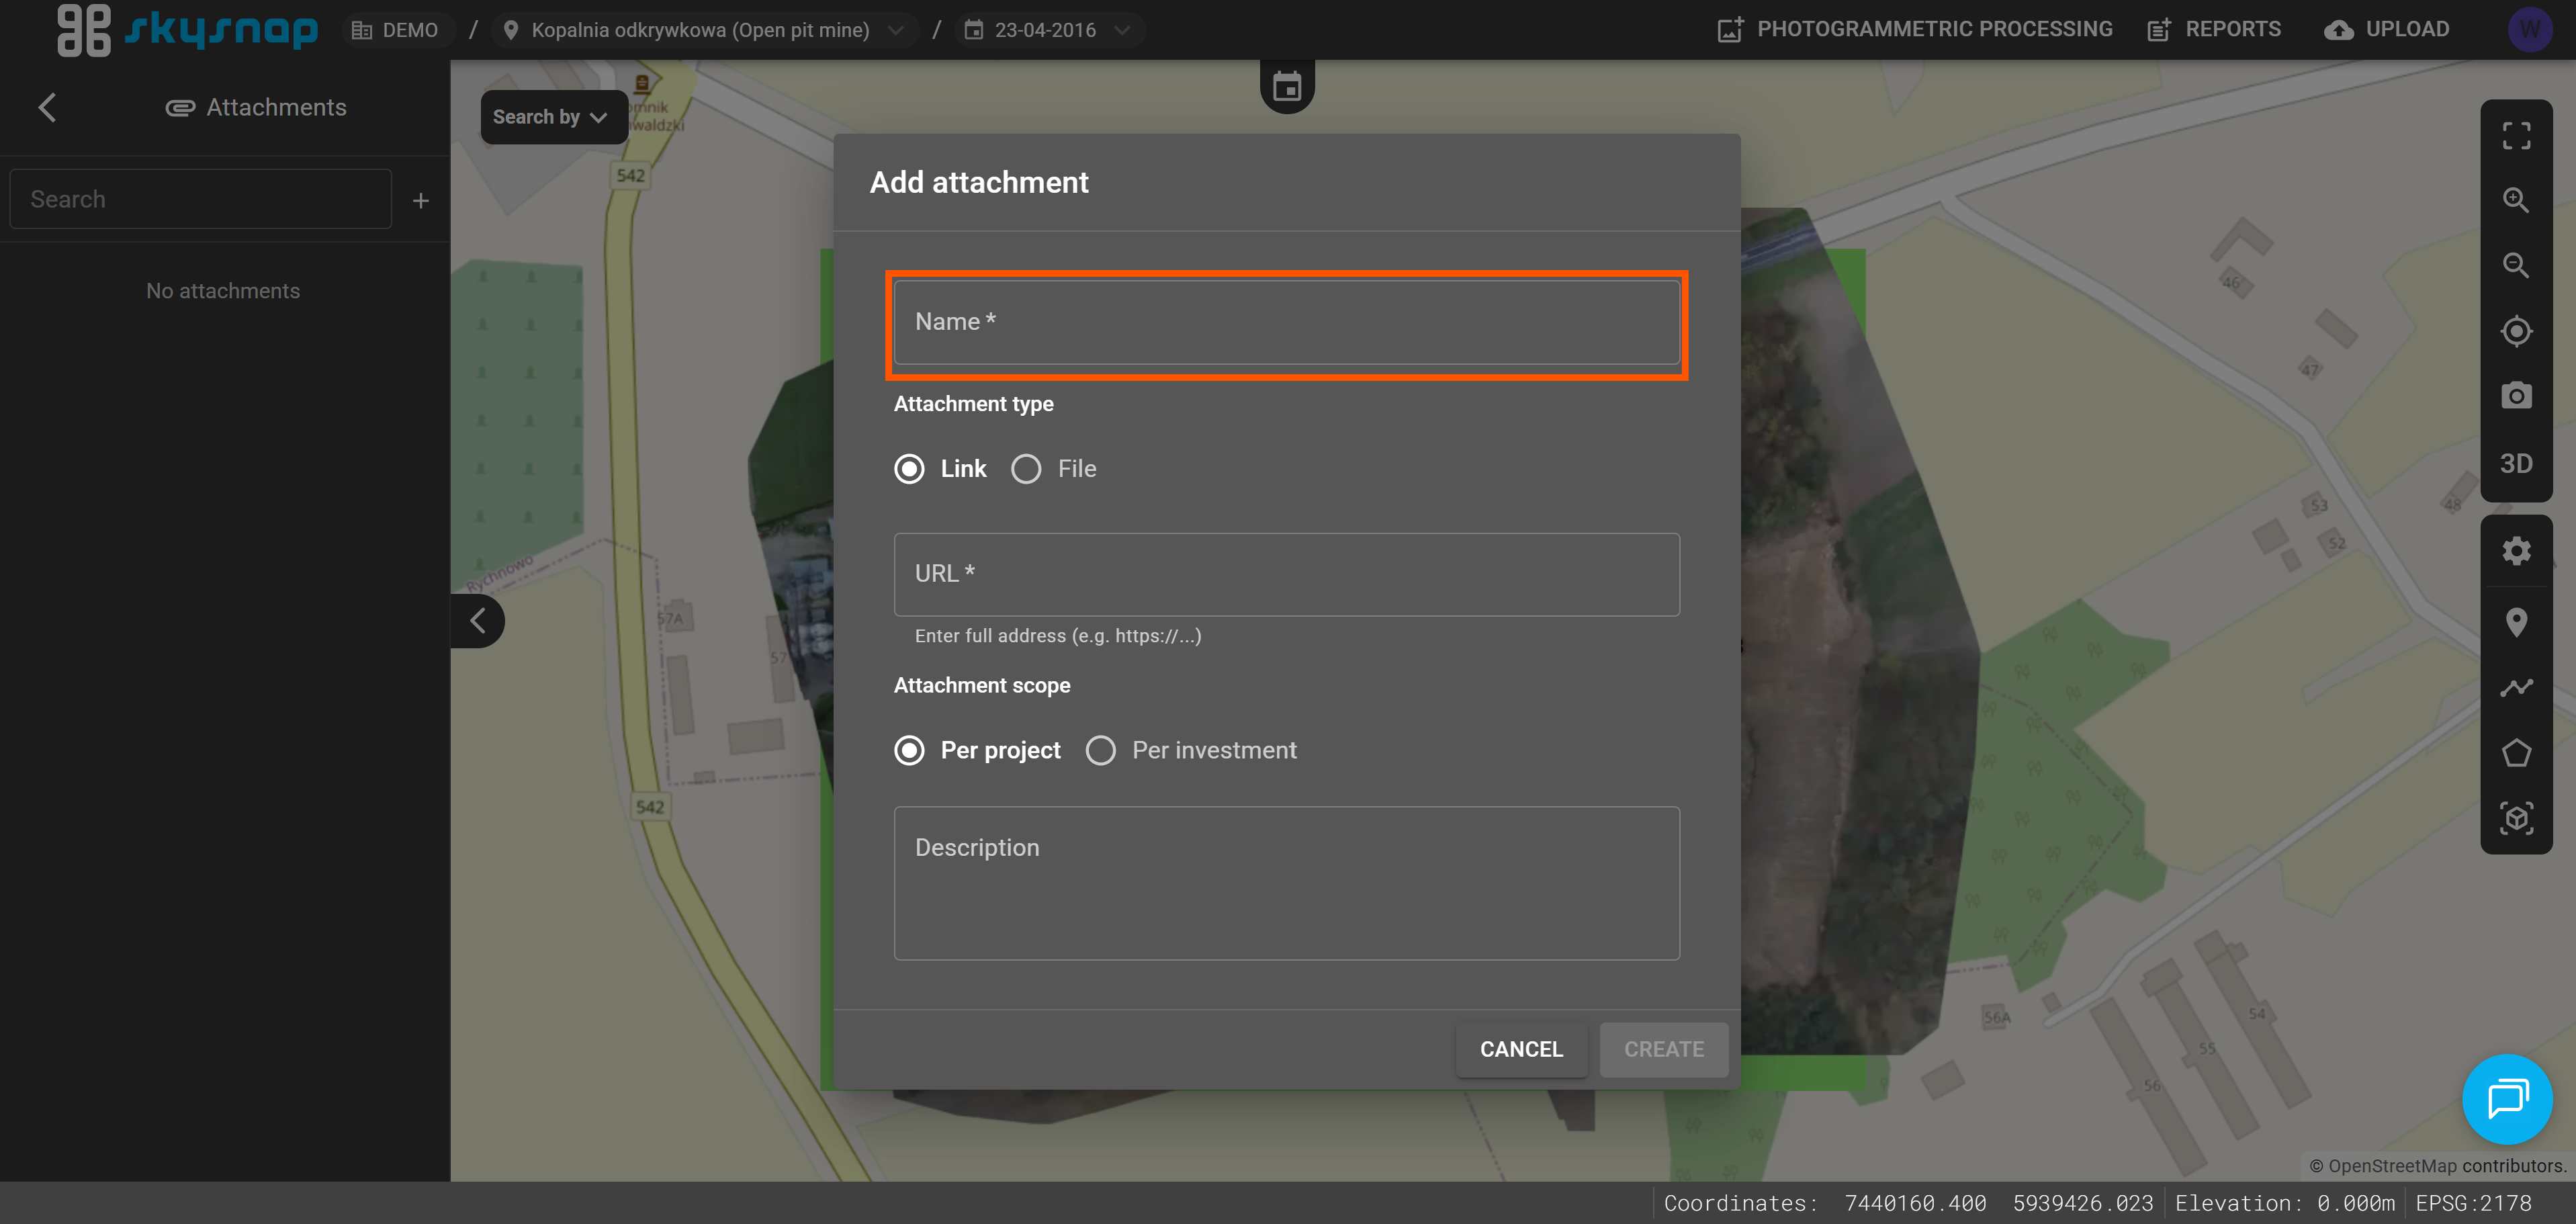
The name is mainly used to identify the attachment. It is required.
Attachment types
Attachments can have two types:
-
link
-
file
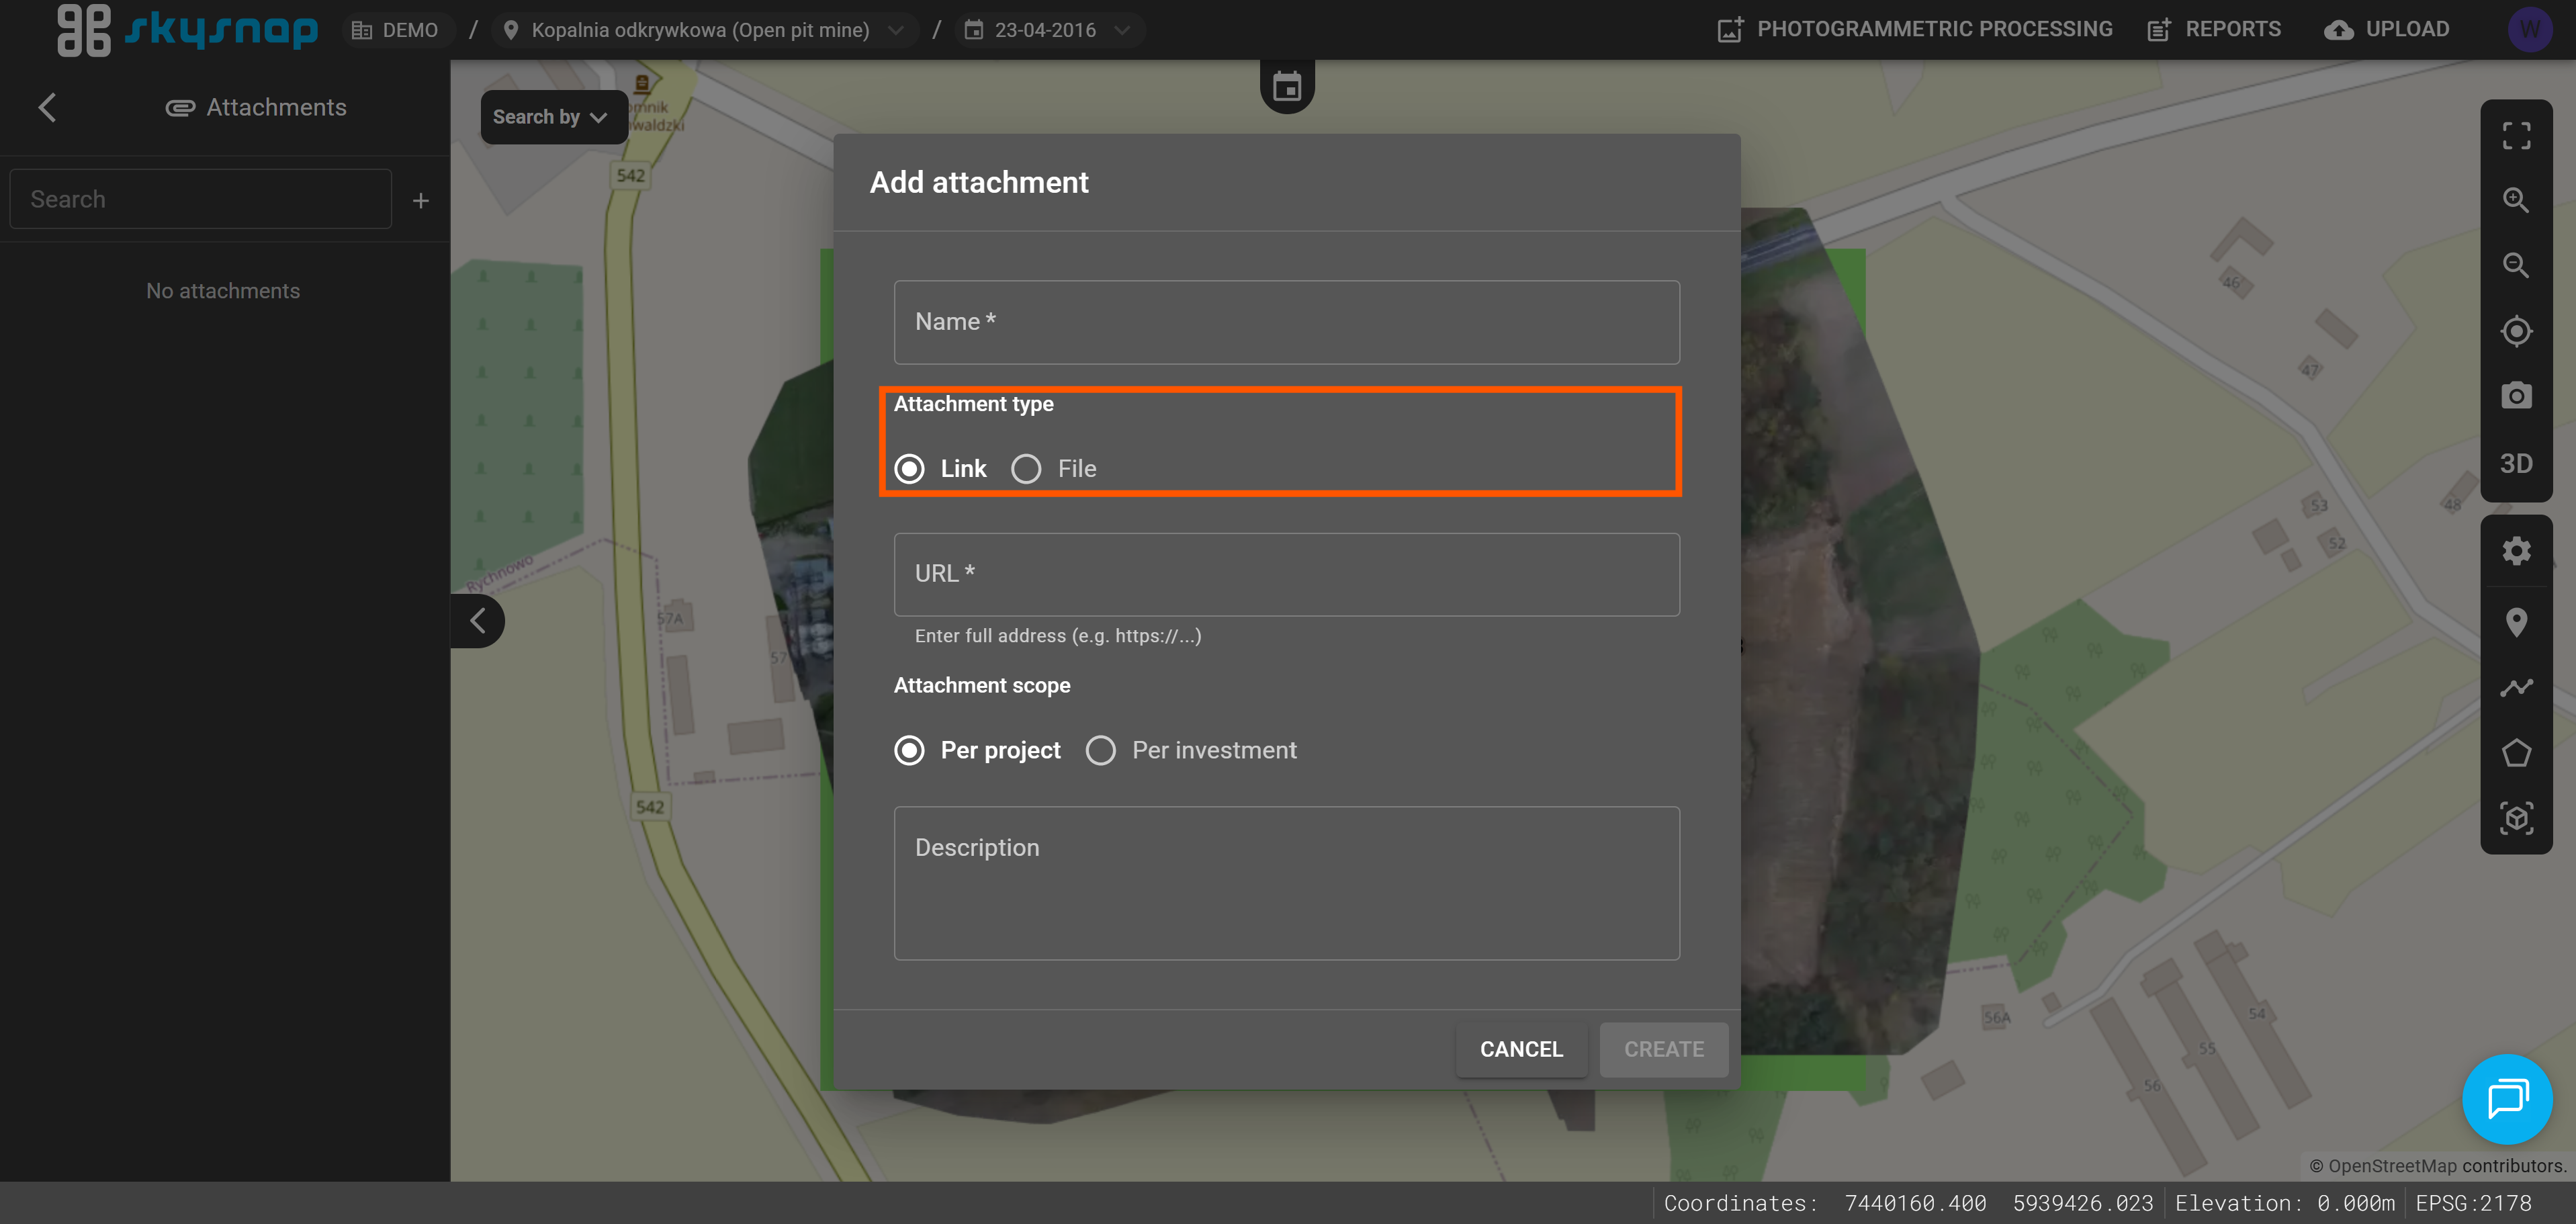
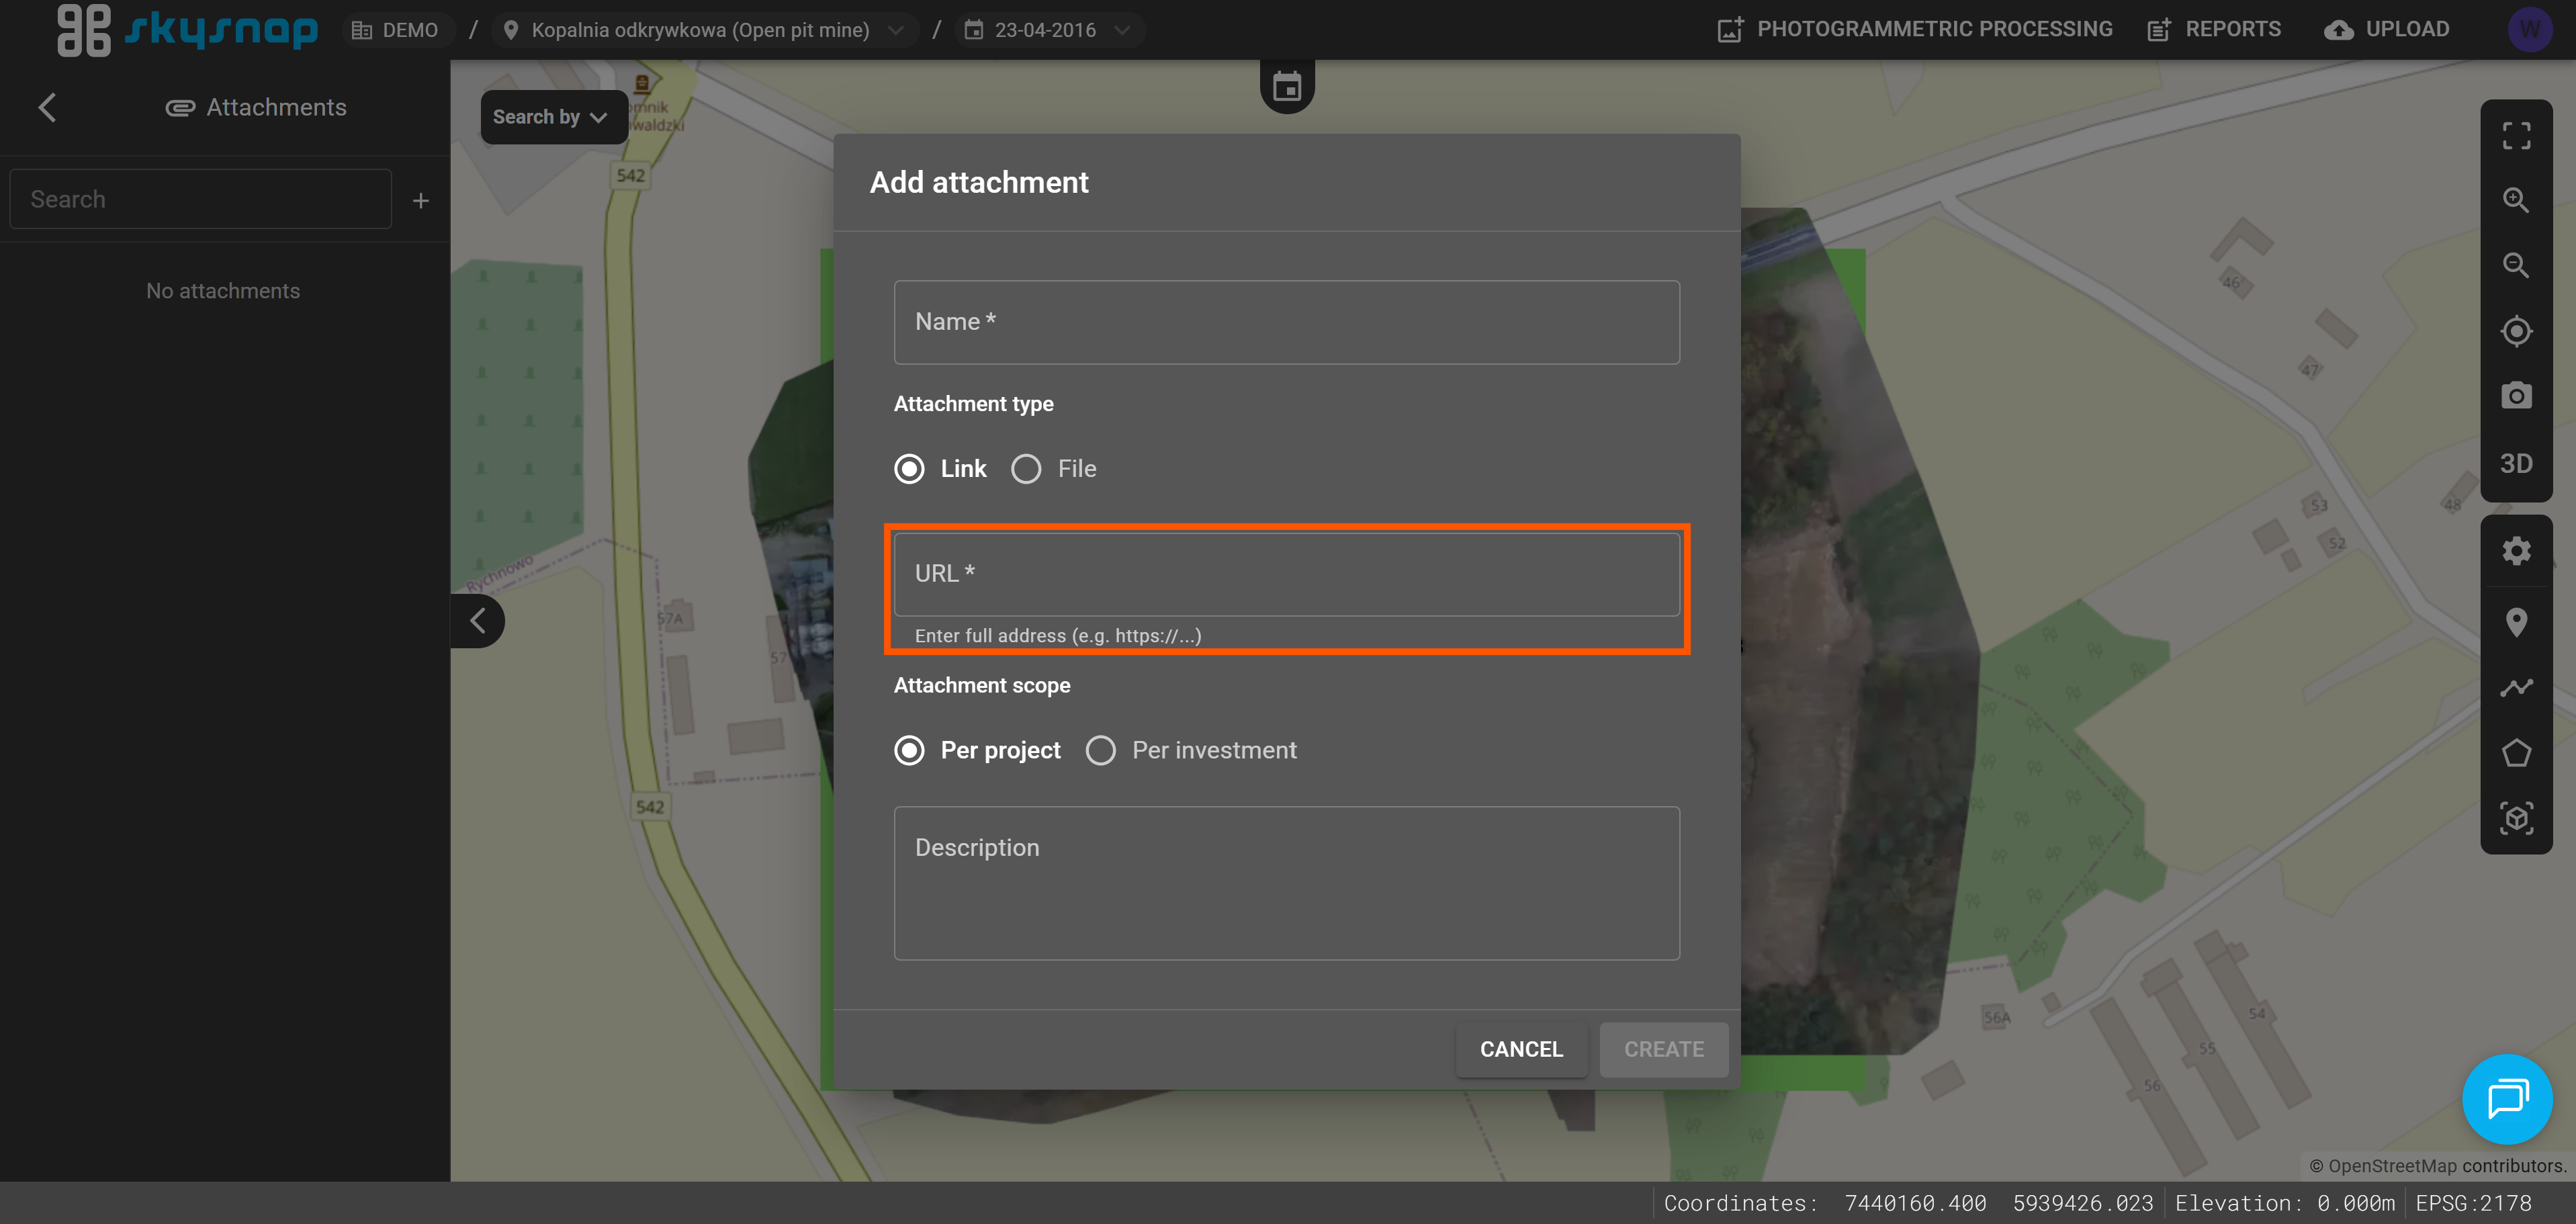
If you select the “link” type, a field for entering a URL address will appear.
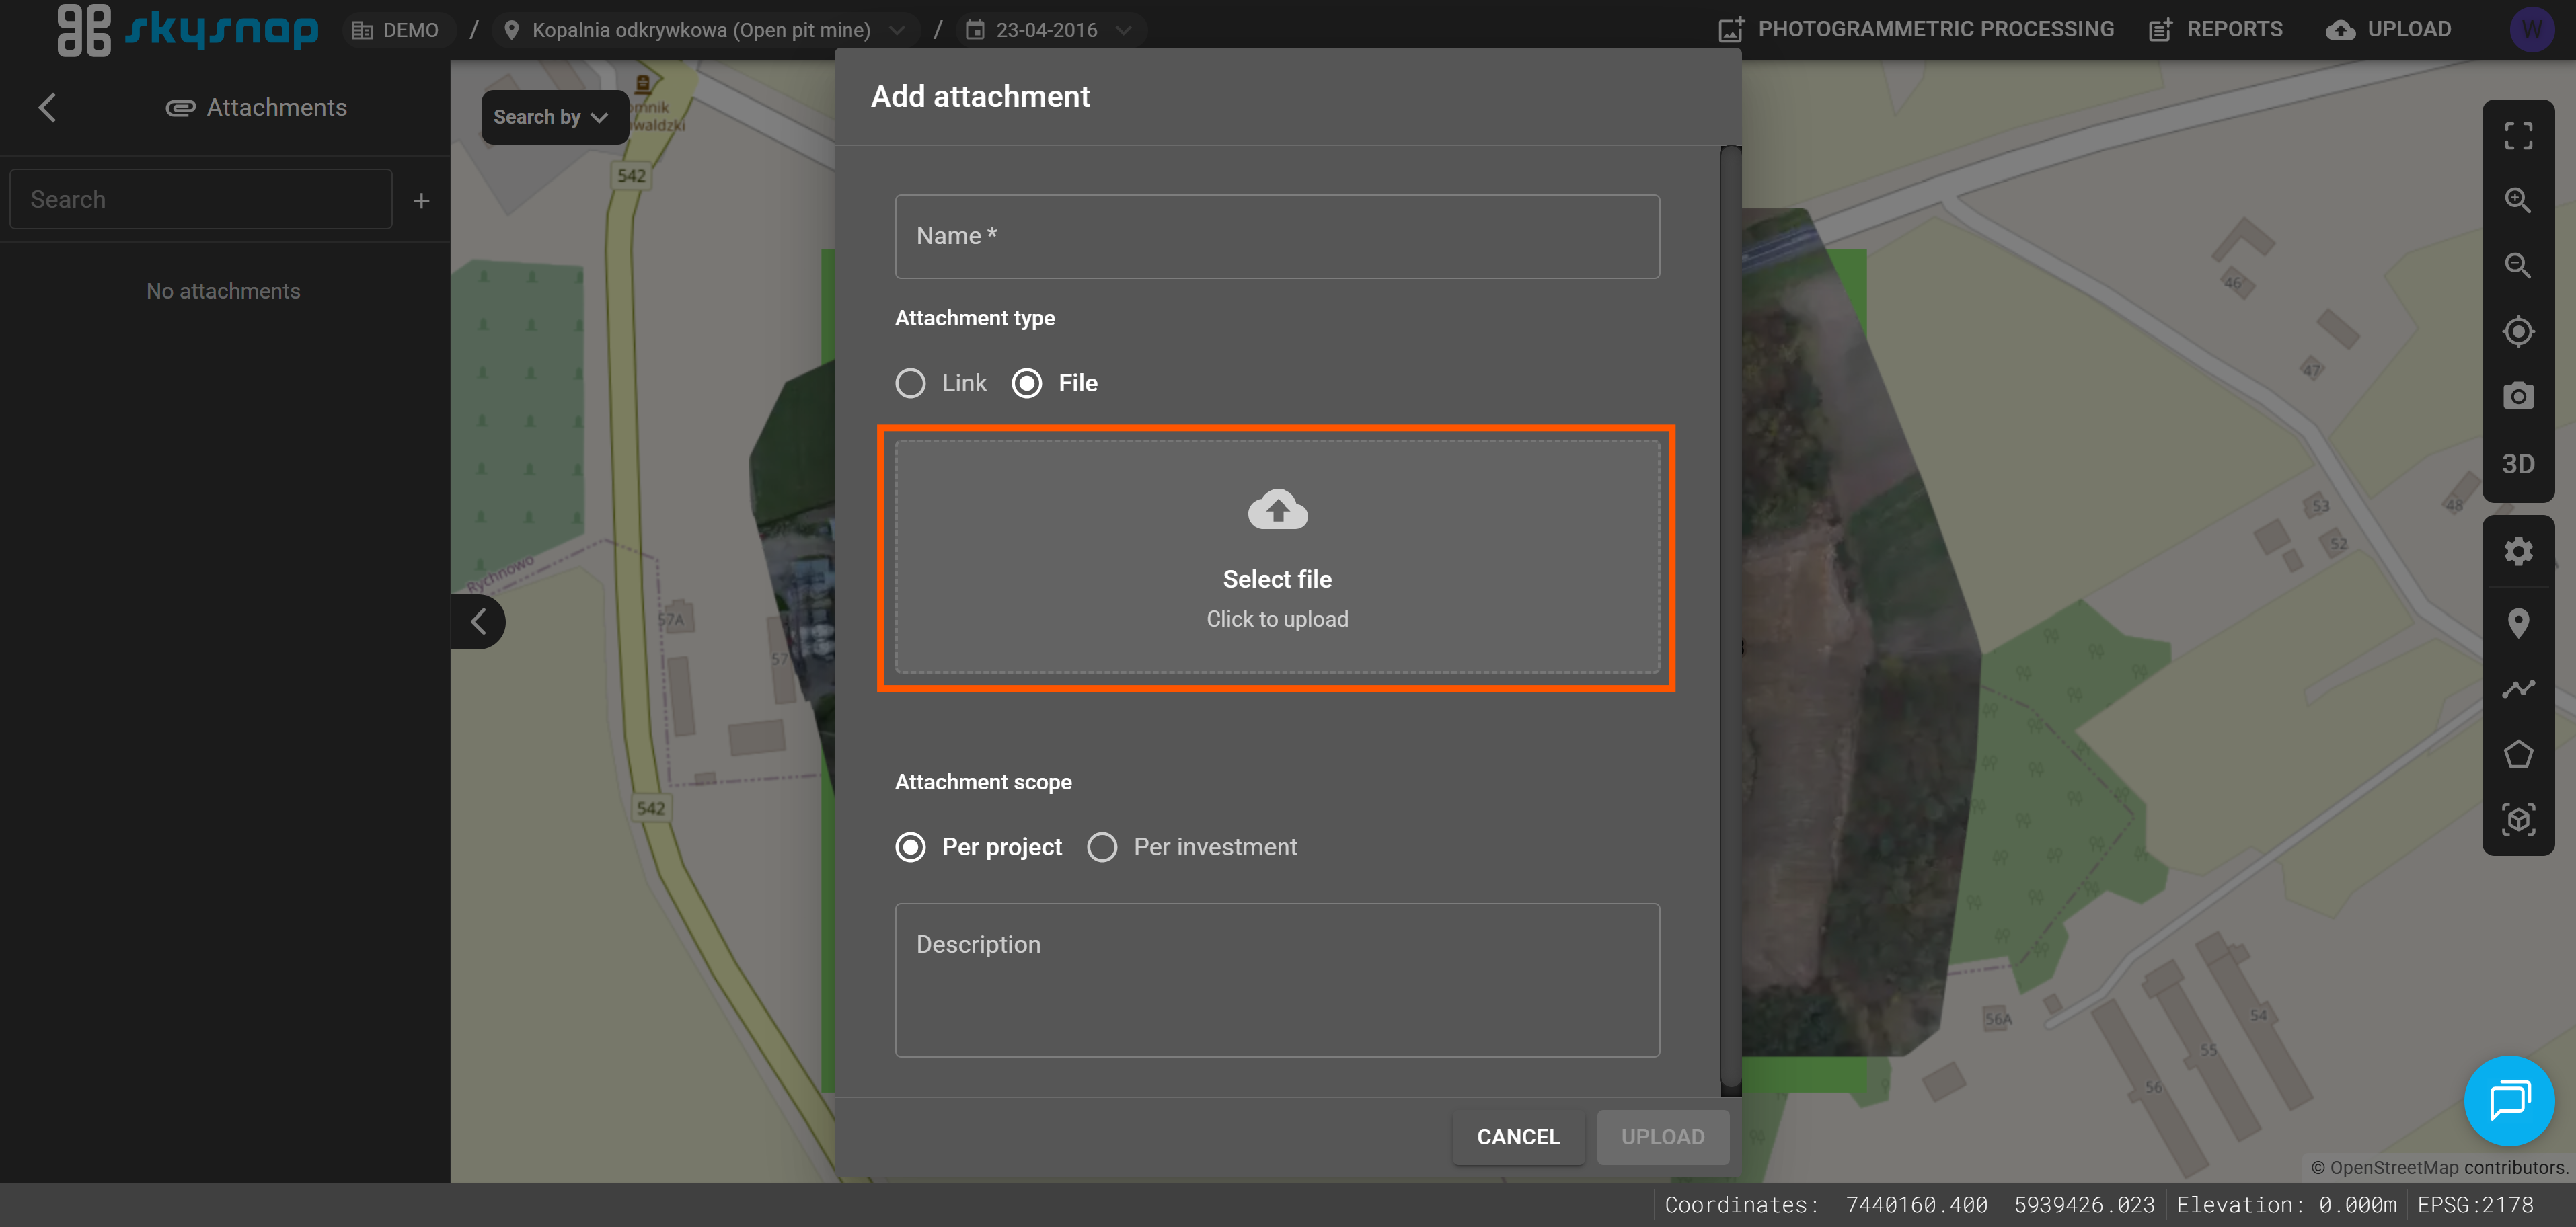
If you select the “file” type, a window for choosing a local file from your disk will appear.
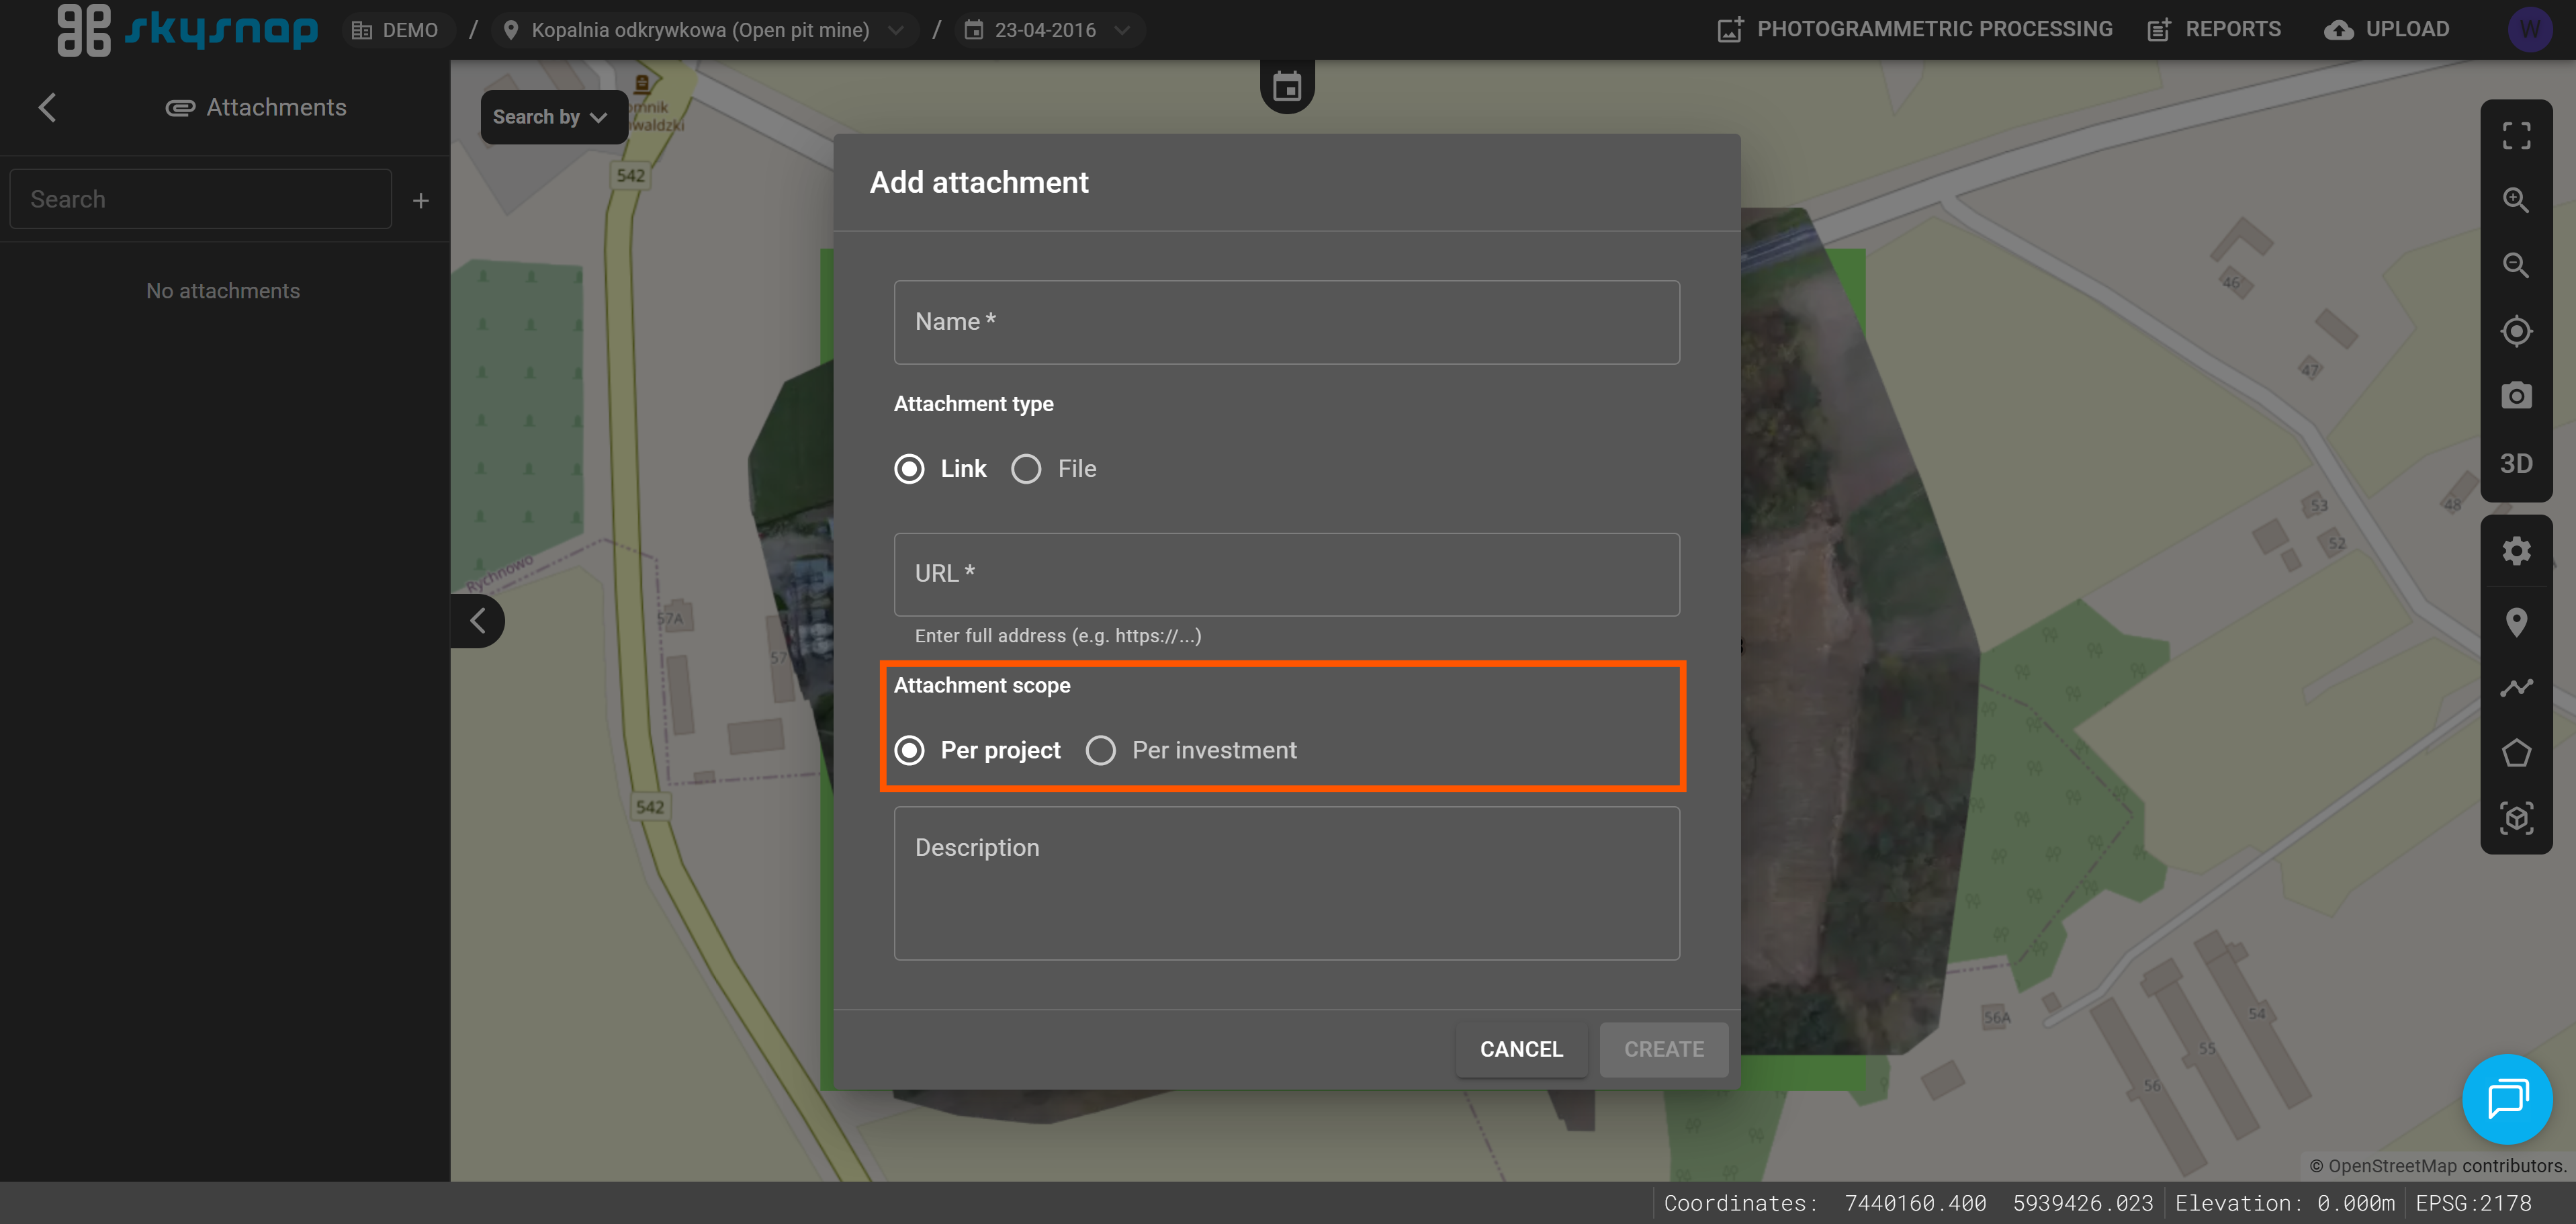
Upload level
As with map data, attachments can be uploaded to the portal at two management levels:
-
site level — the attachment will be visible in every project within the site,
-
project level — the attachment will be visible only in a specific project.
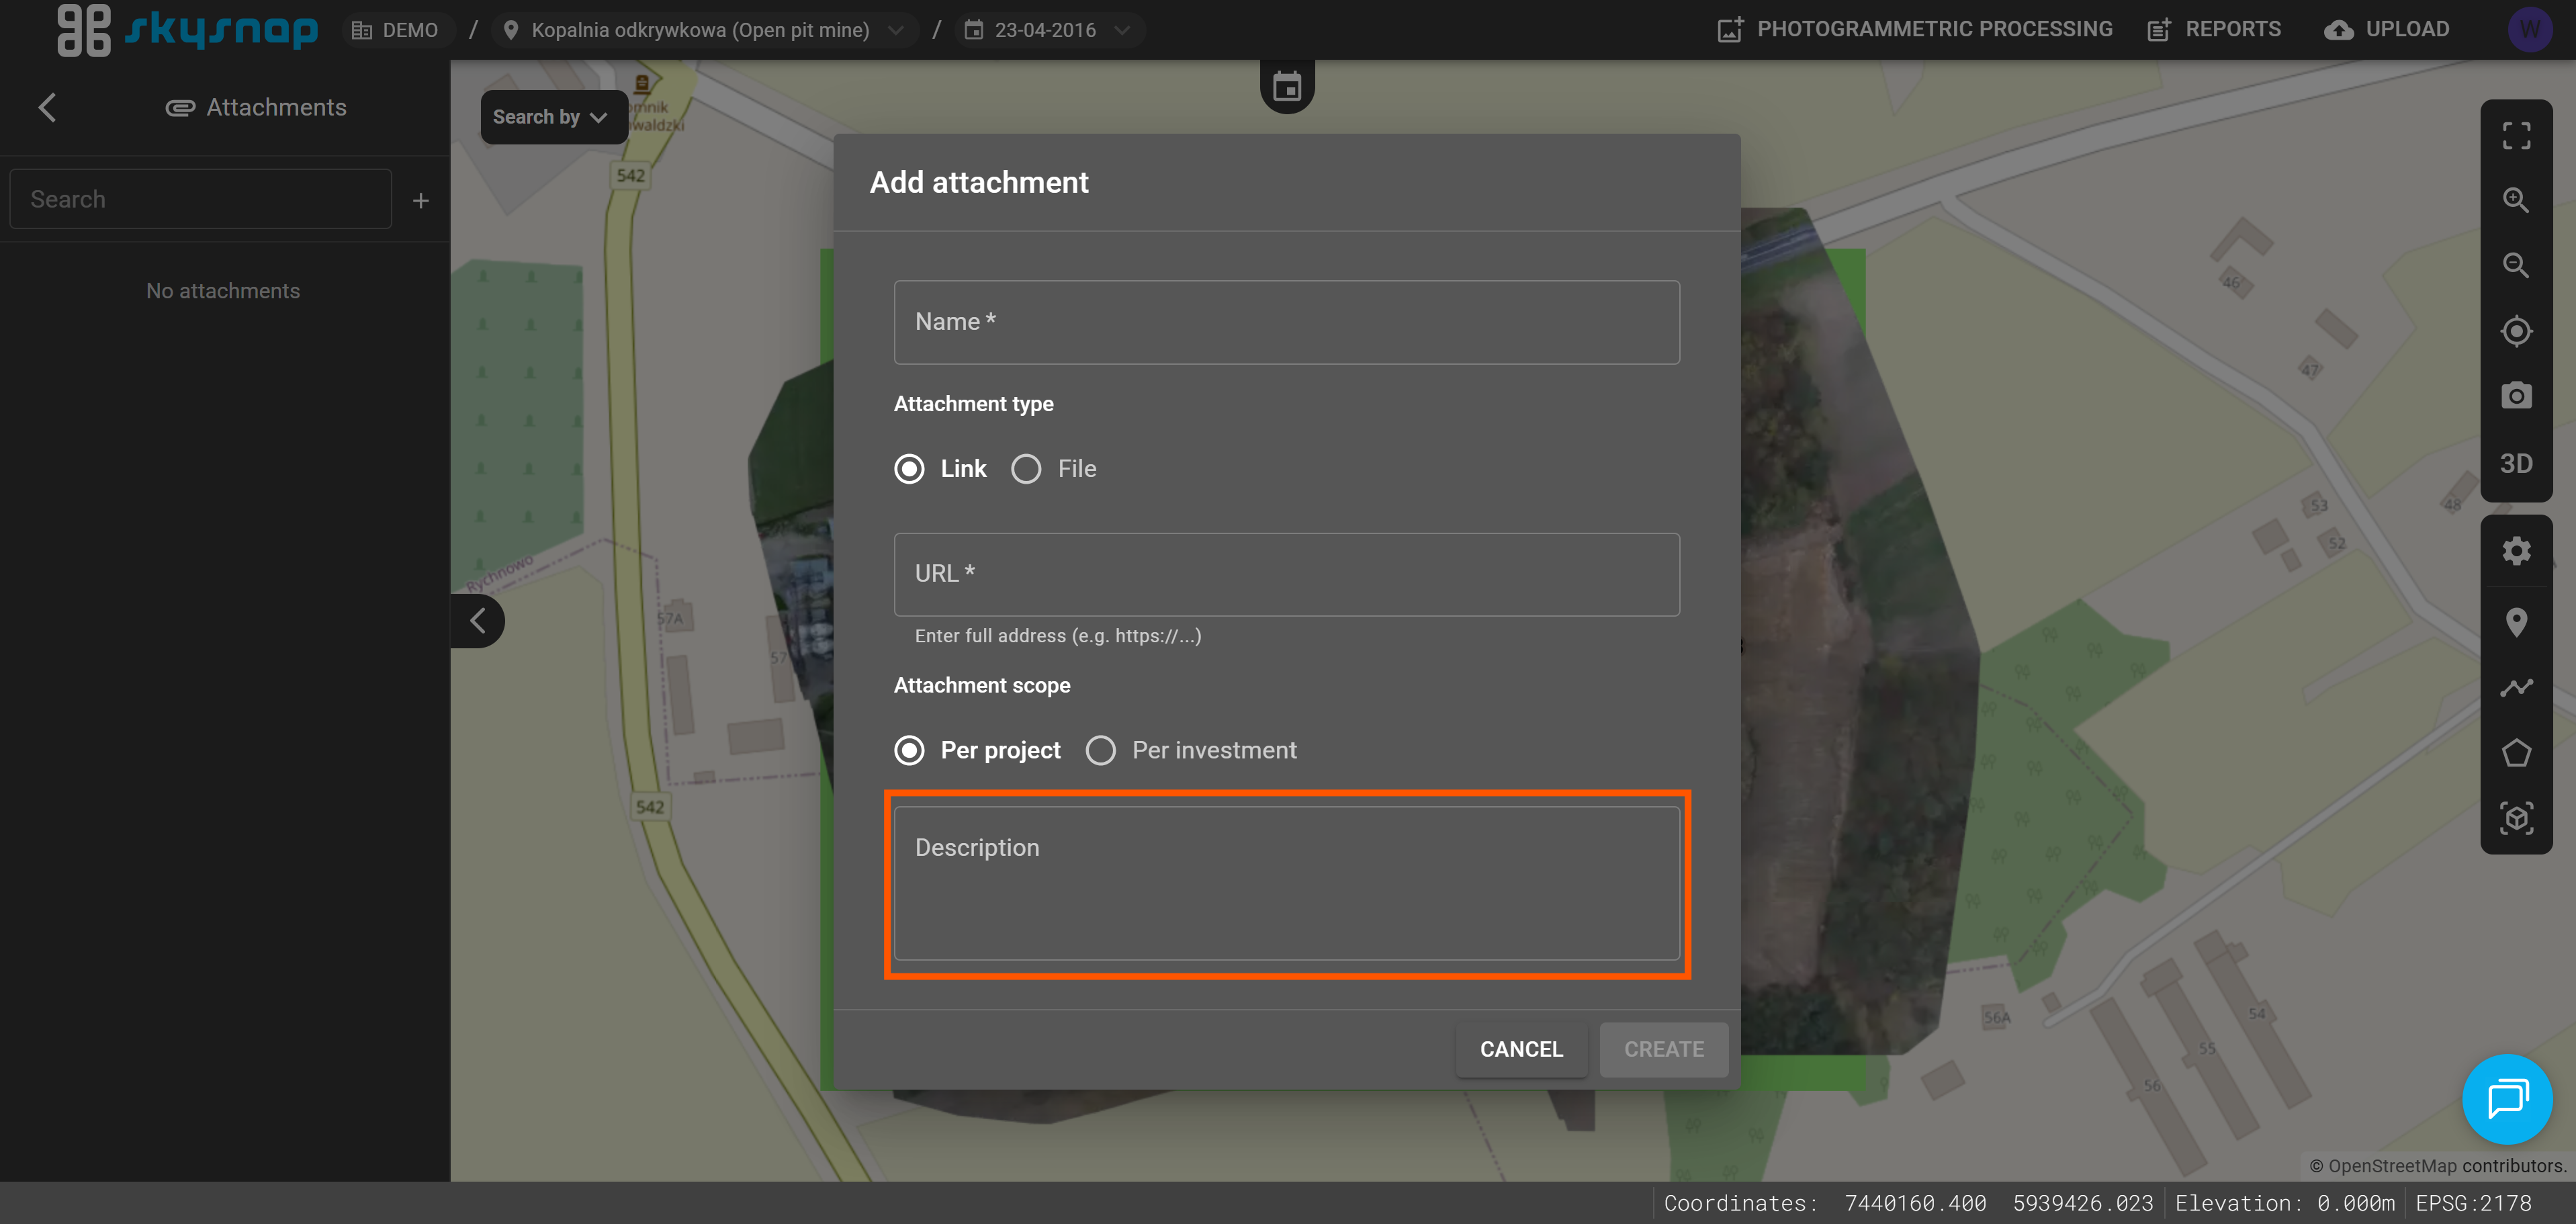
Description
The attachment description is used to quickly identify the file content without downloading it and to indicate the context it relates to. It is optional.
Available actions for an added attachment
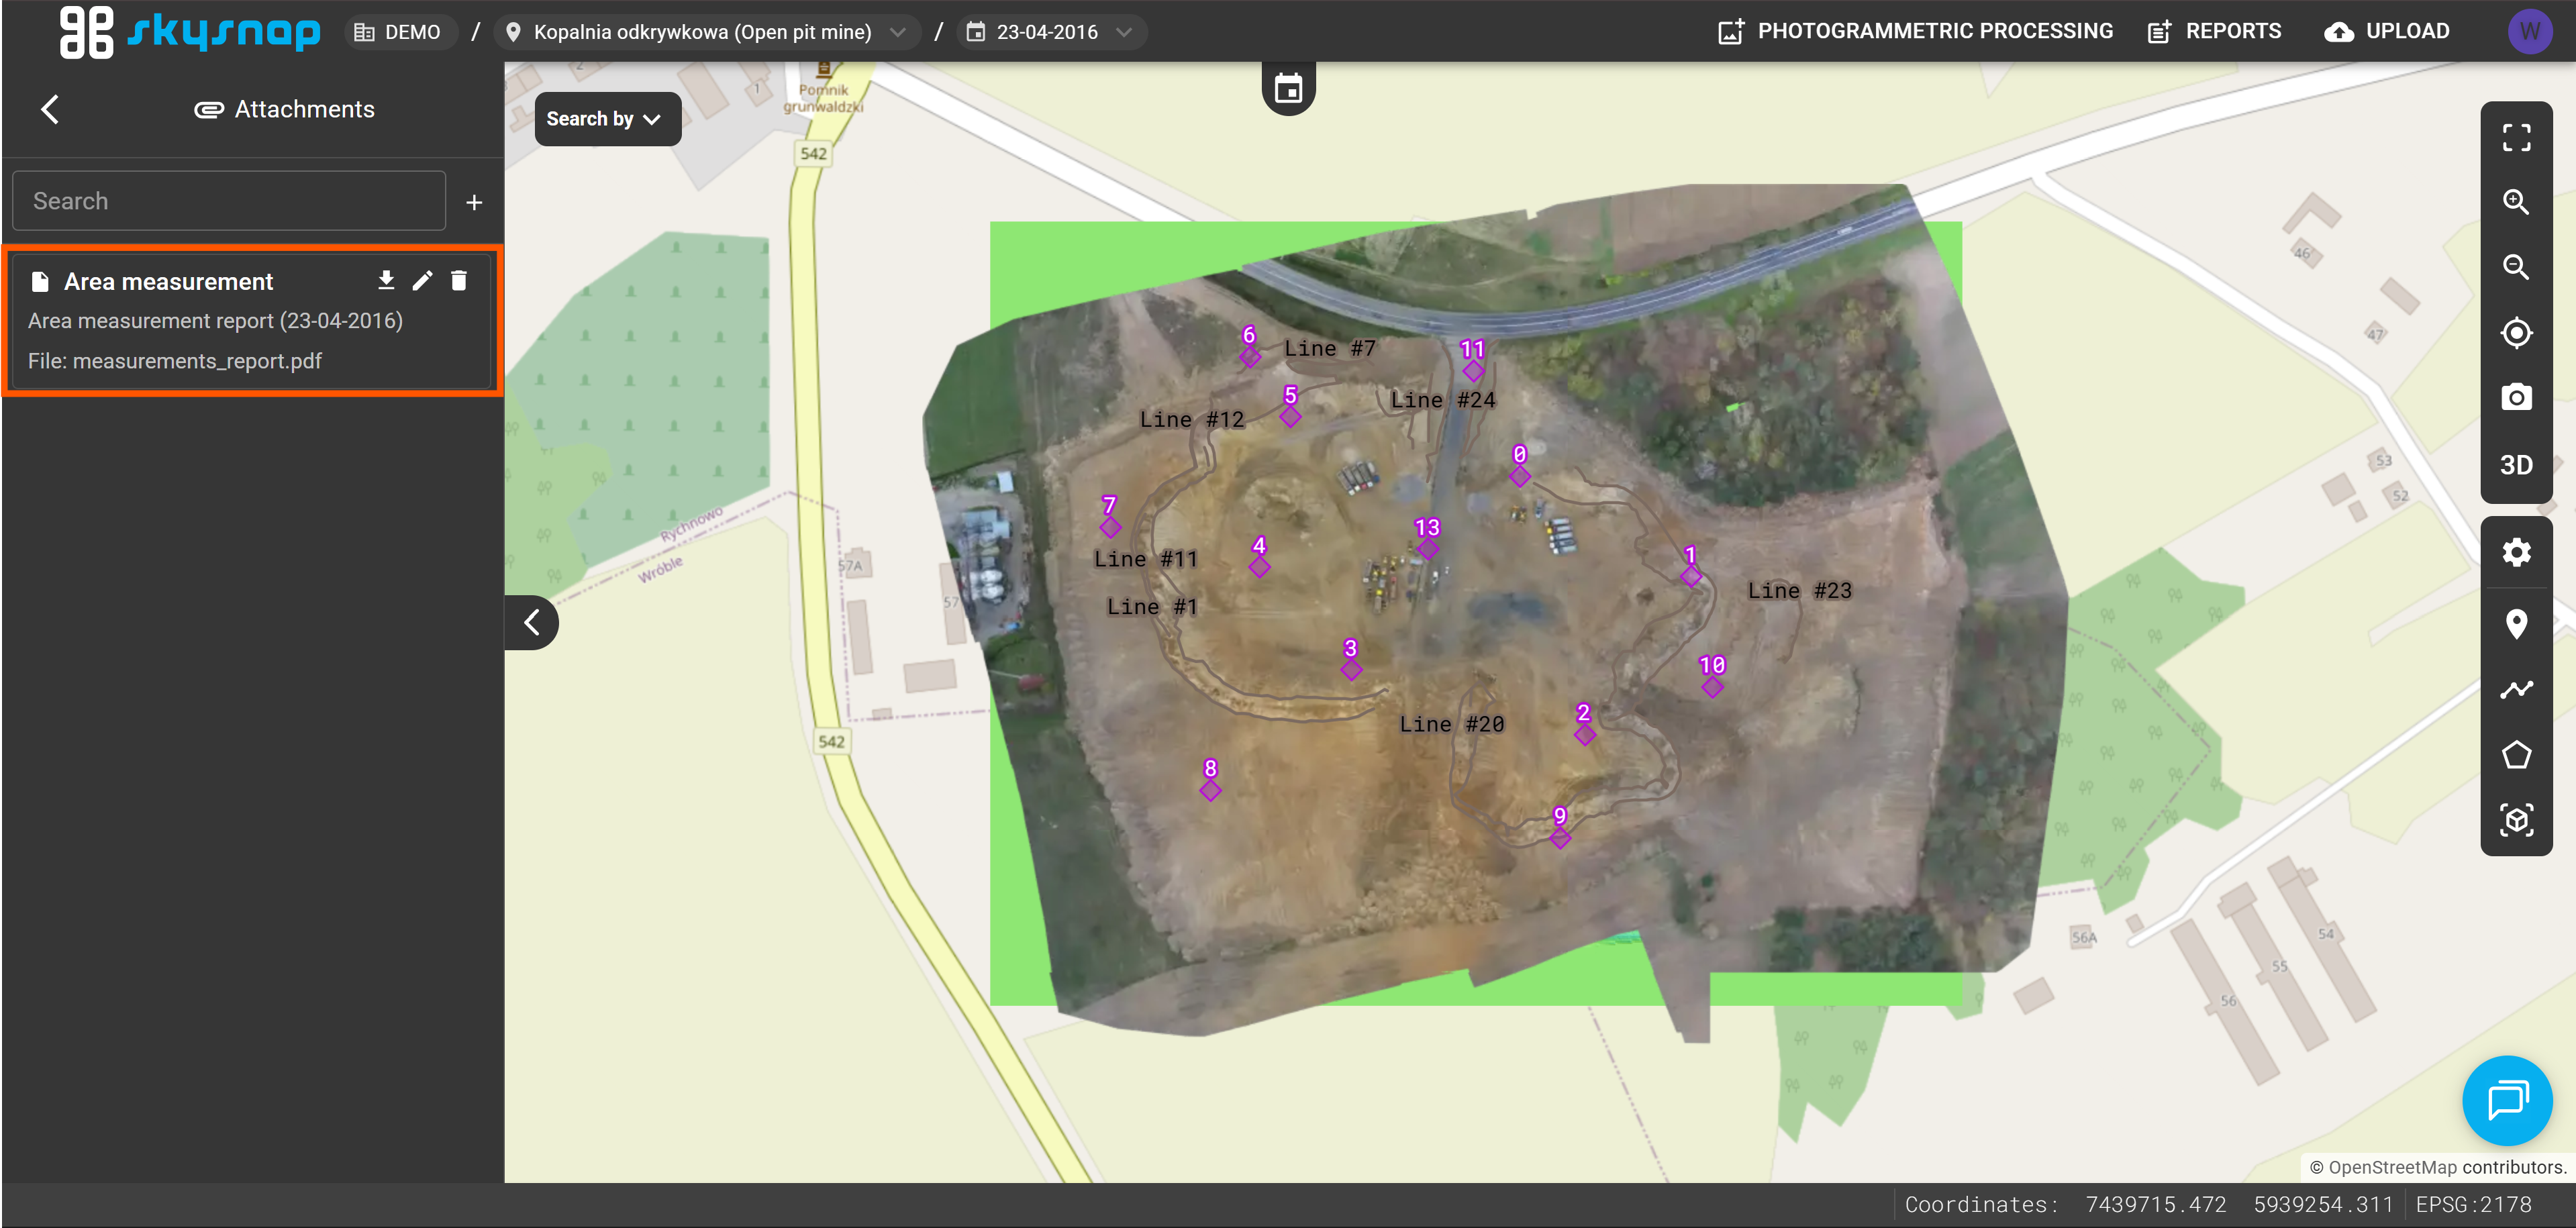
The added attachment appears in the “Attachments” tile.
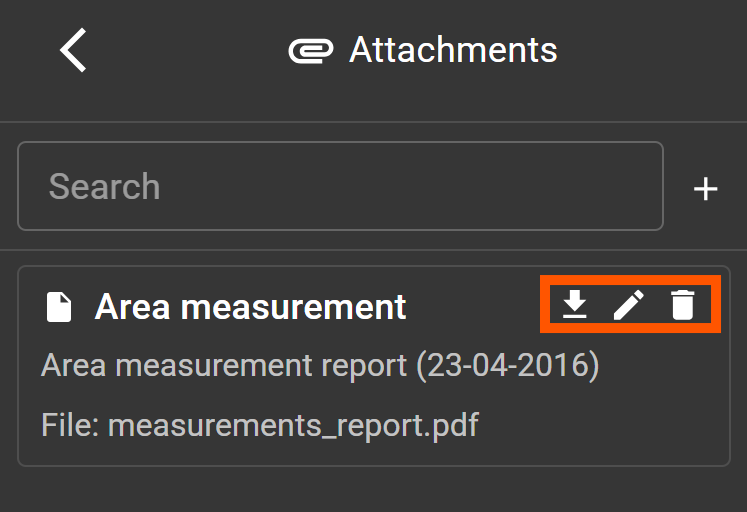
Users with the appropriate permissions can:
-
download it,
-
edit it,
-
delete it.
IMPORTANT: Only the attachment name and description can be edited. If you need to replace the attached file, you must add a new attachment by clicking the “+” icon.
Example of adding an attachment
See how to add external files to the portal step by step. Let’s go through the process using the example of a measurement report added at the project level.
Open the project of your choice. In this example, it is the site “Open pit mine” and the project “23-04-2016”.
1. Click the “Attachments” tile.
2. Click the “+” icon to open the add attachment window.
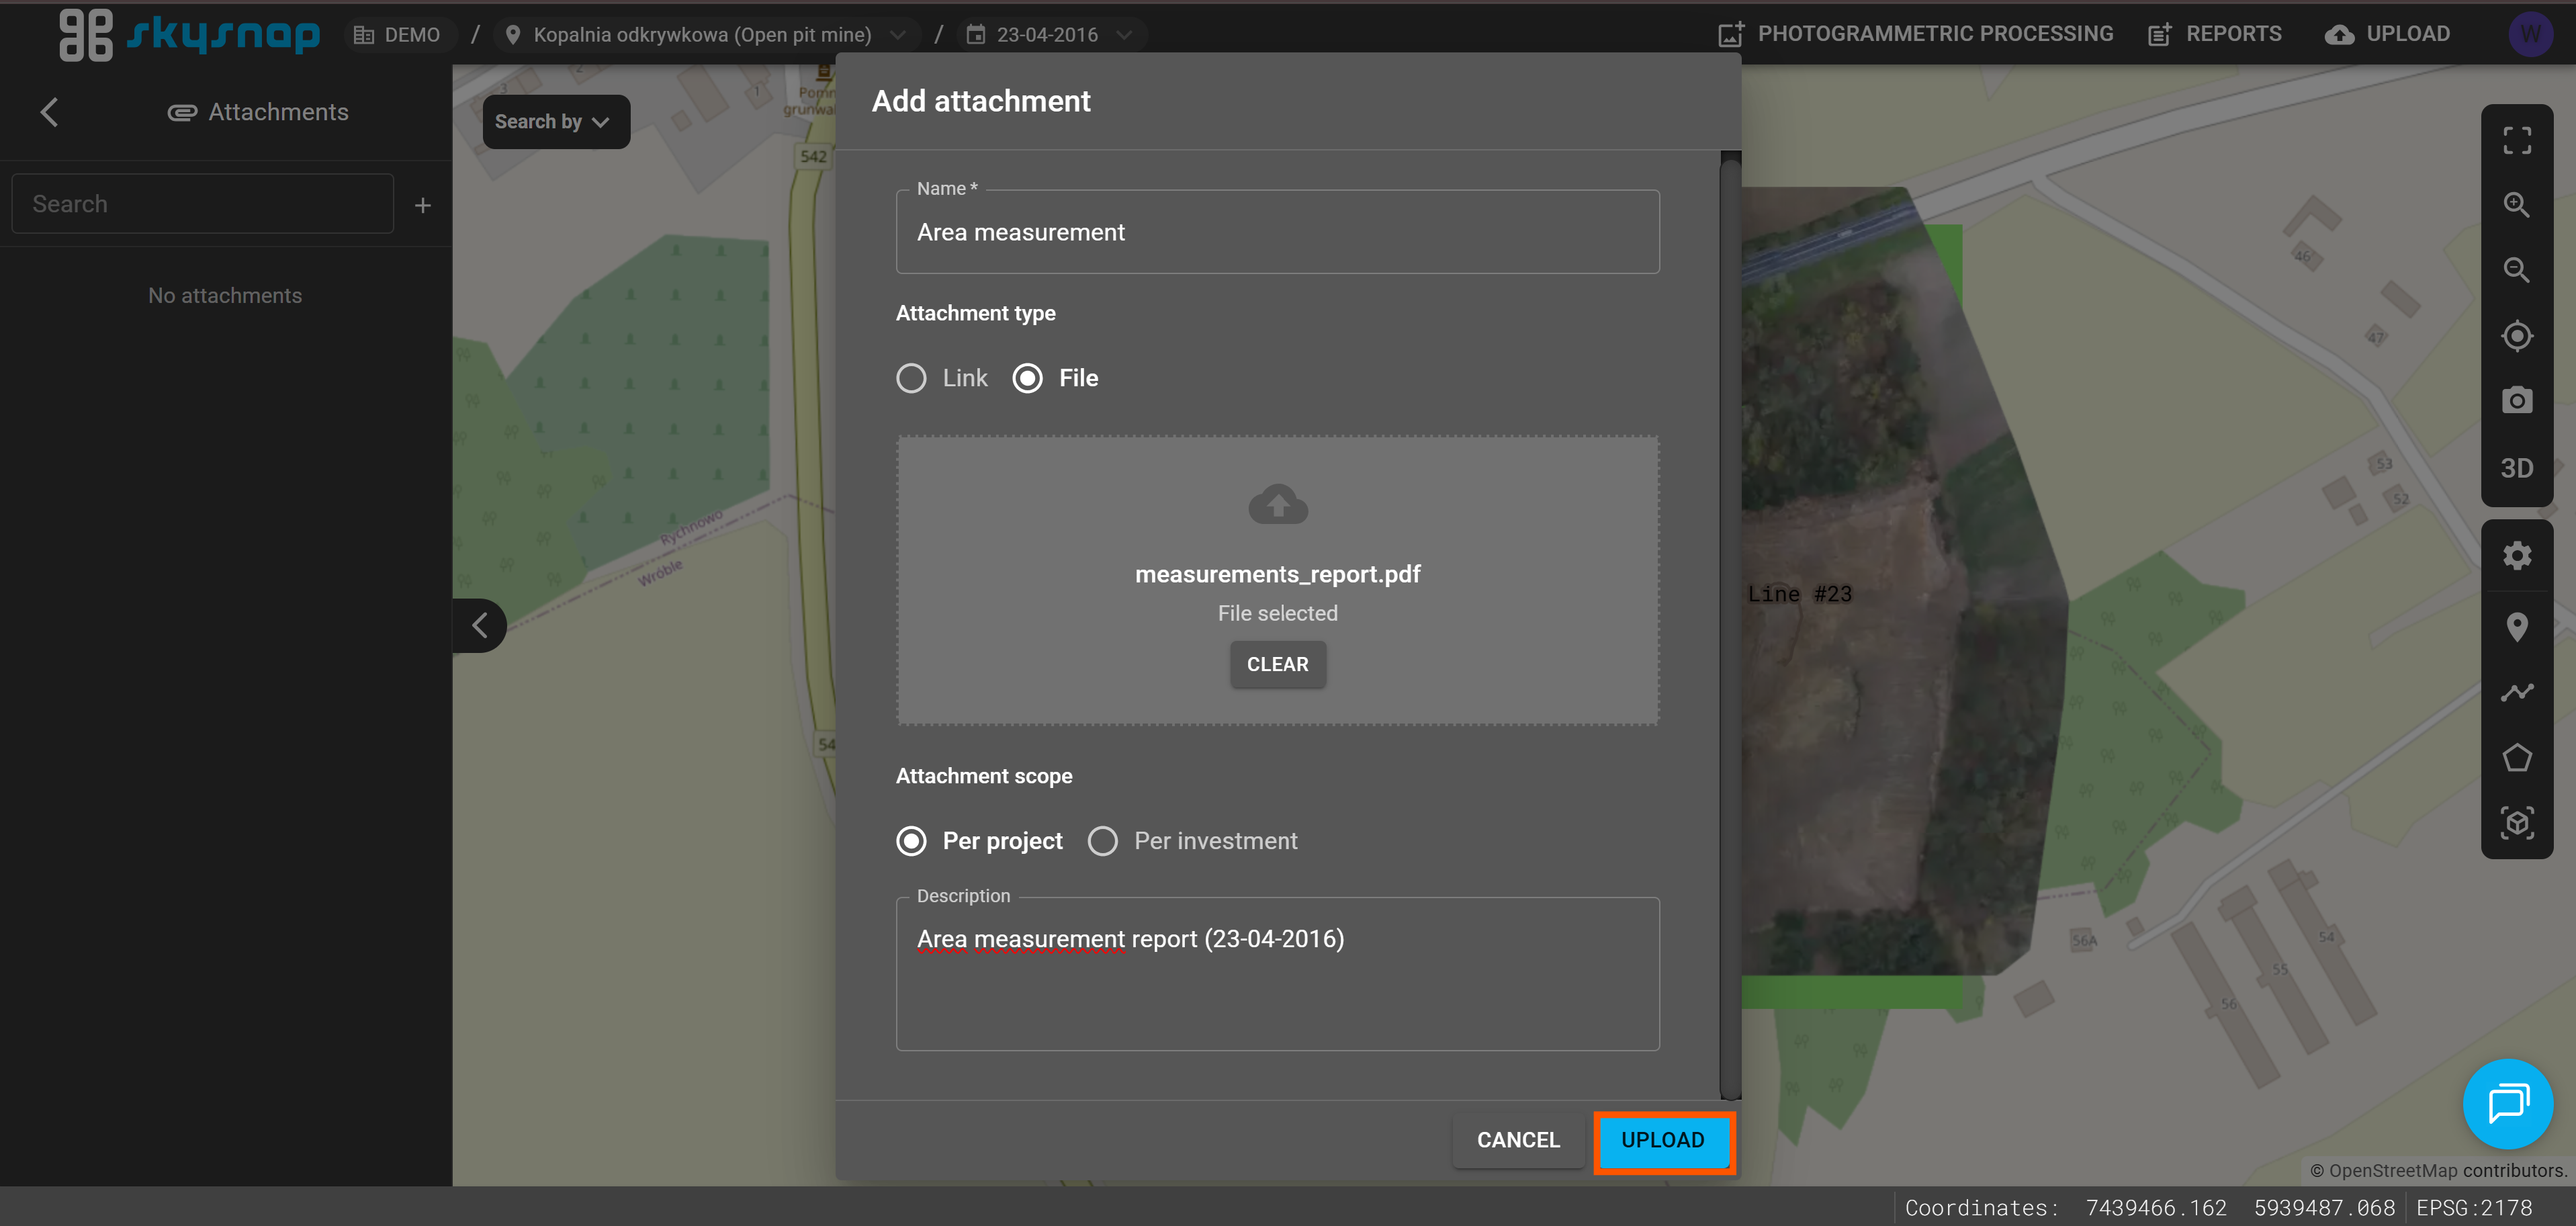
3. Enter the attachment name, which will be highlighted in the “Attachments” tile.
4. Select the type (in this case, “File”).
5. Choose a file to upload by clicking the field.
6. Select the attachment sharing level (in this case, project).
7. Optionally, add a description of the attached file.
8. Click the “Upload” button.
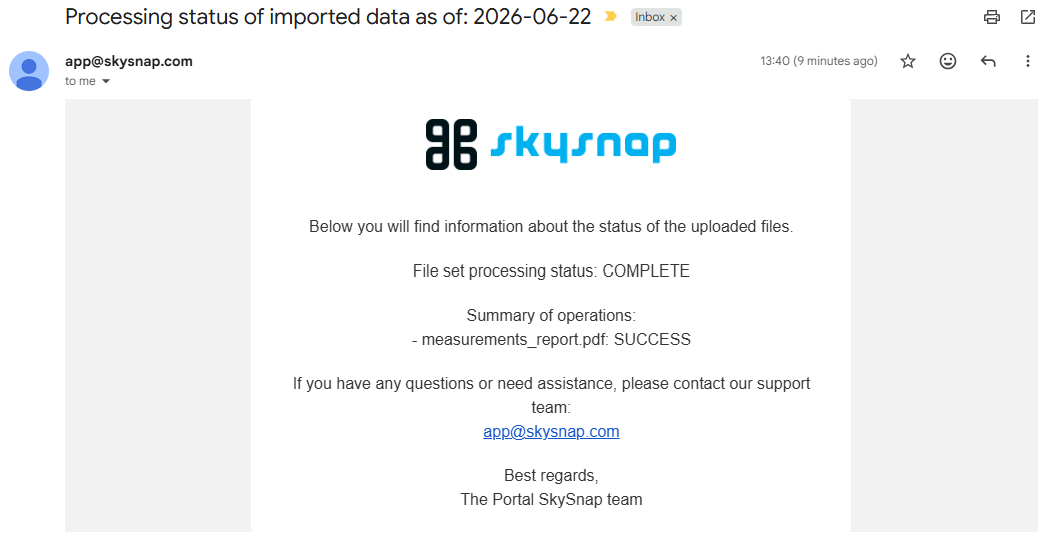
9. You will receive an email about the attachment import status.
10. The added attachment will appear in the “Attachments” panel.