
Table of Contents:
You can manage your organization directly from the portal's homepage, which is available immediately after logging in. If you are currently in a project view, click the SkySnap logo to return to the main dashboard and access the organization settings.
Editing an organization
1. Click the button with your organization's name. 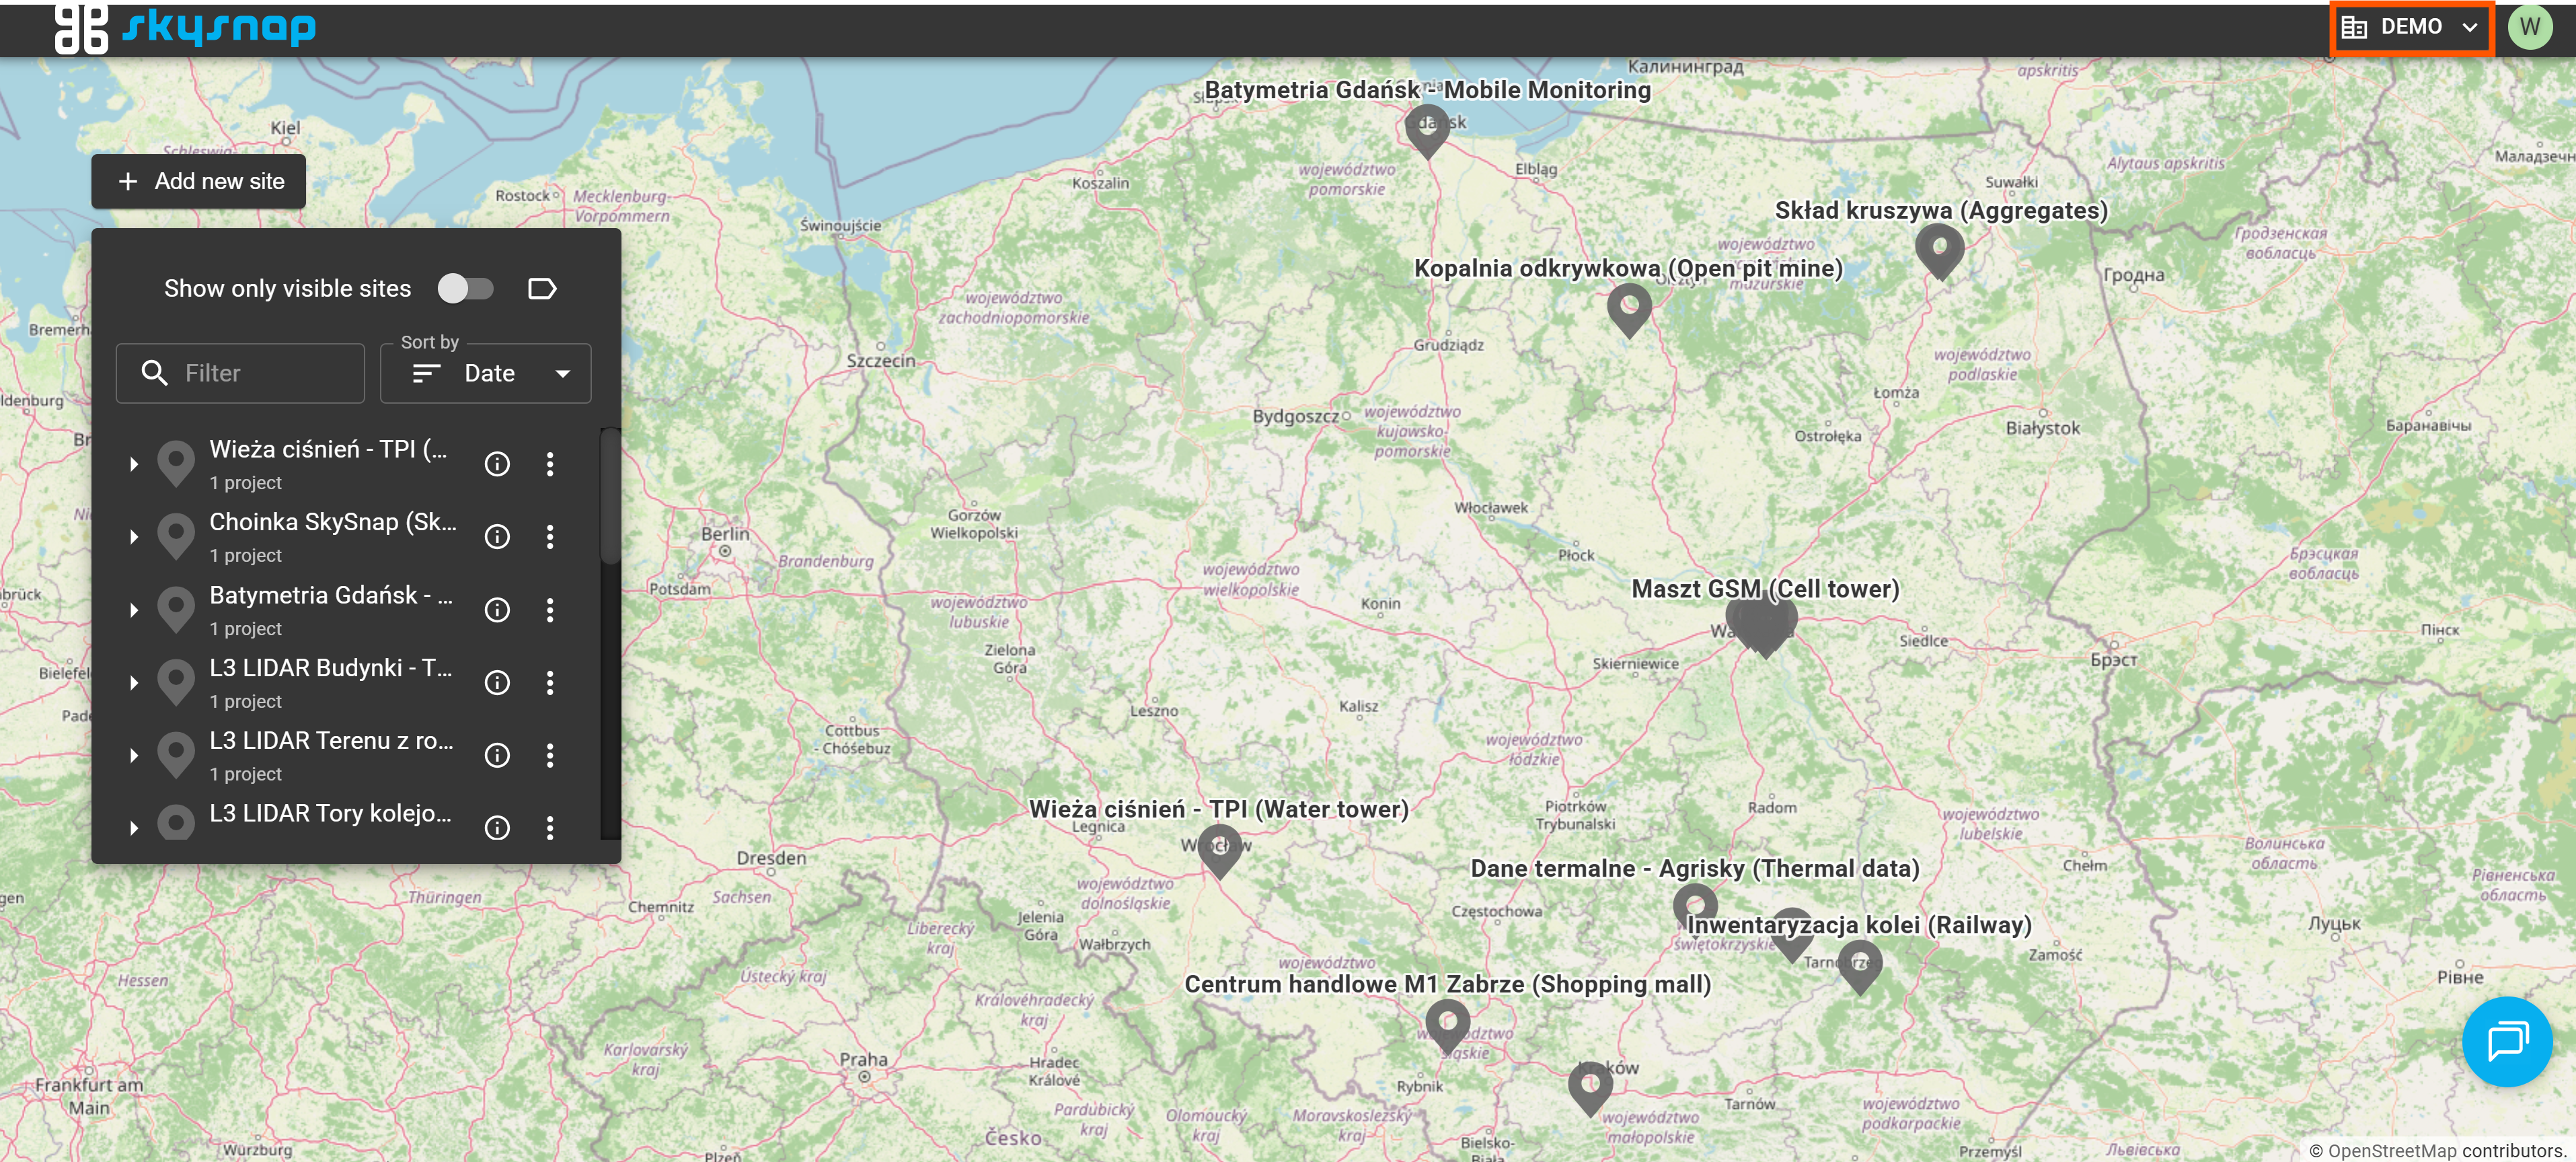
This action will open a window displaying the user's organizations.
TIP: If you want to edit an organization other than the one you are currently viewing, select the appropriate one from the drop-down list or search for it by typing its name in the "Search organization" box.
2. Click the pencil icon that appears in the new window. 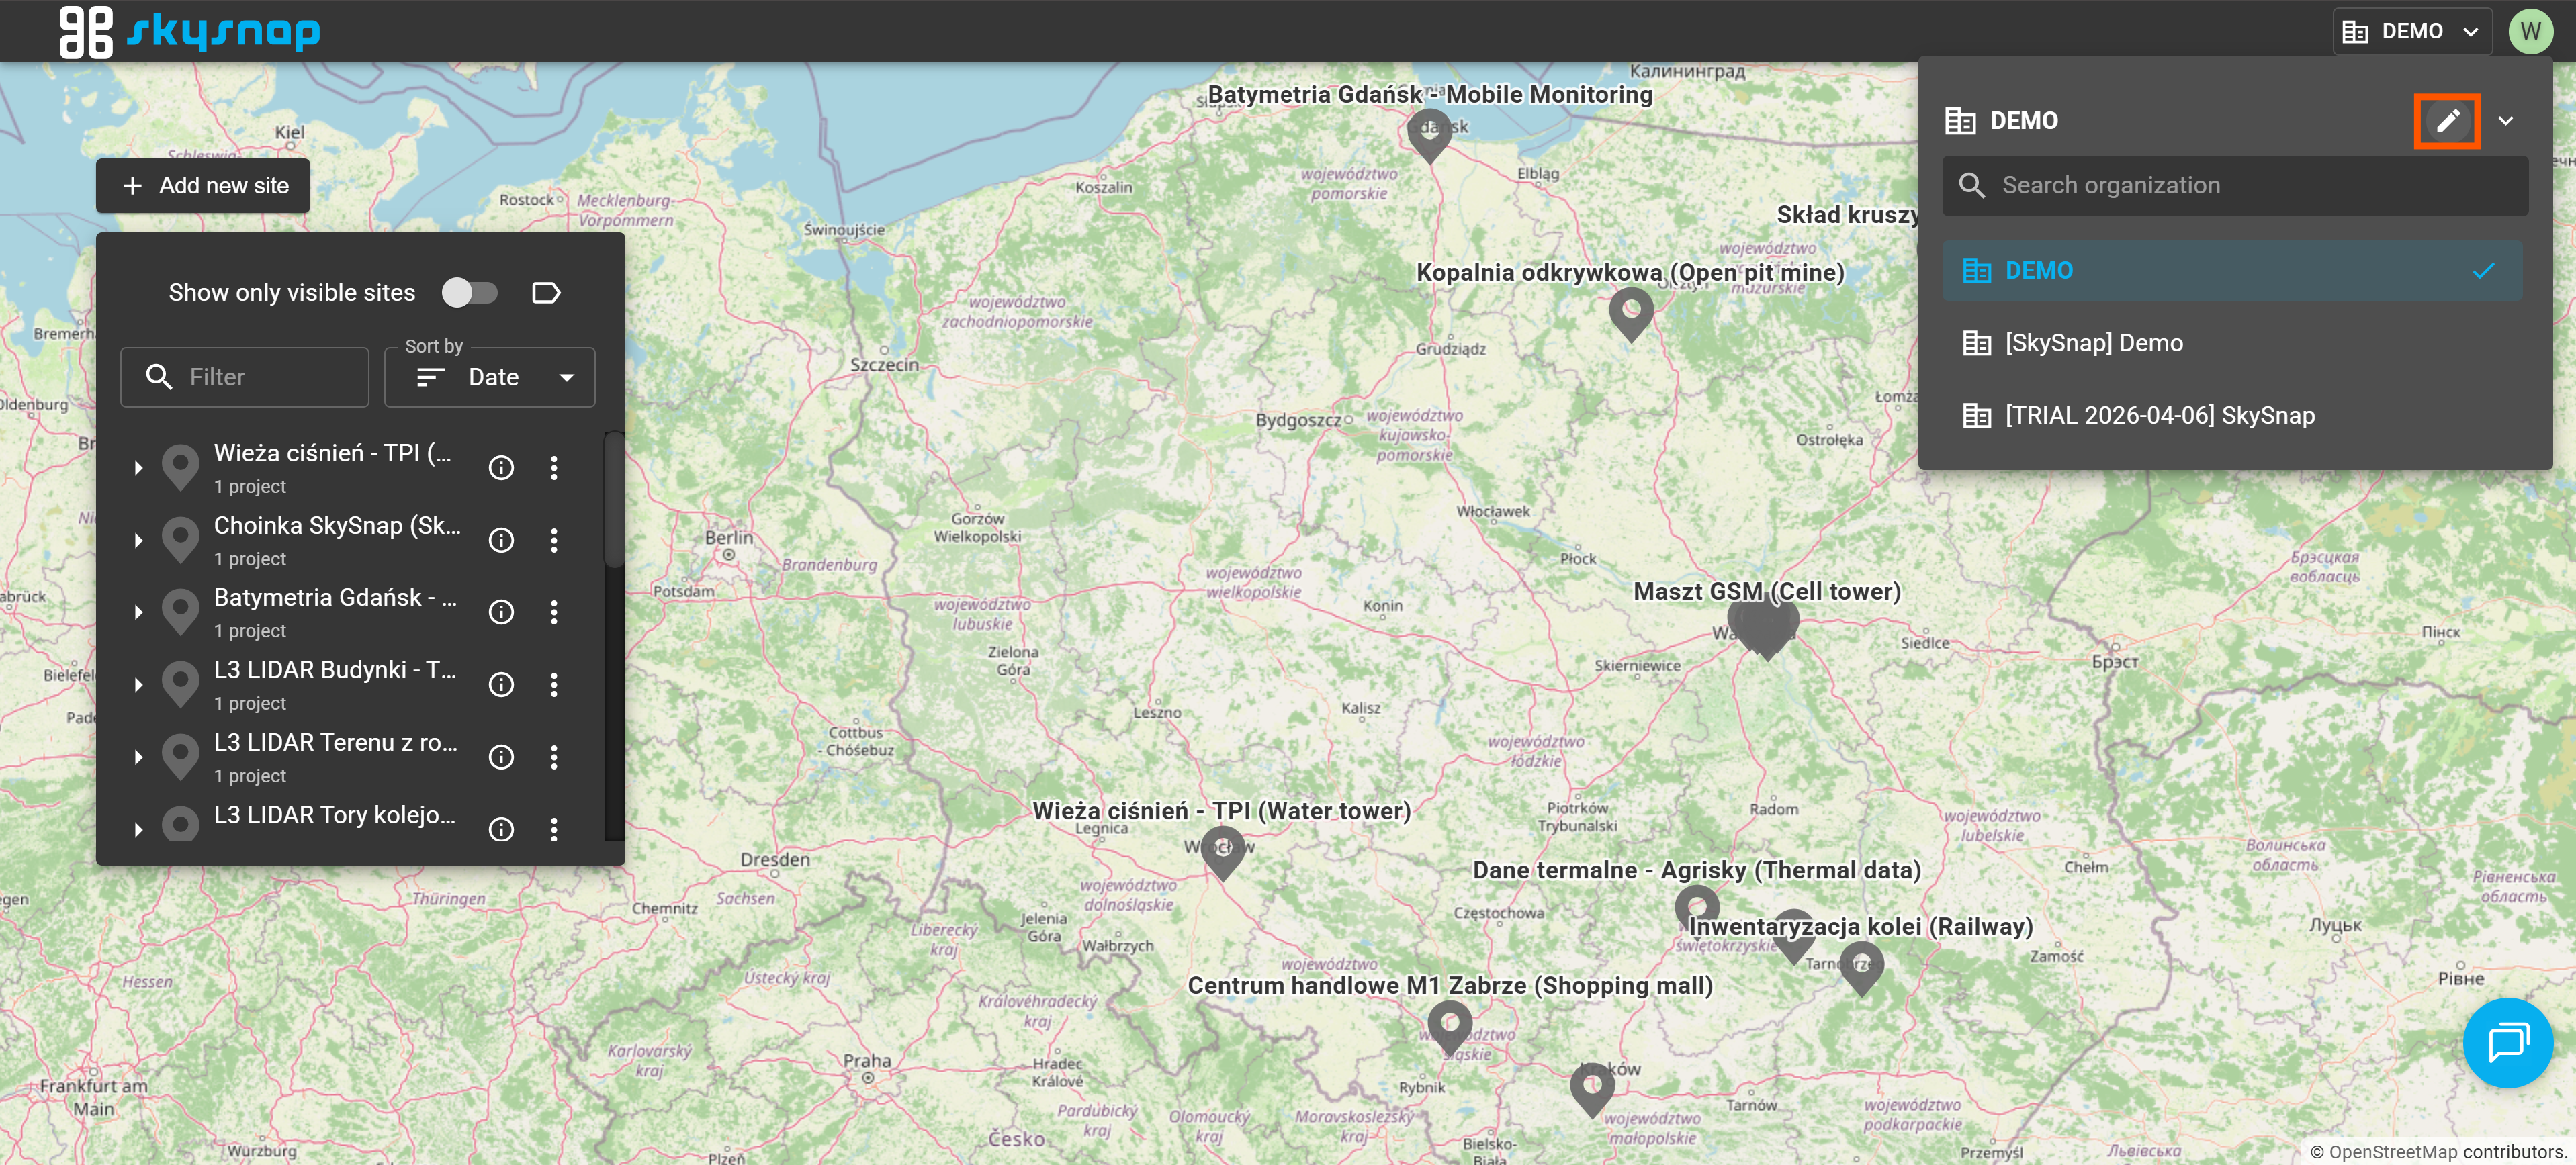
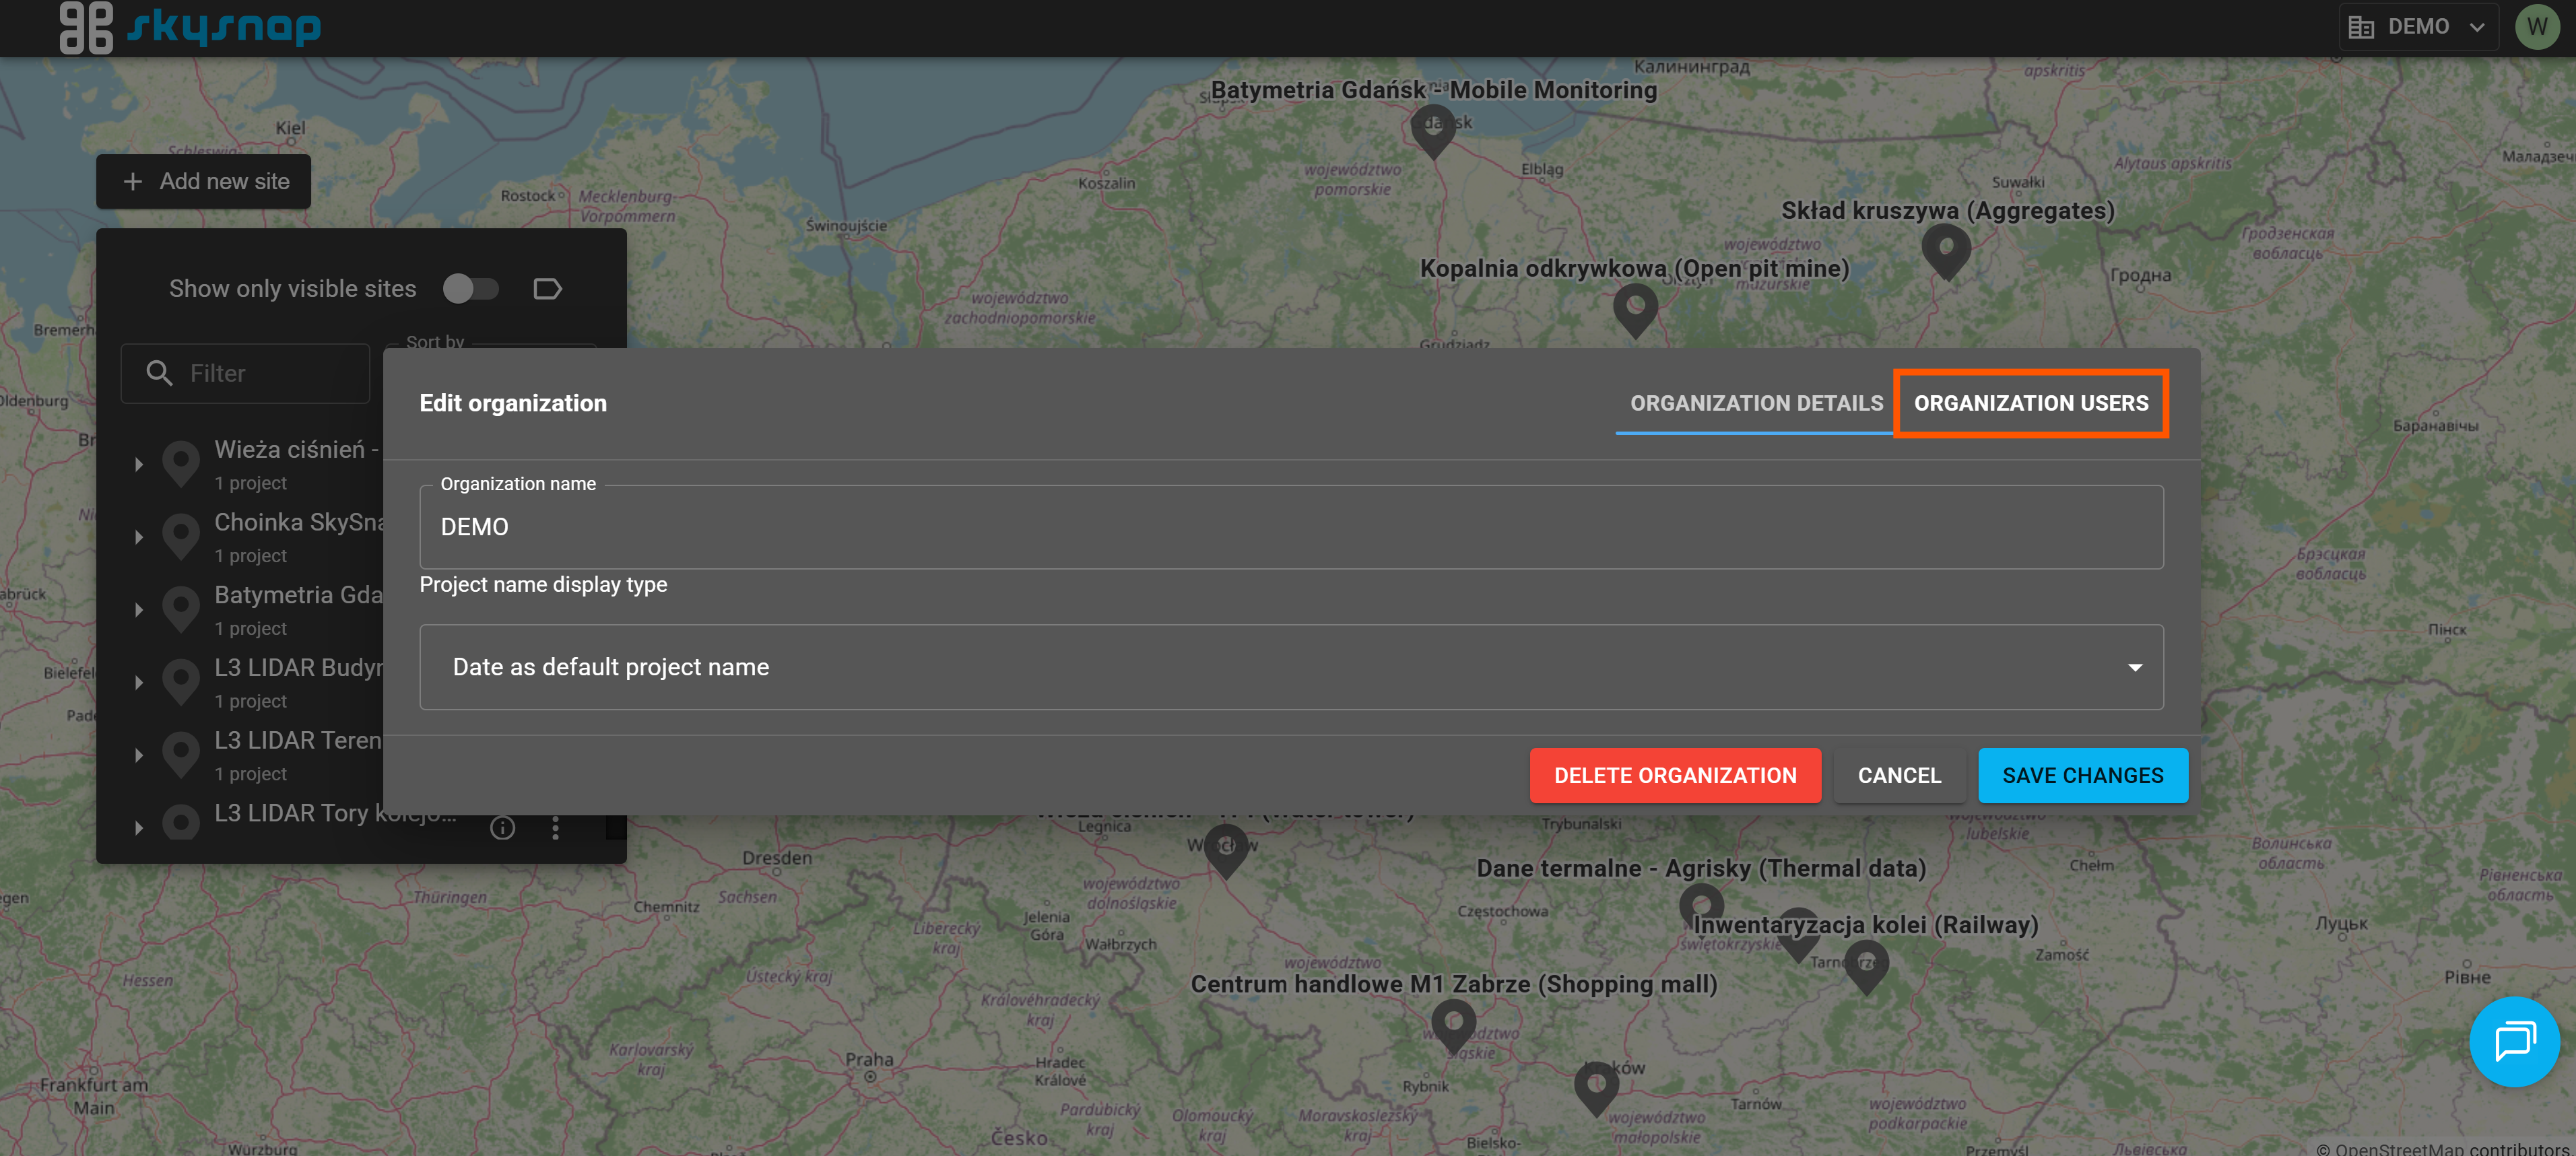
3. Edit the organization's name in the newly displayed panel.

4. Confirm your changes by clicking the "Save changes" button.
Managing organization users
1. Open the "Edit organization" panel by following steps 1-2 from the "Editing an organization" section.
2. Go to the "Organization users" tab.
3. Add a user/users to the organization. 
Type in the email address and then select the new organization user's role from the drop-down list. Next, click the "Add user" button. The new user's details will appear in the "Organization users" panel.
TIP: If you are unsure about the permissions assigned to each user role, please read the article describing user roles in the SkySnap portal.
4. Confirm your changes by clicking the "Save changes" button.