
Once you have created a site (location), you can proceed to create a project.
PROJECT – stores data for a specific investment (location). By assigning a date to it, chronological continuity is maintained in data management.
Follow the steps below to add a new project to your selected investment.
Steps to create a site
1. Click the three-dots icon next to the site (location) to which you want to add a project. This will open a window that allows you to manage the selected investment. 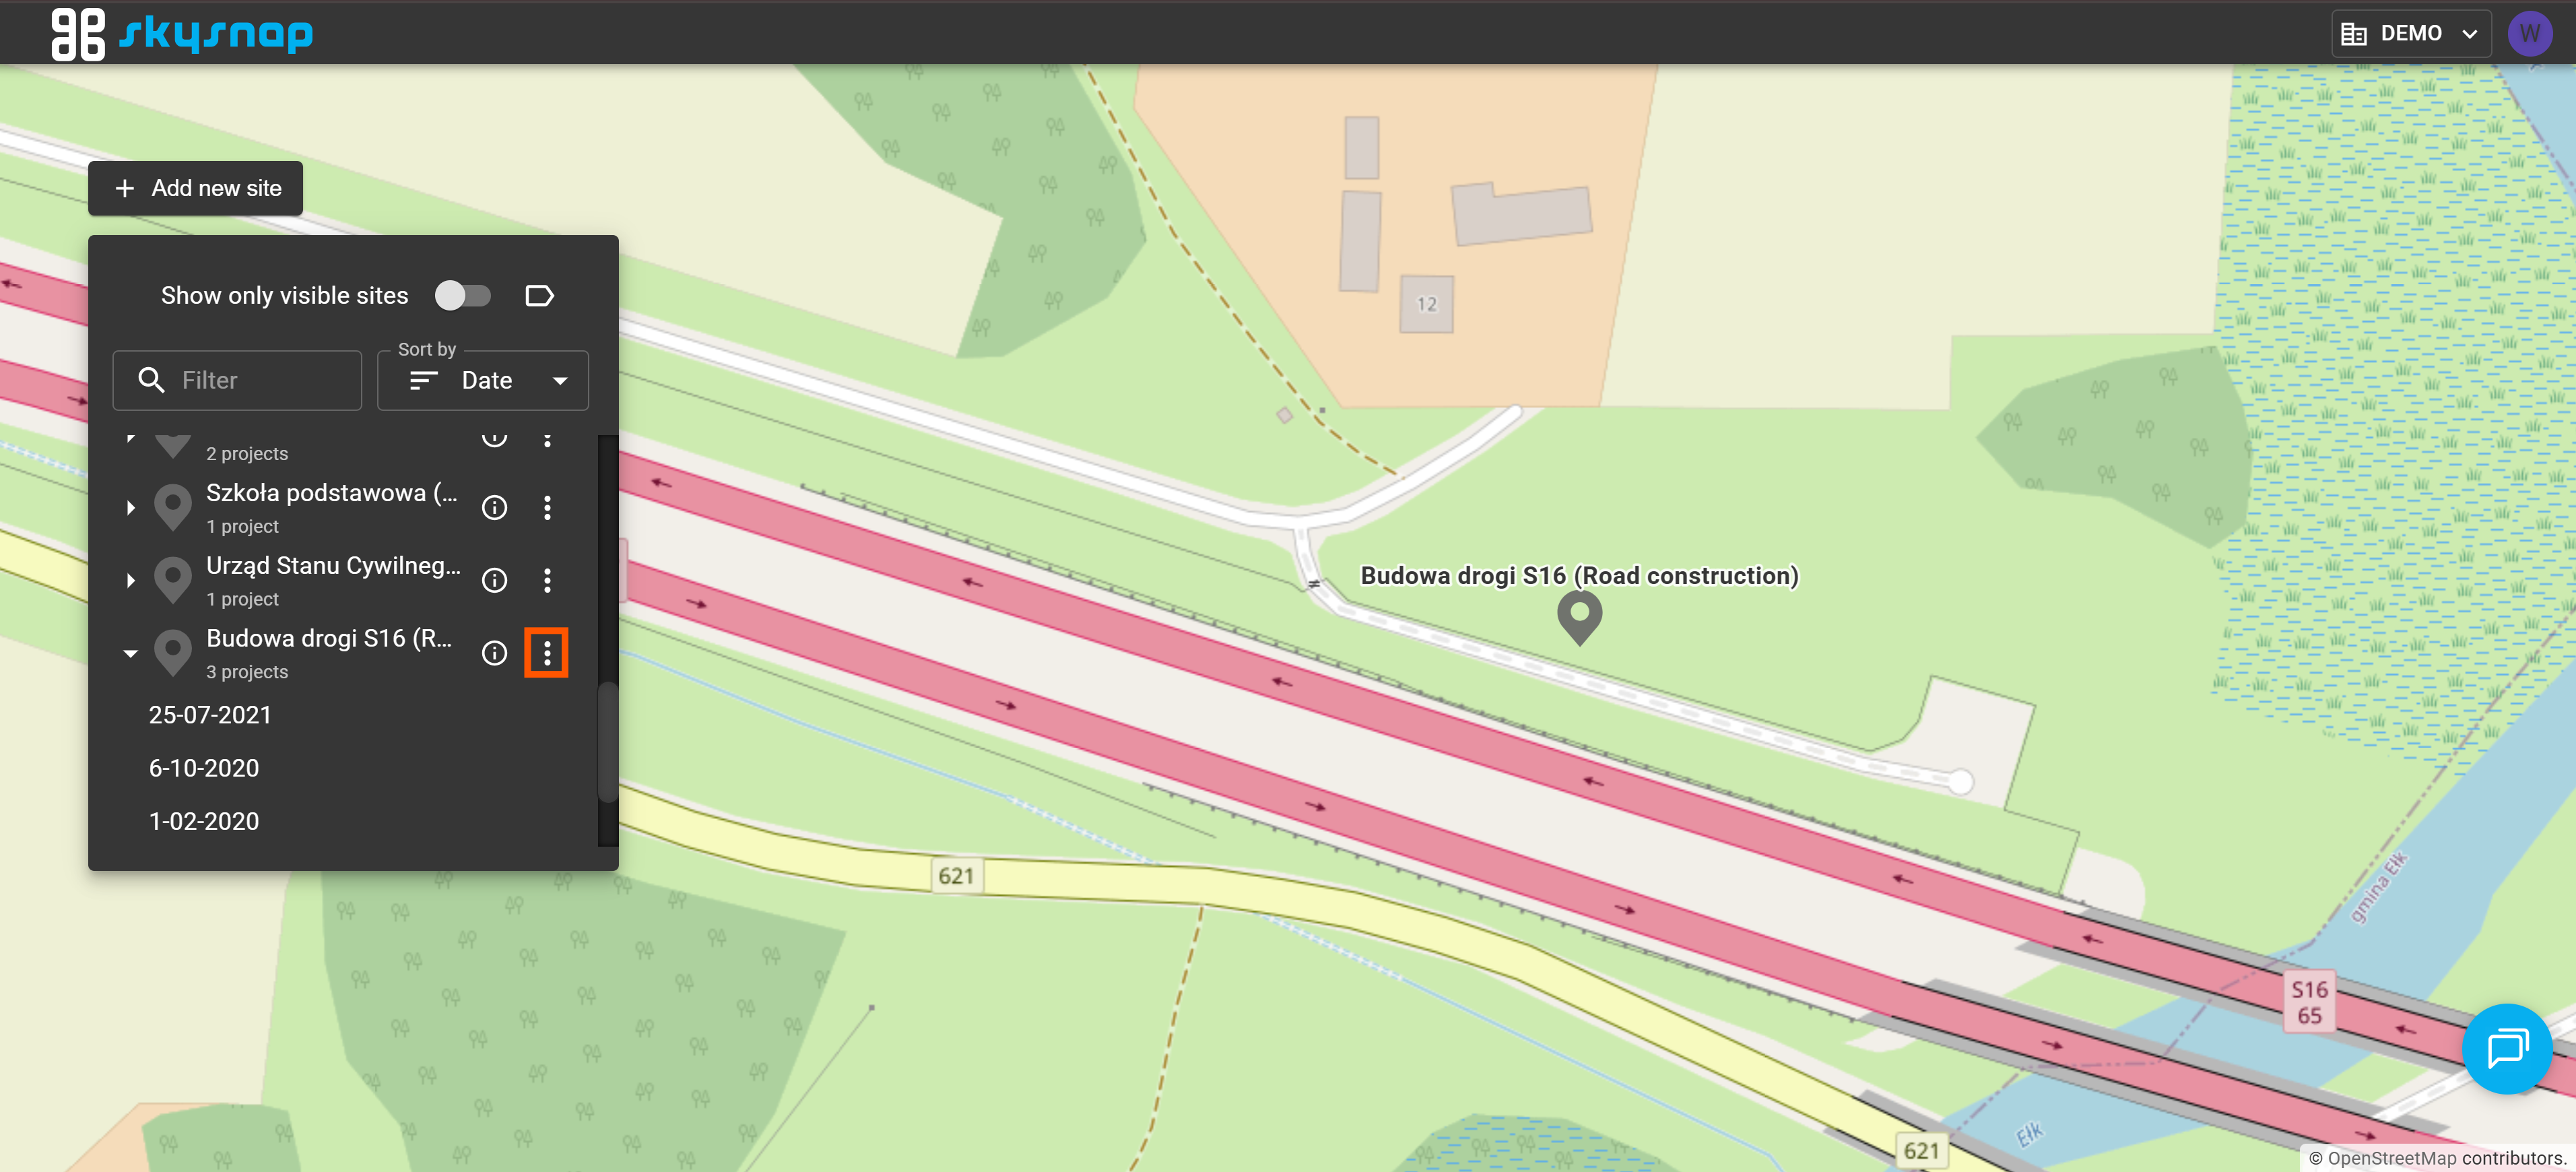
This will open a window that allows you to manage the selected site.
2. Select the "Add new project" button. 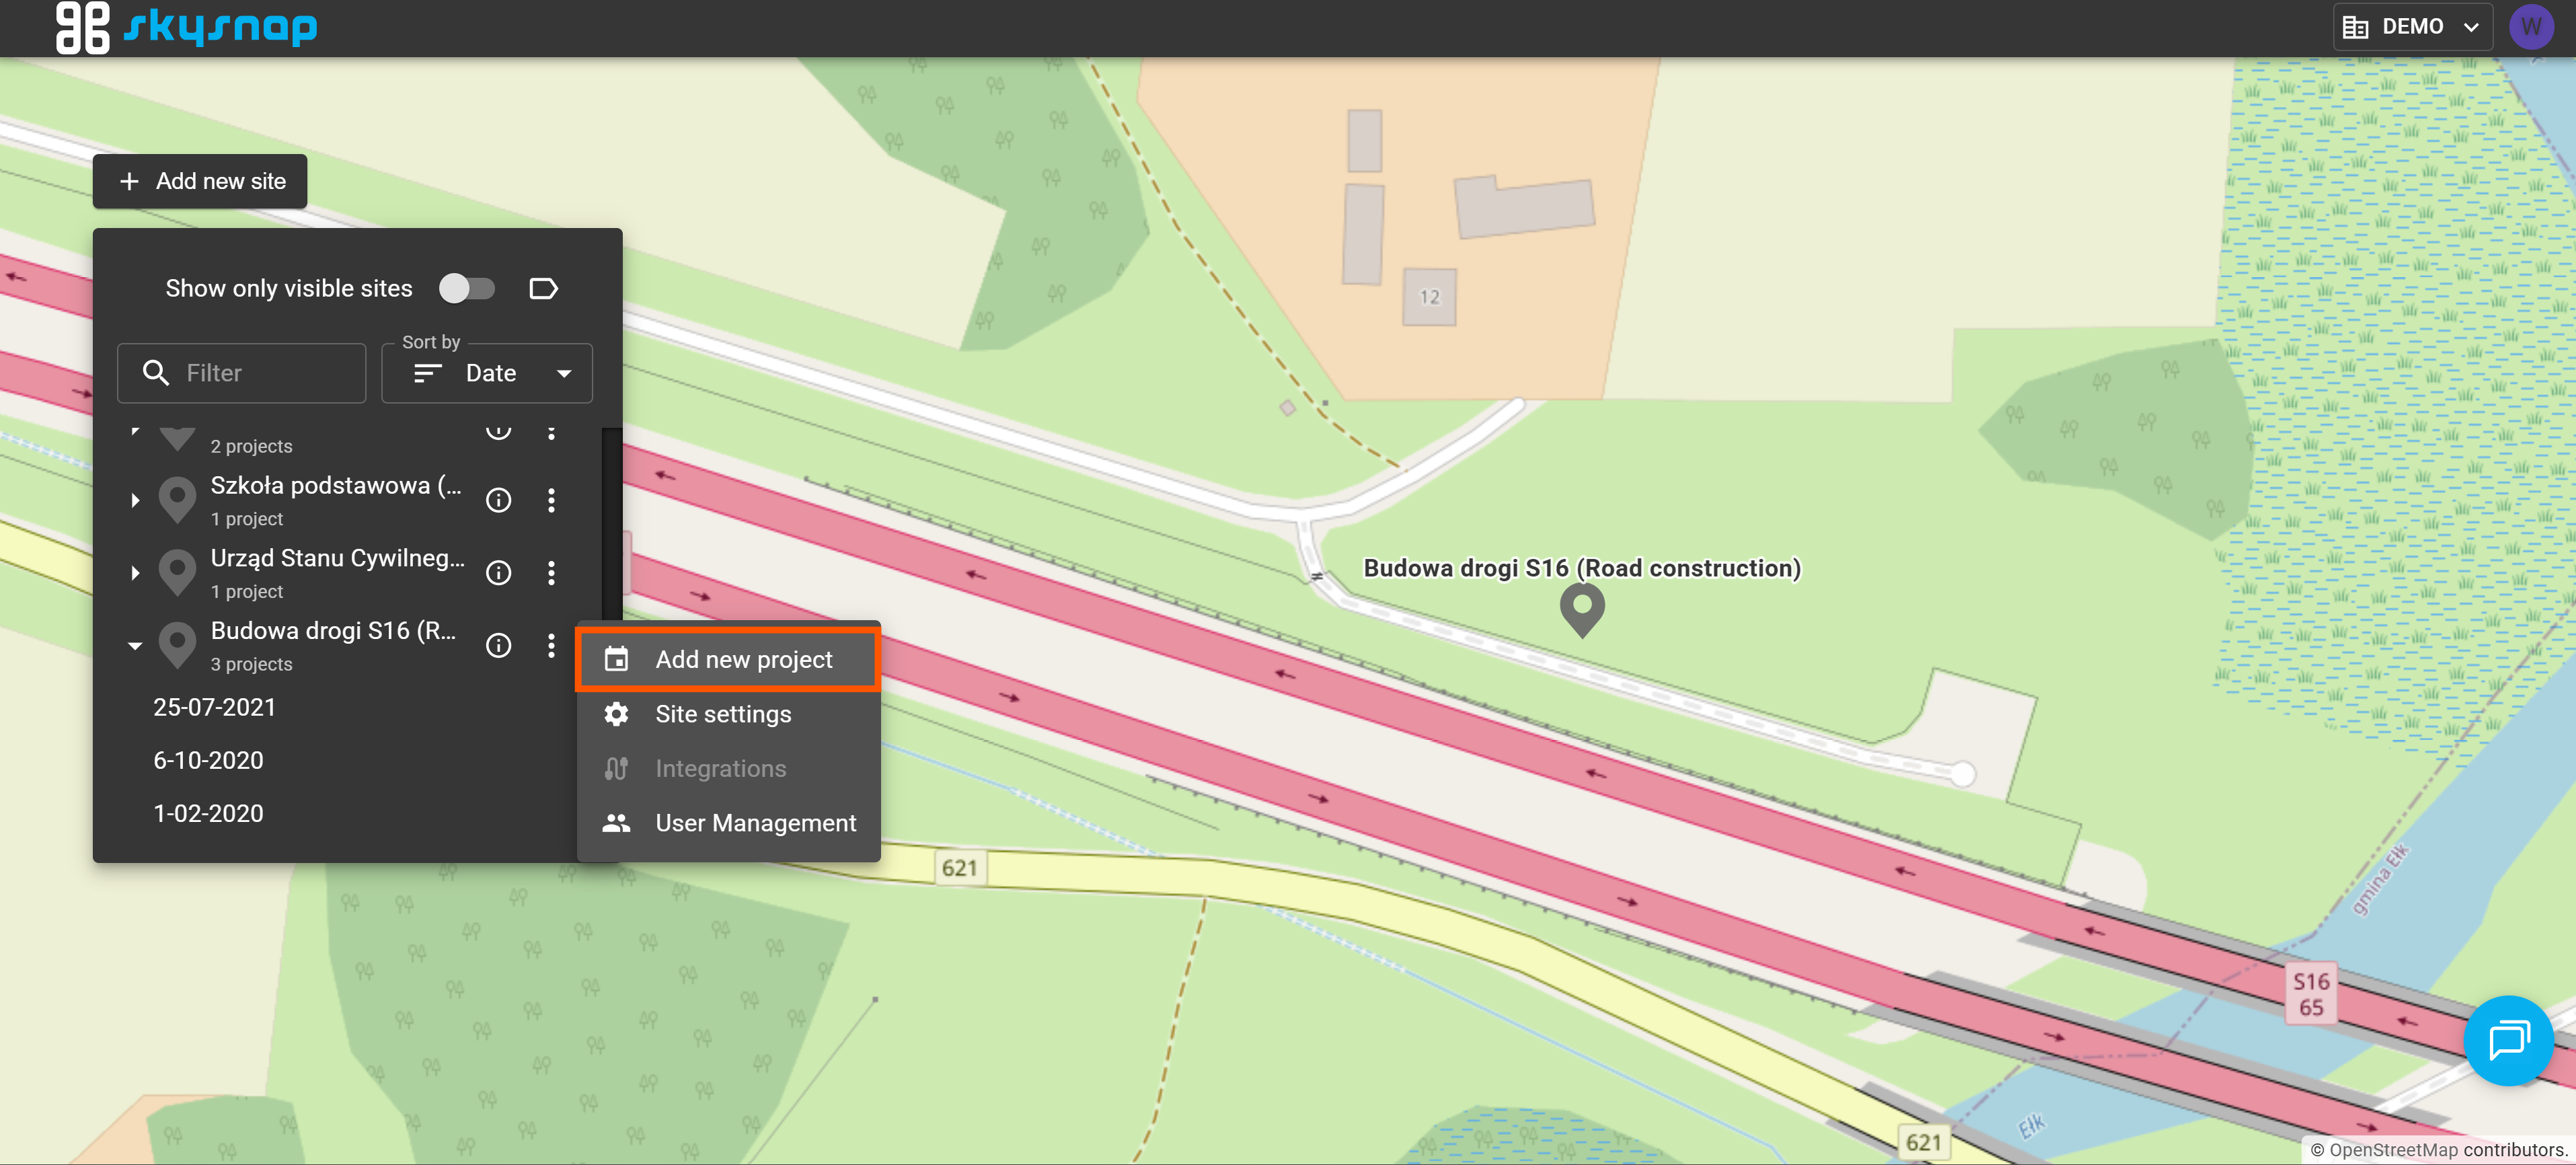
3. Enter the project date and its name.  Entering a project name is optional.
ATTENTION: The project name must contain a minimum of 4 characters.
TIP: We recommend using the data acquisition date as the project date. This will make it easier to compare site (location) information across different time periods later on, but it will also maintain chronological continuity, as projects are organized on the timeline according to this exact date.
4. Click the "Create project" button. 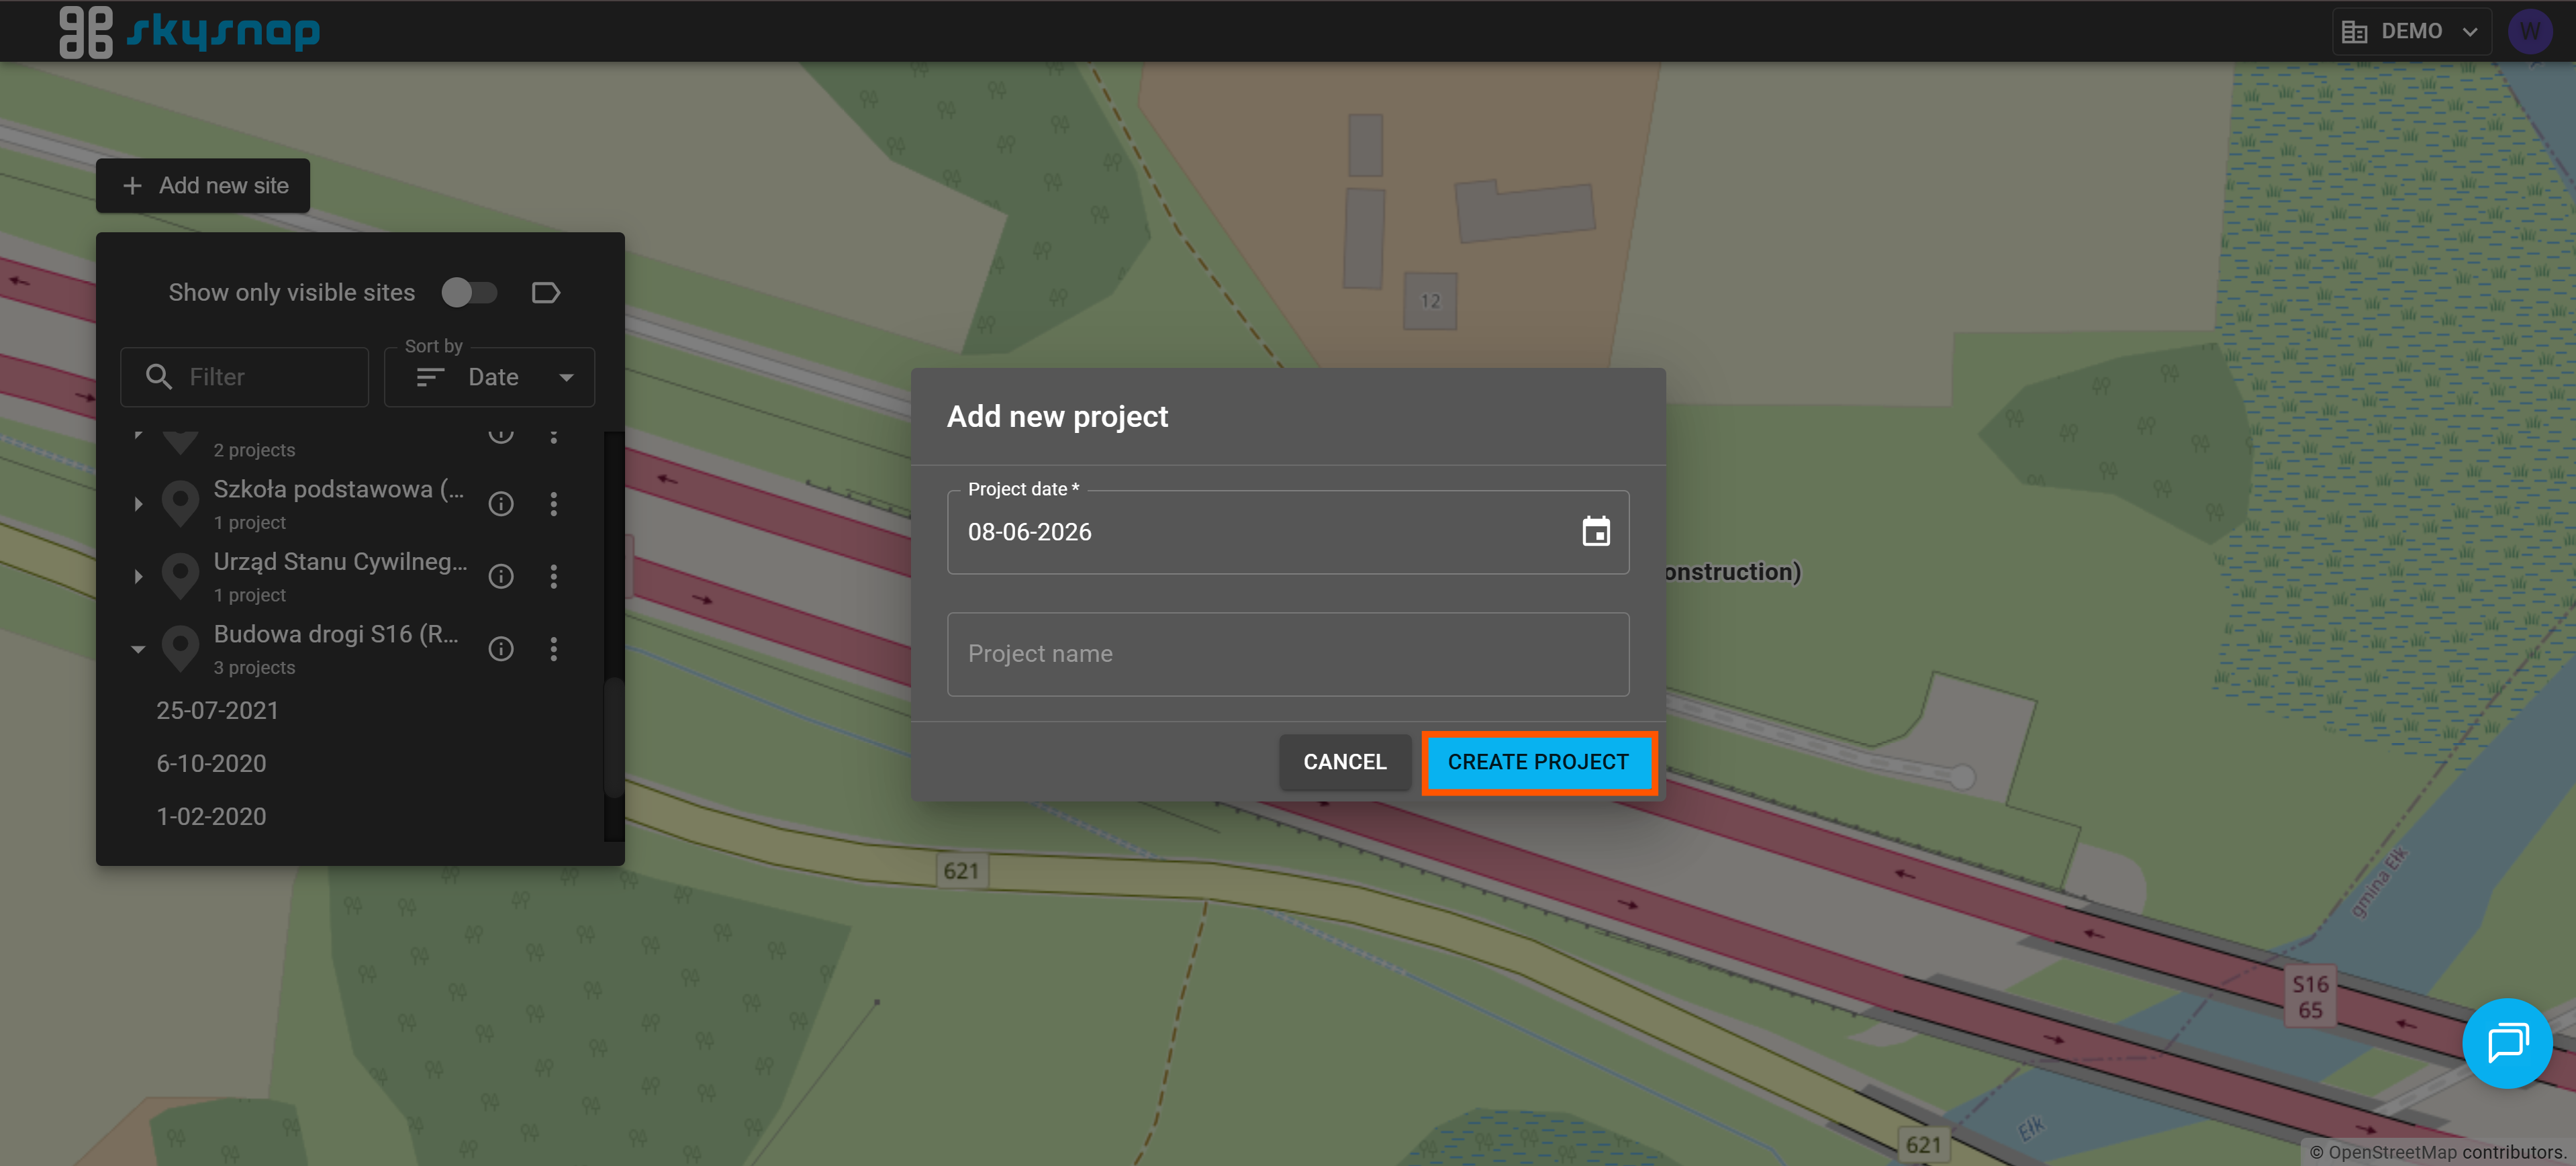
You have just completed another stage of setting up the basic data management structures on the portal. Once the project is created, you can start uploading and managing your data.