Table of contents:
Steps for determining the tower zero point
Introduction
NOTE: Automatic determination of the height zero point is available only for sites of the "Telecommunications" type.
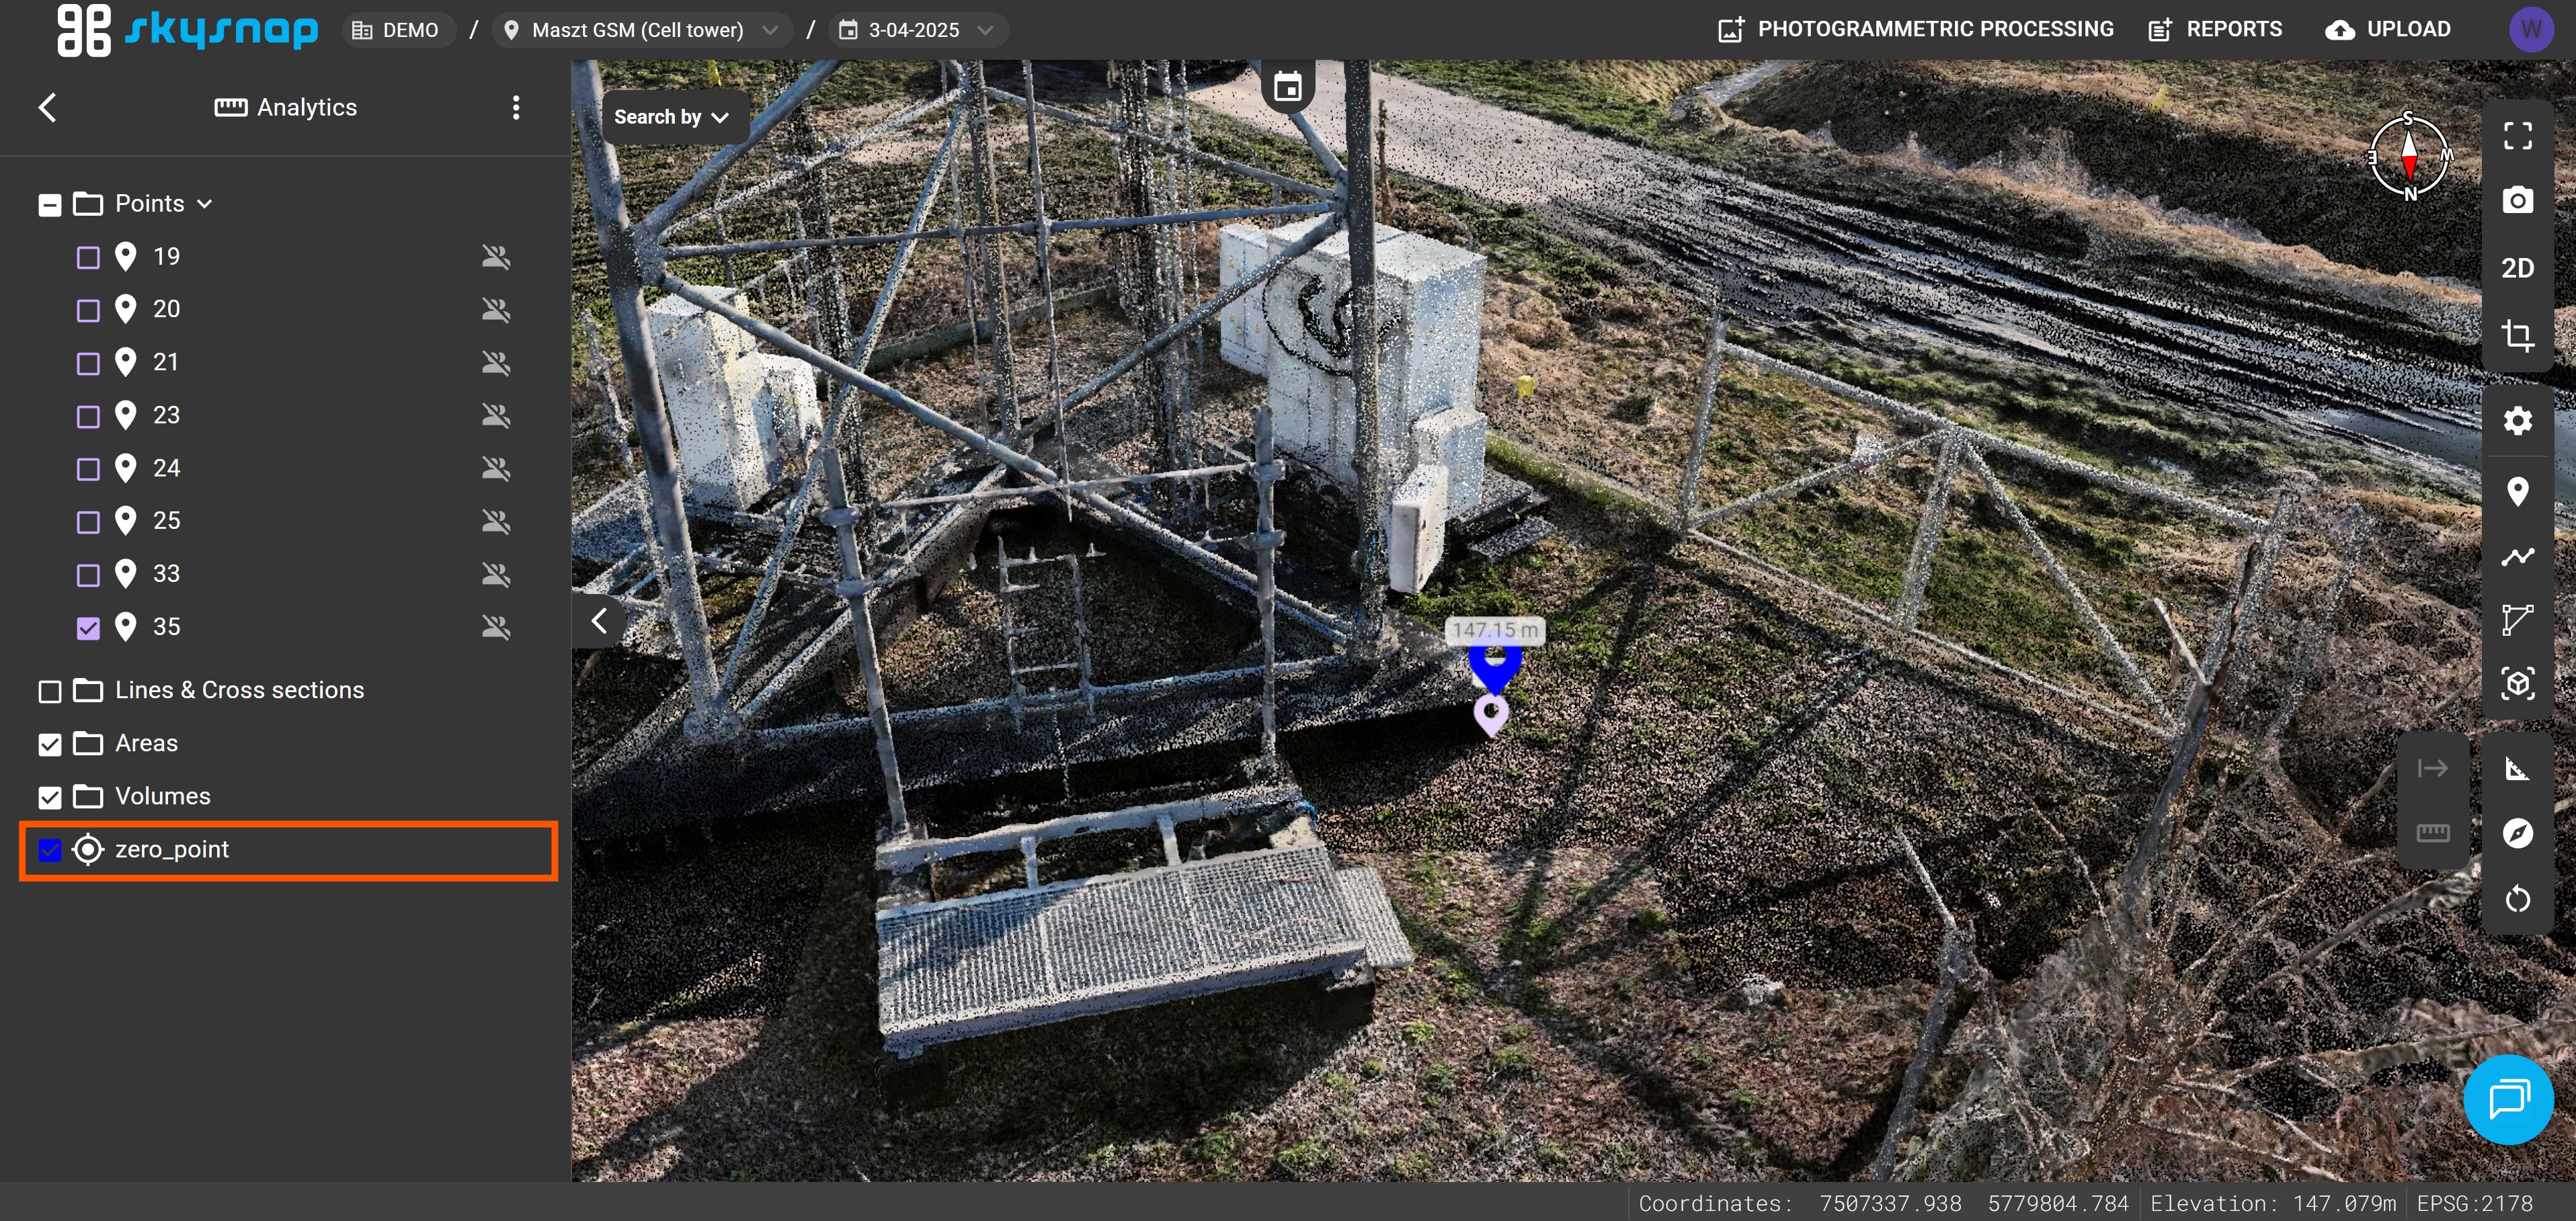
Precise analysis of a telecommunications tower's geometry requires correctly defining the zero level, that is, the actual initial height of the structure adopted by the designer. When the area containing this level is obscured on the point cloud or 3D model, indicating it directly is difficult.
The tool presented here solves this problem by using a height offset. It allows you to determine the object's actual zero point by indicating an exposed base point and entering a known vertical offset value.
The vertical offset is the height difference between the indicated base point and the object's actual height zero point. You can determine its value based on, among other things, analysis of the tower's design documentation, sketches, or field measurements.
WARNING: Only one height zero point can be created within a single project. Once it has been created, the automation tile becomes grayed out, and running the function again is not possible. To determine the height zero point again, first delete the point containing this information that is already assigned to the project.
TIP: The functionality described can be found in the Automations panel in the project view. It can be used only in the 3D view.
Steps for determining the tower zero point
1. Using the Add point tool, place a pin on a point whose distance to the base of the tower you know. It will serve as the reference point.
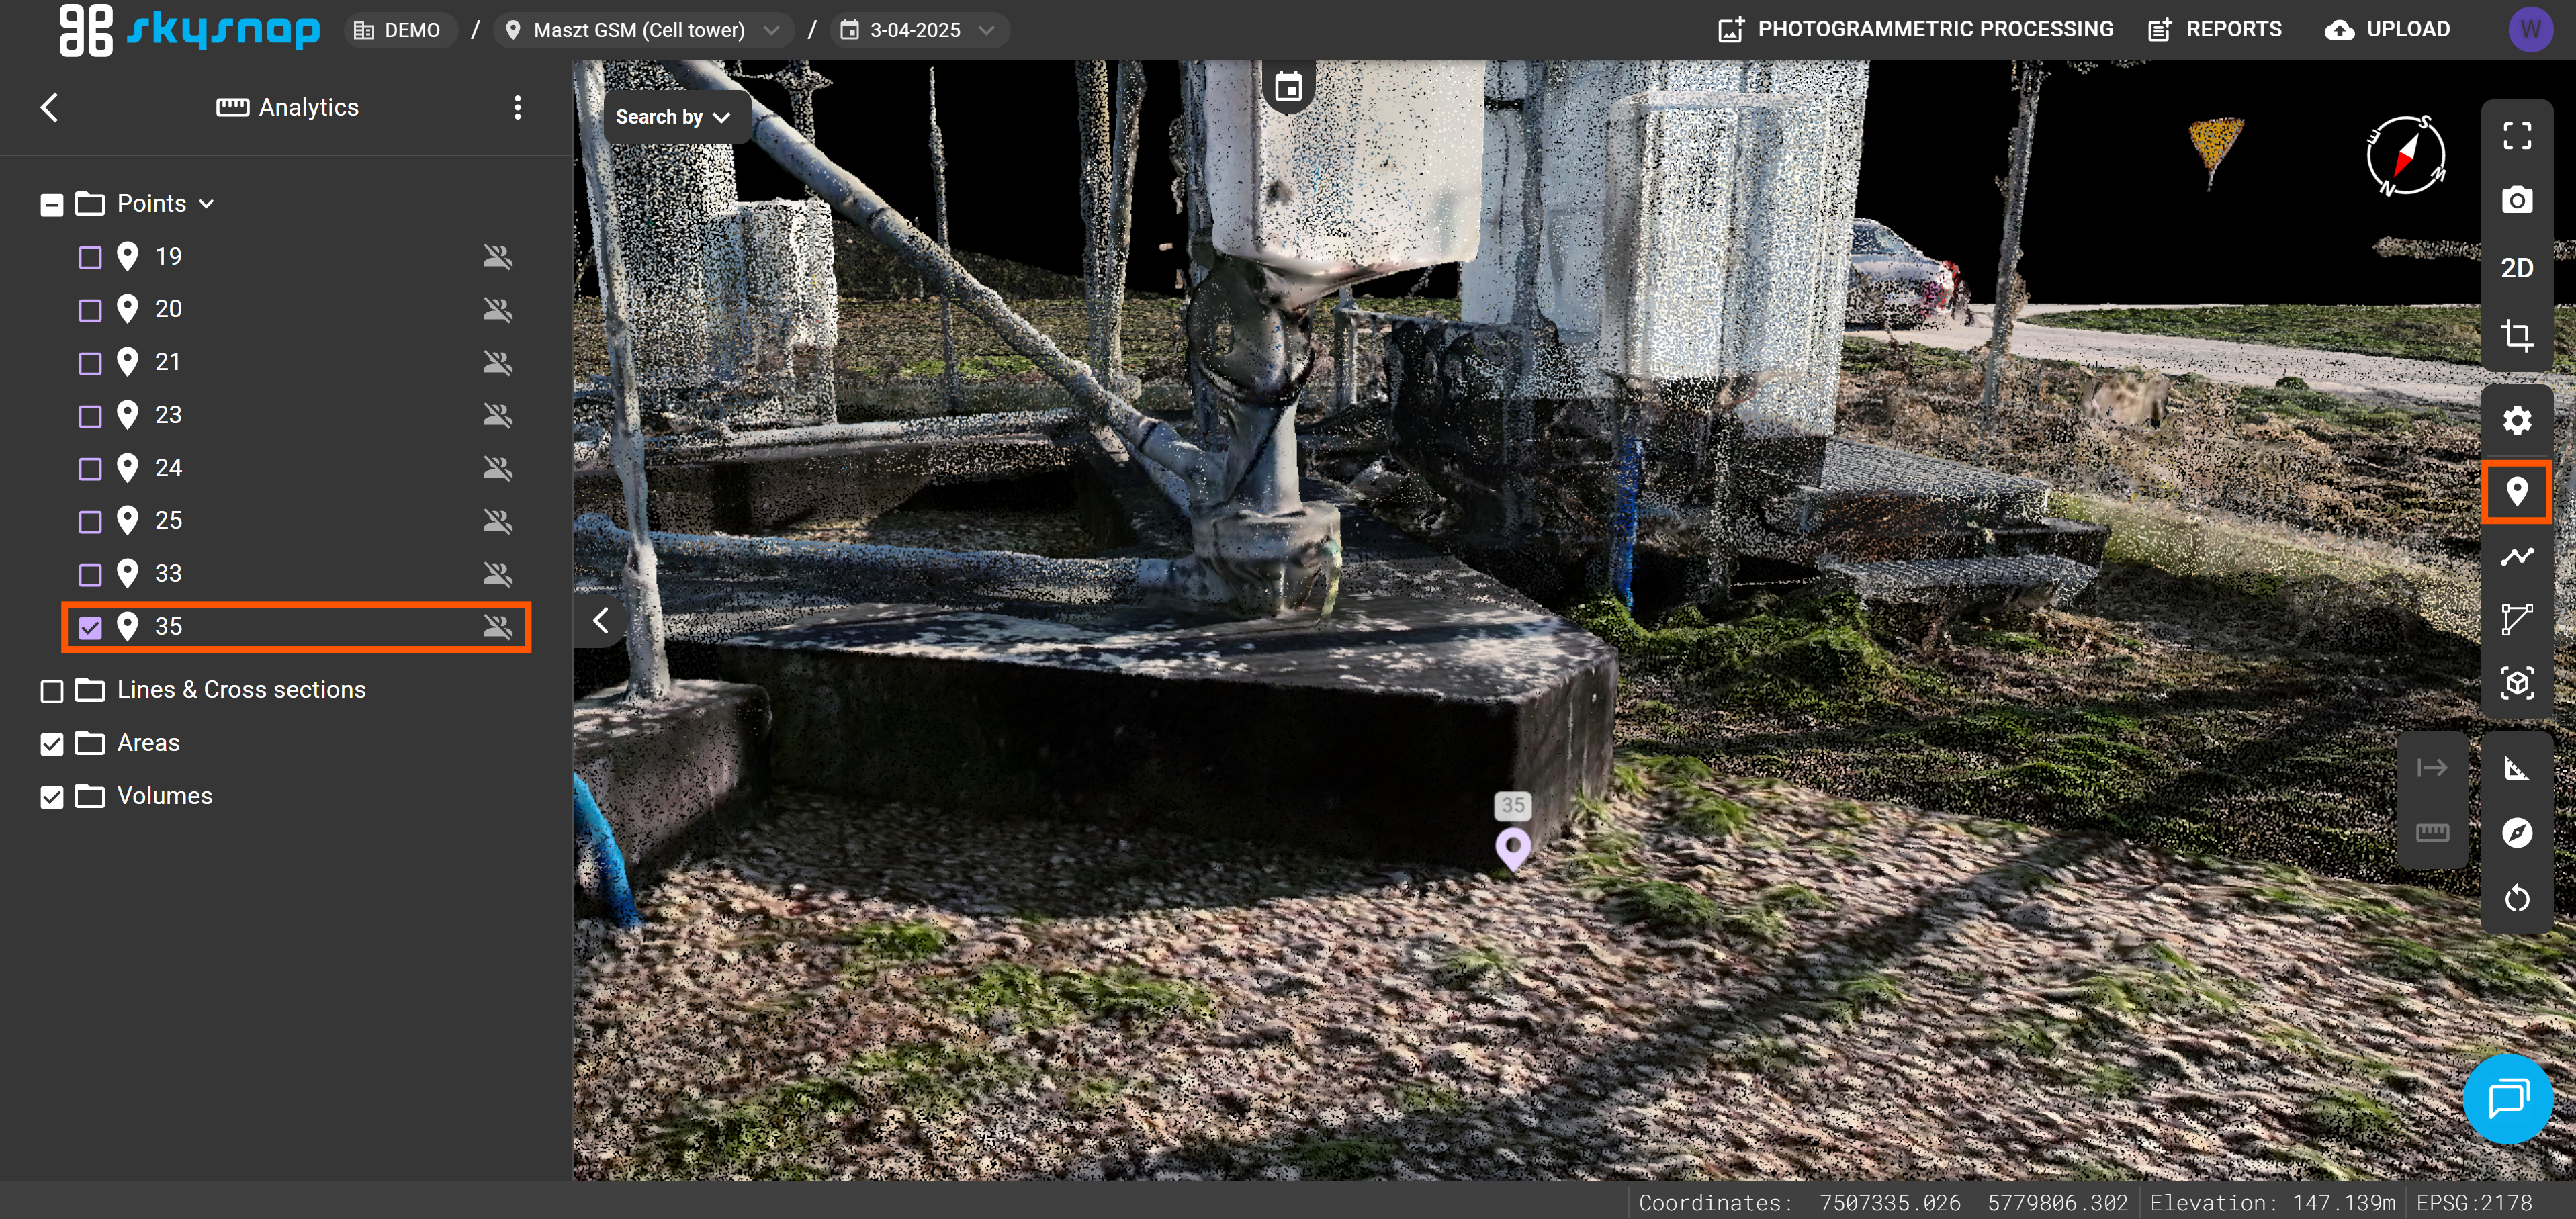
The selected point must be a clearly visible, stable element of the structure.
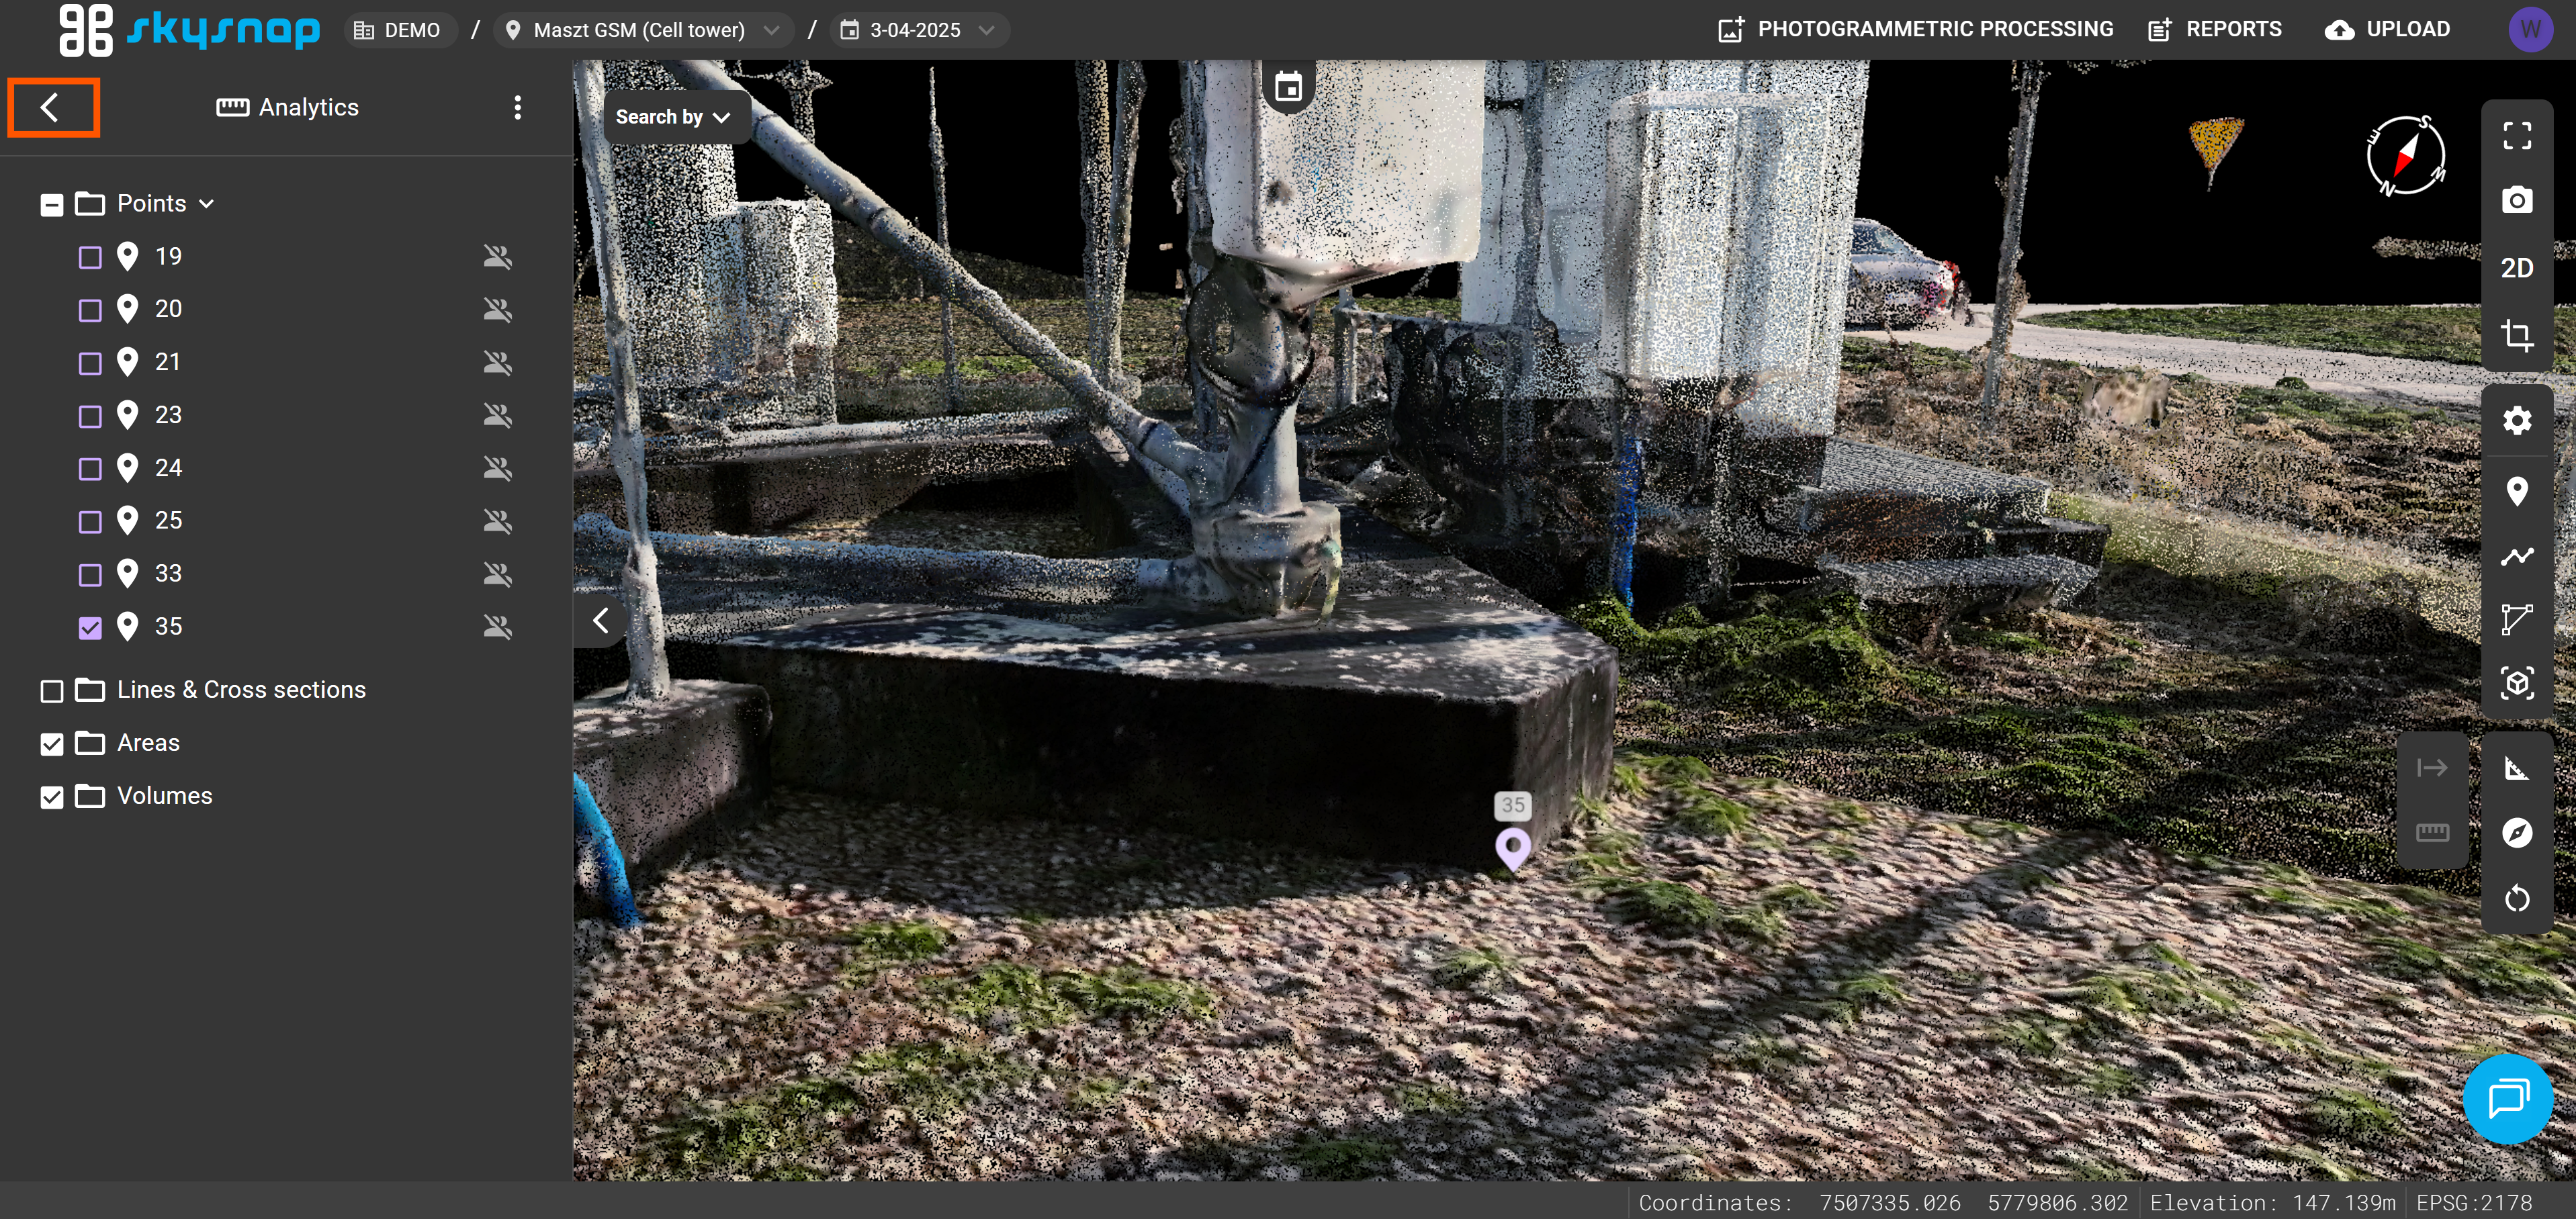
2. Go back to the main project view.
3. Select the Automations tile.
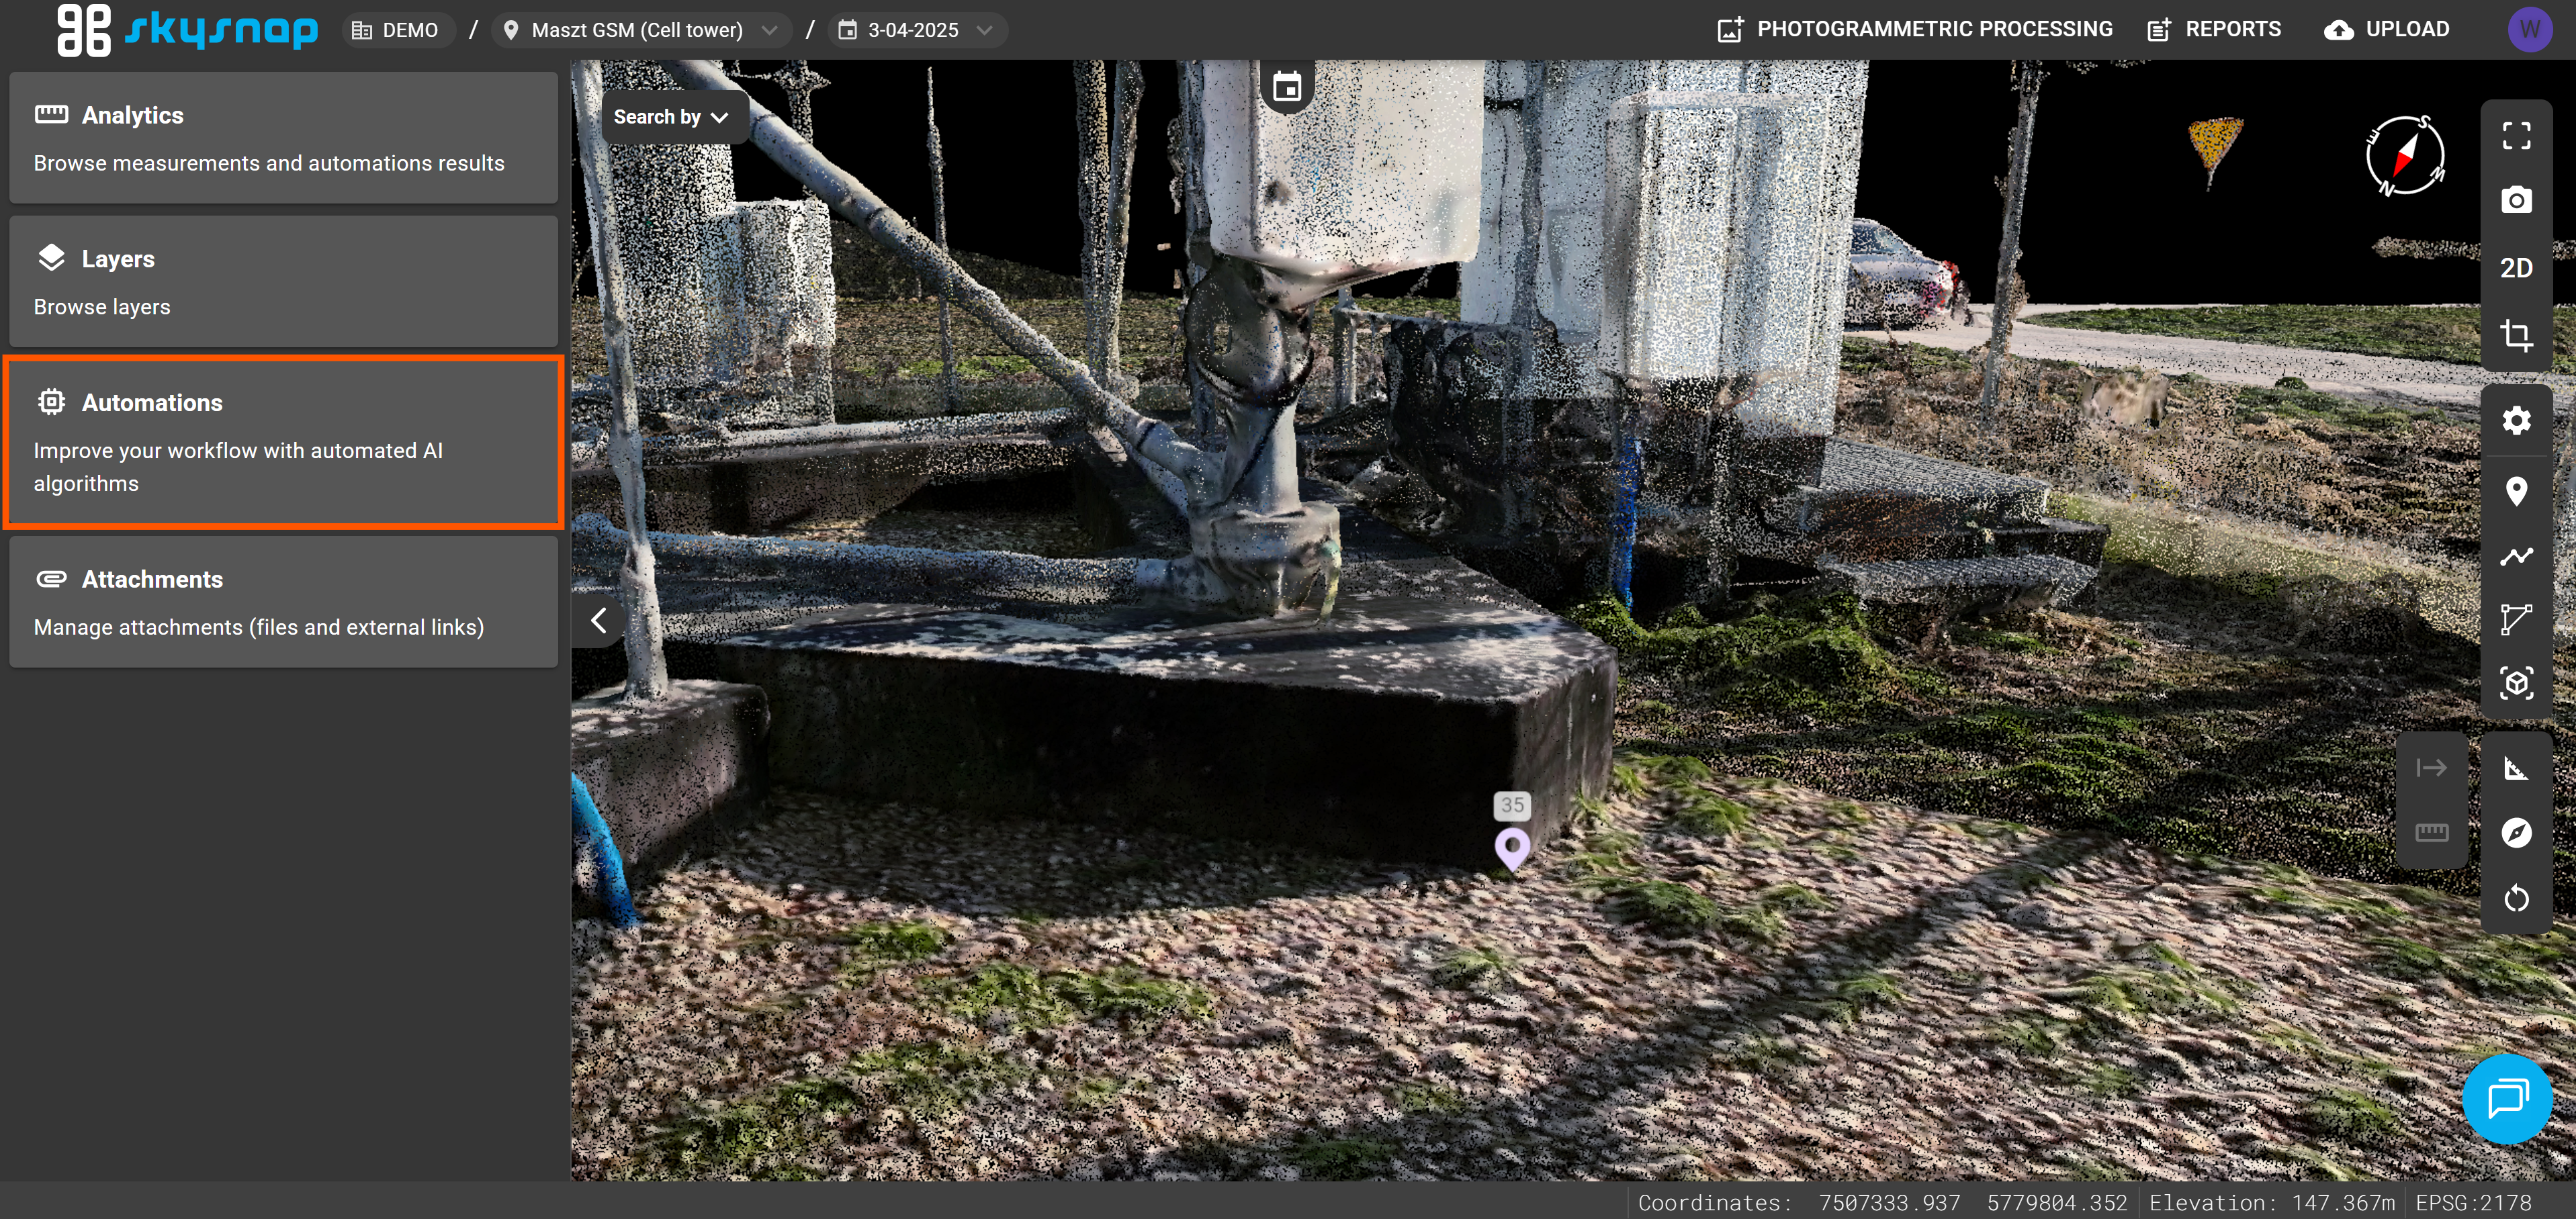
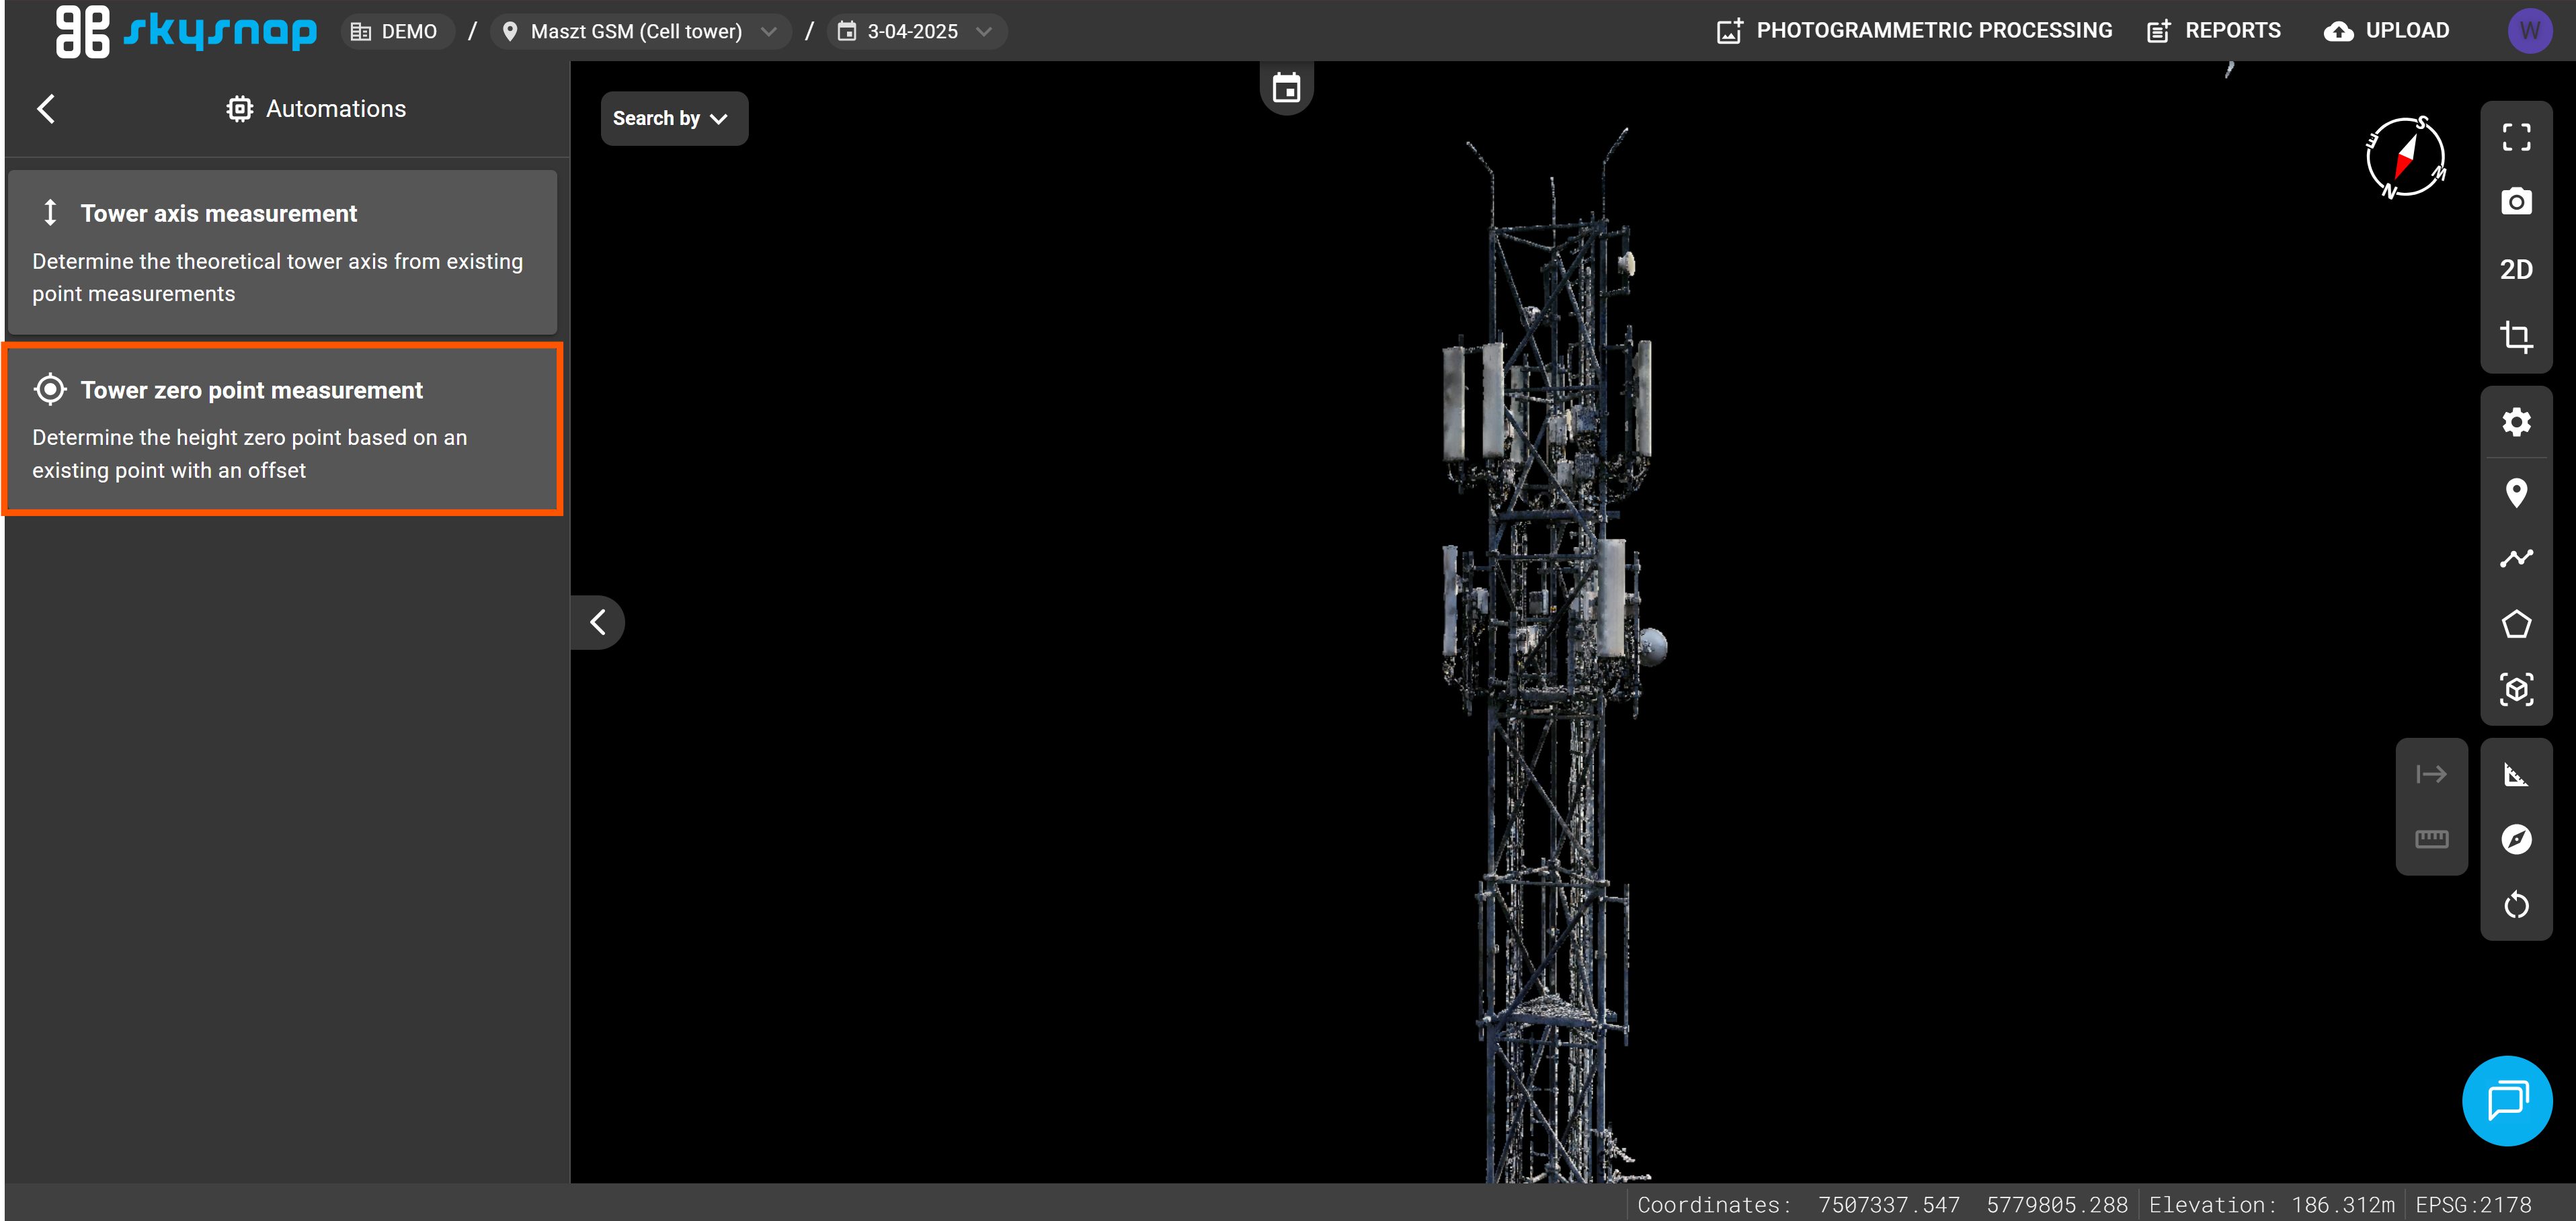
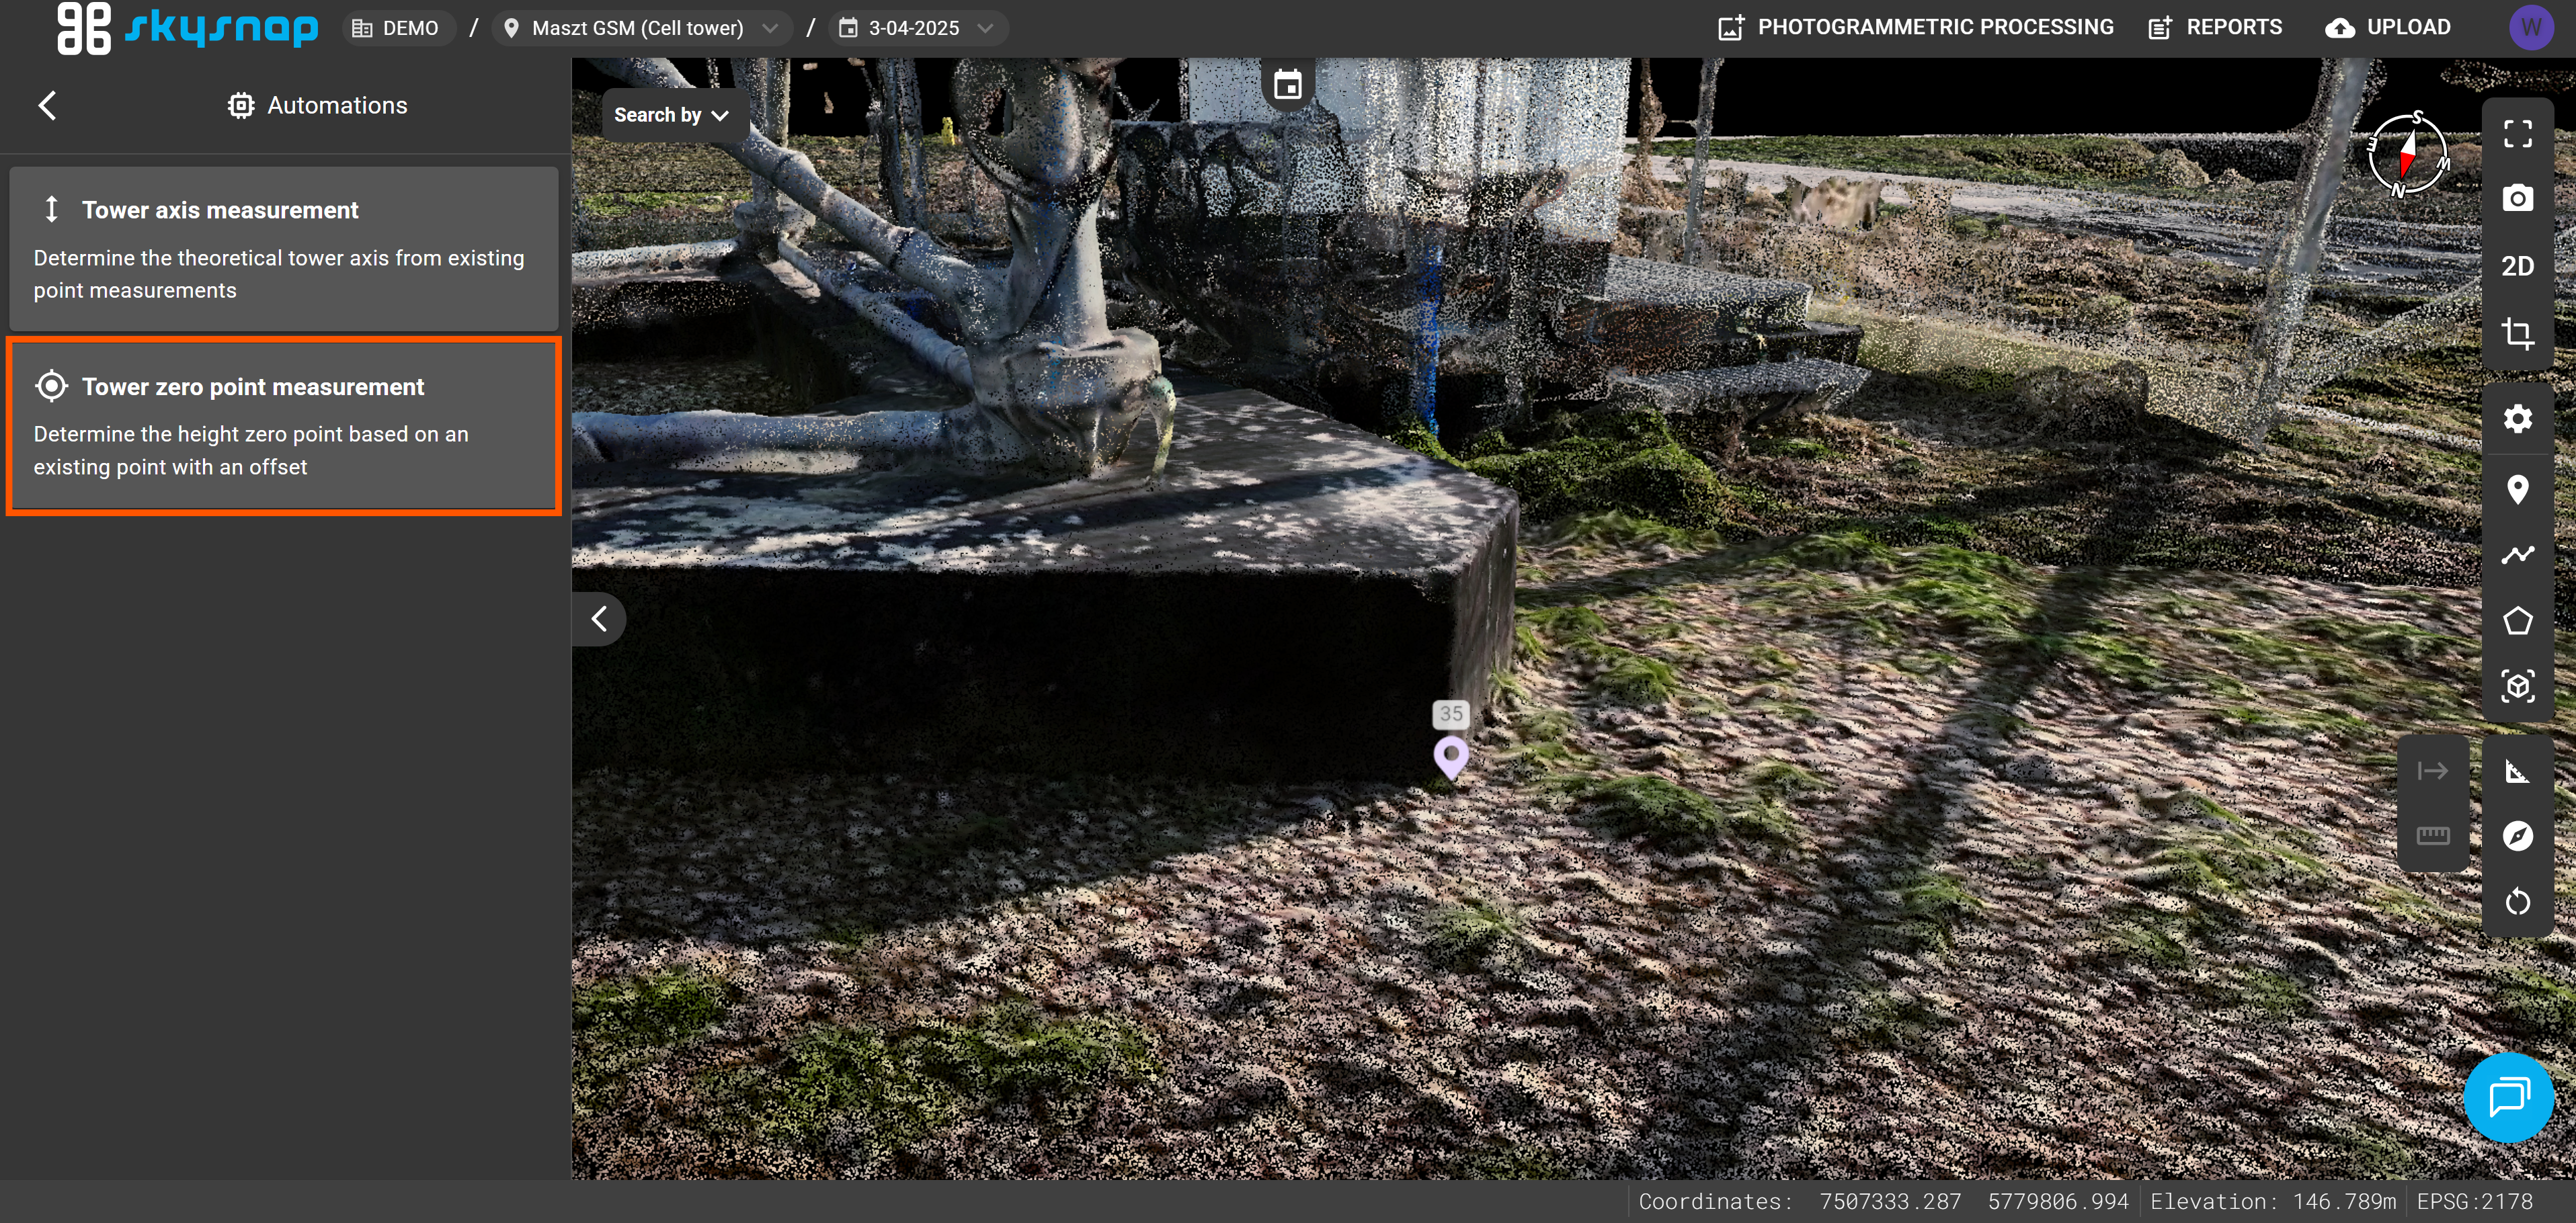
4. Select the Height zero point automation.
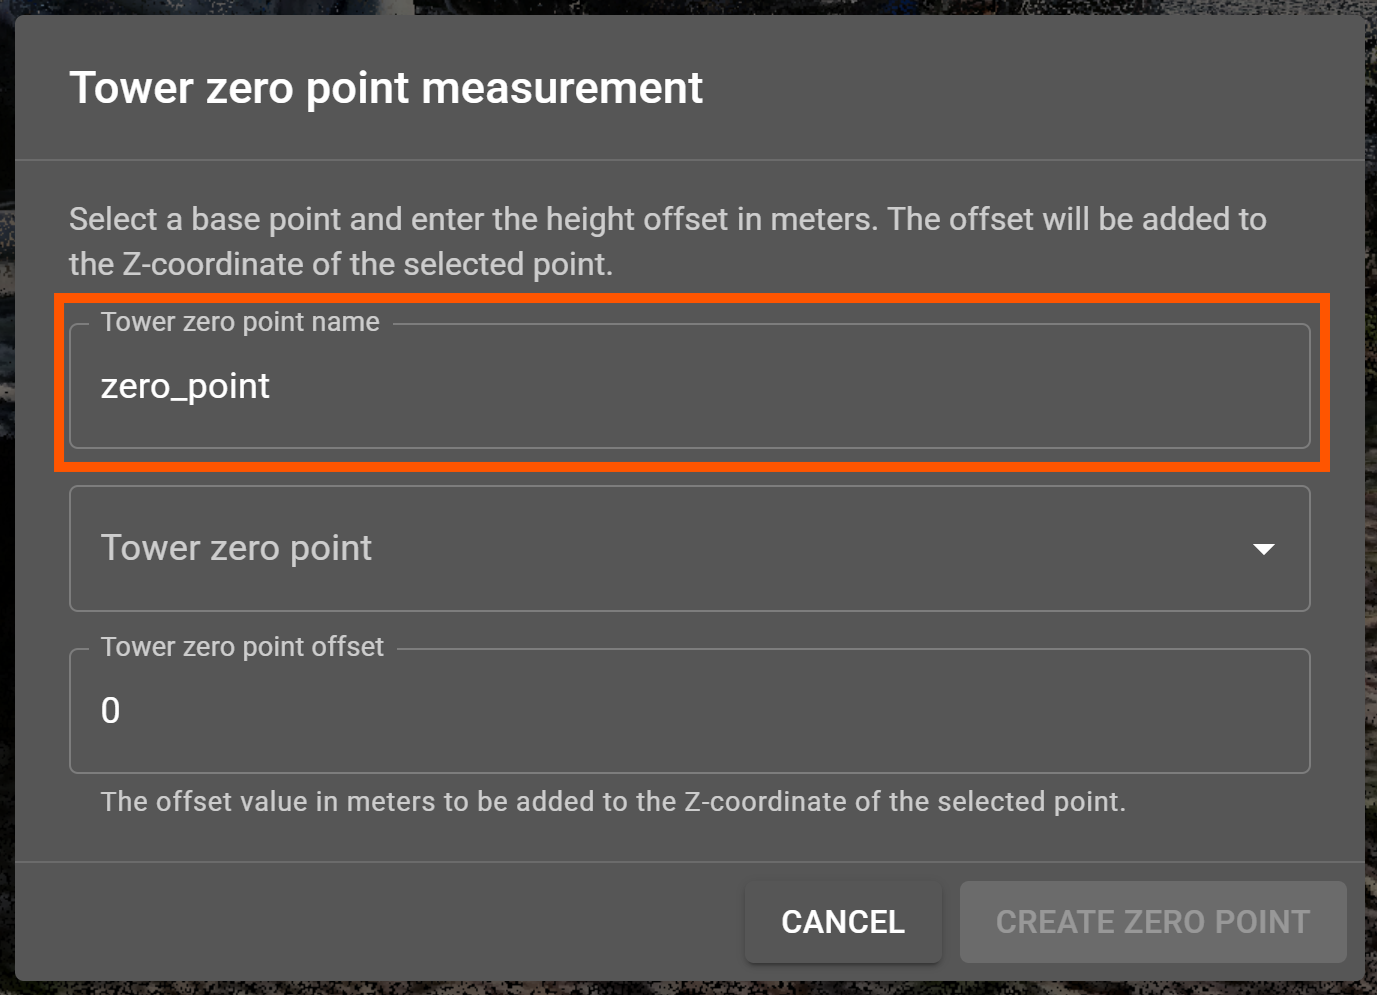
5. Enter a name for the point.
6. Select the previously added point from the drop-down list.
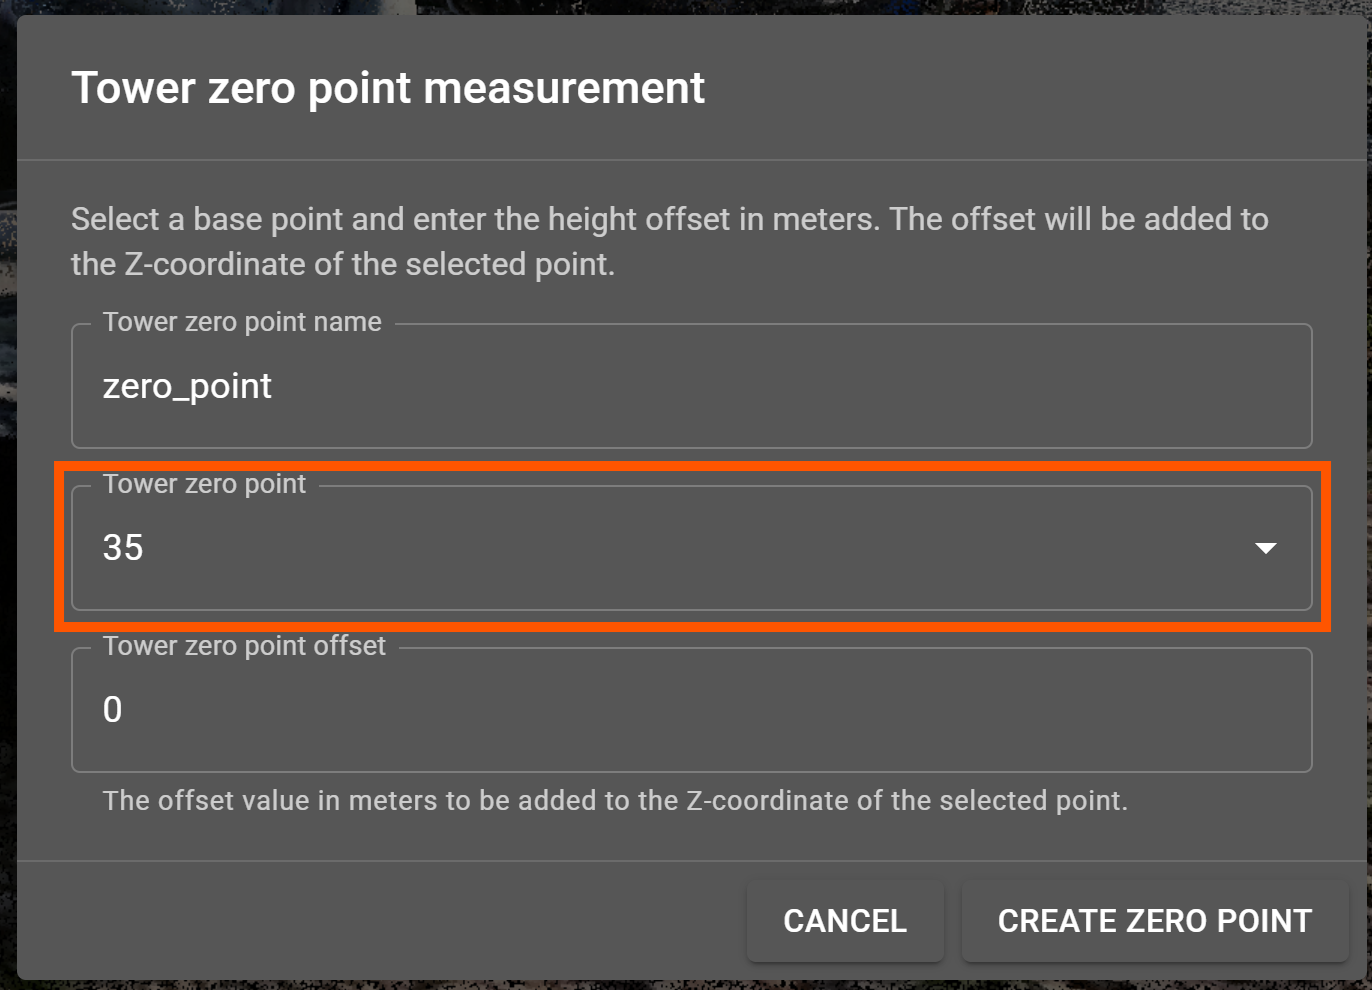
7. Enter the known offset value.
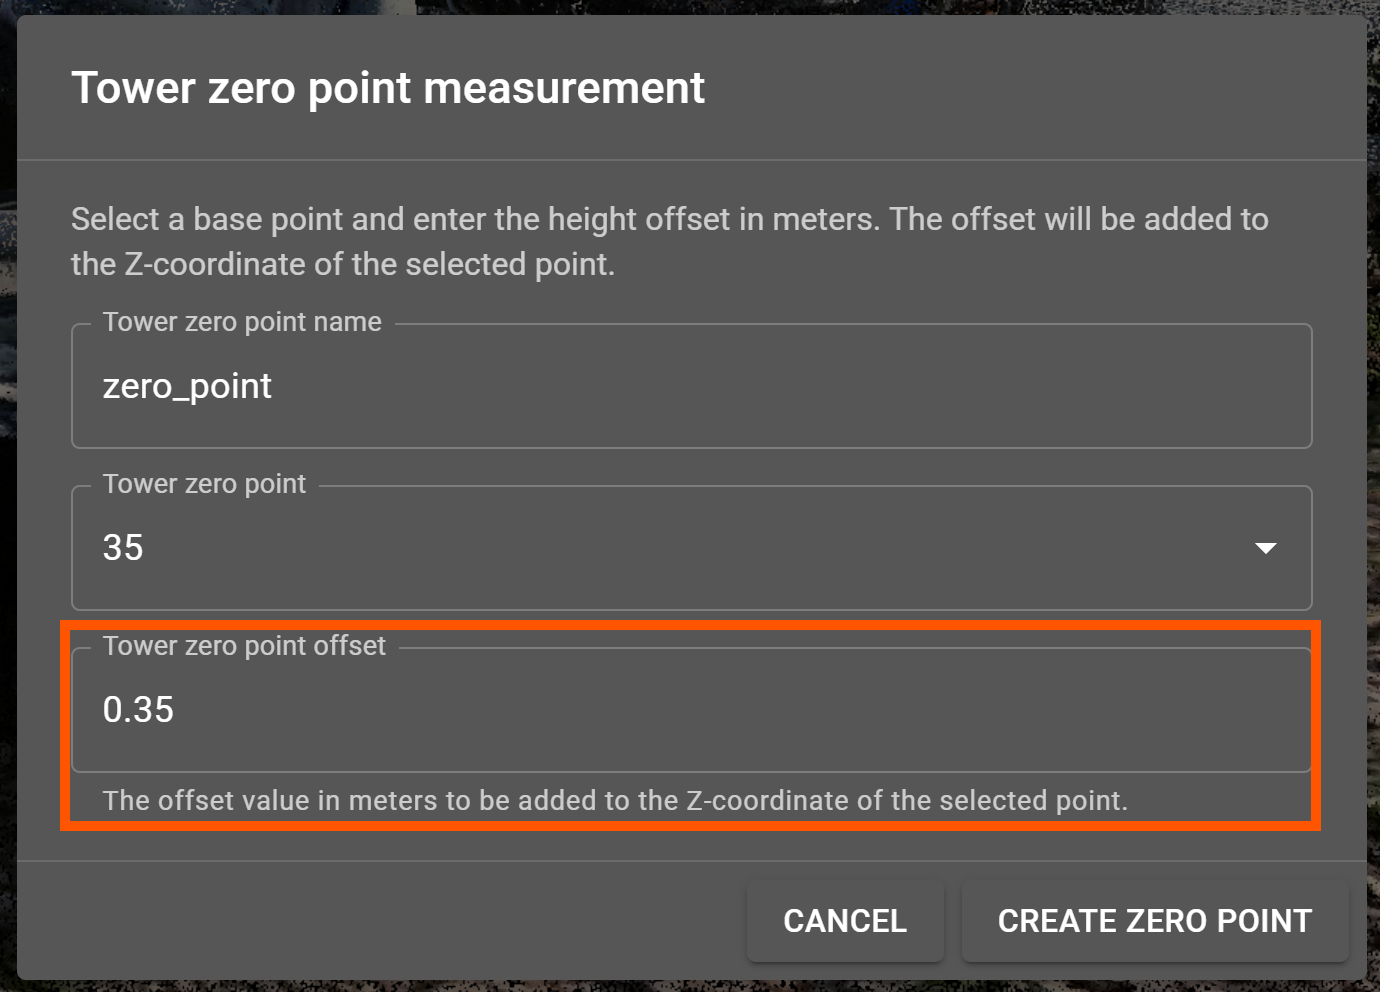
TIP: If the target zero point is located below the selected base point, the offset value must be entered with a minus (negative) sign. Otherwise, enter a positive value.
After confirming the operation, the properties panel of the determined height zero point is displayed. It contains, among other things, the point's coordinates. It also allows you to change the style and the displayed label text. You can also leave a message about the point for other users.
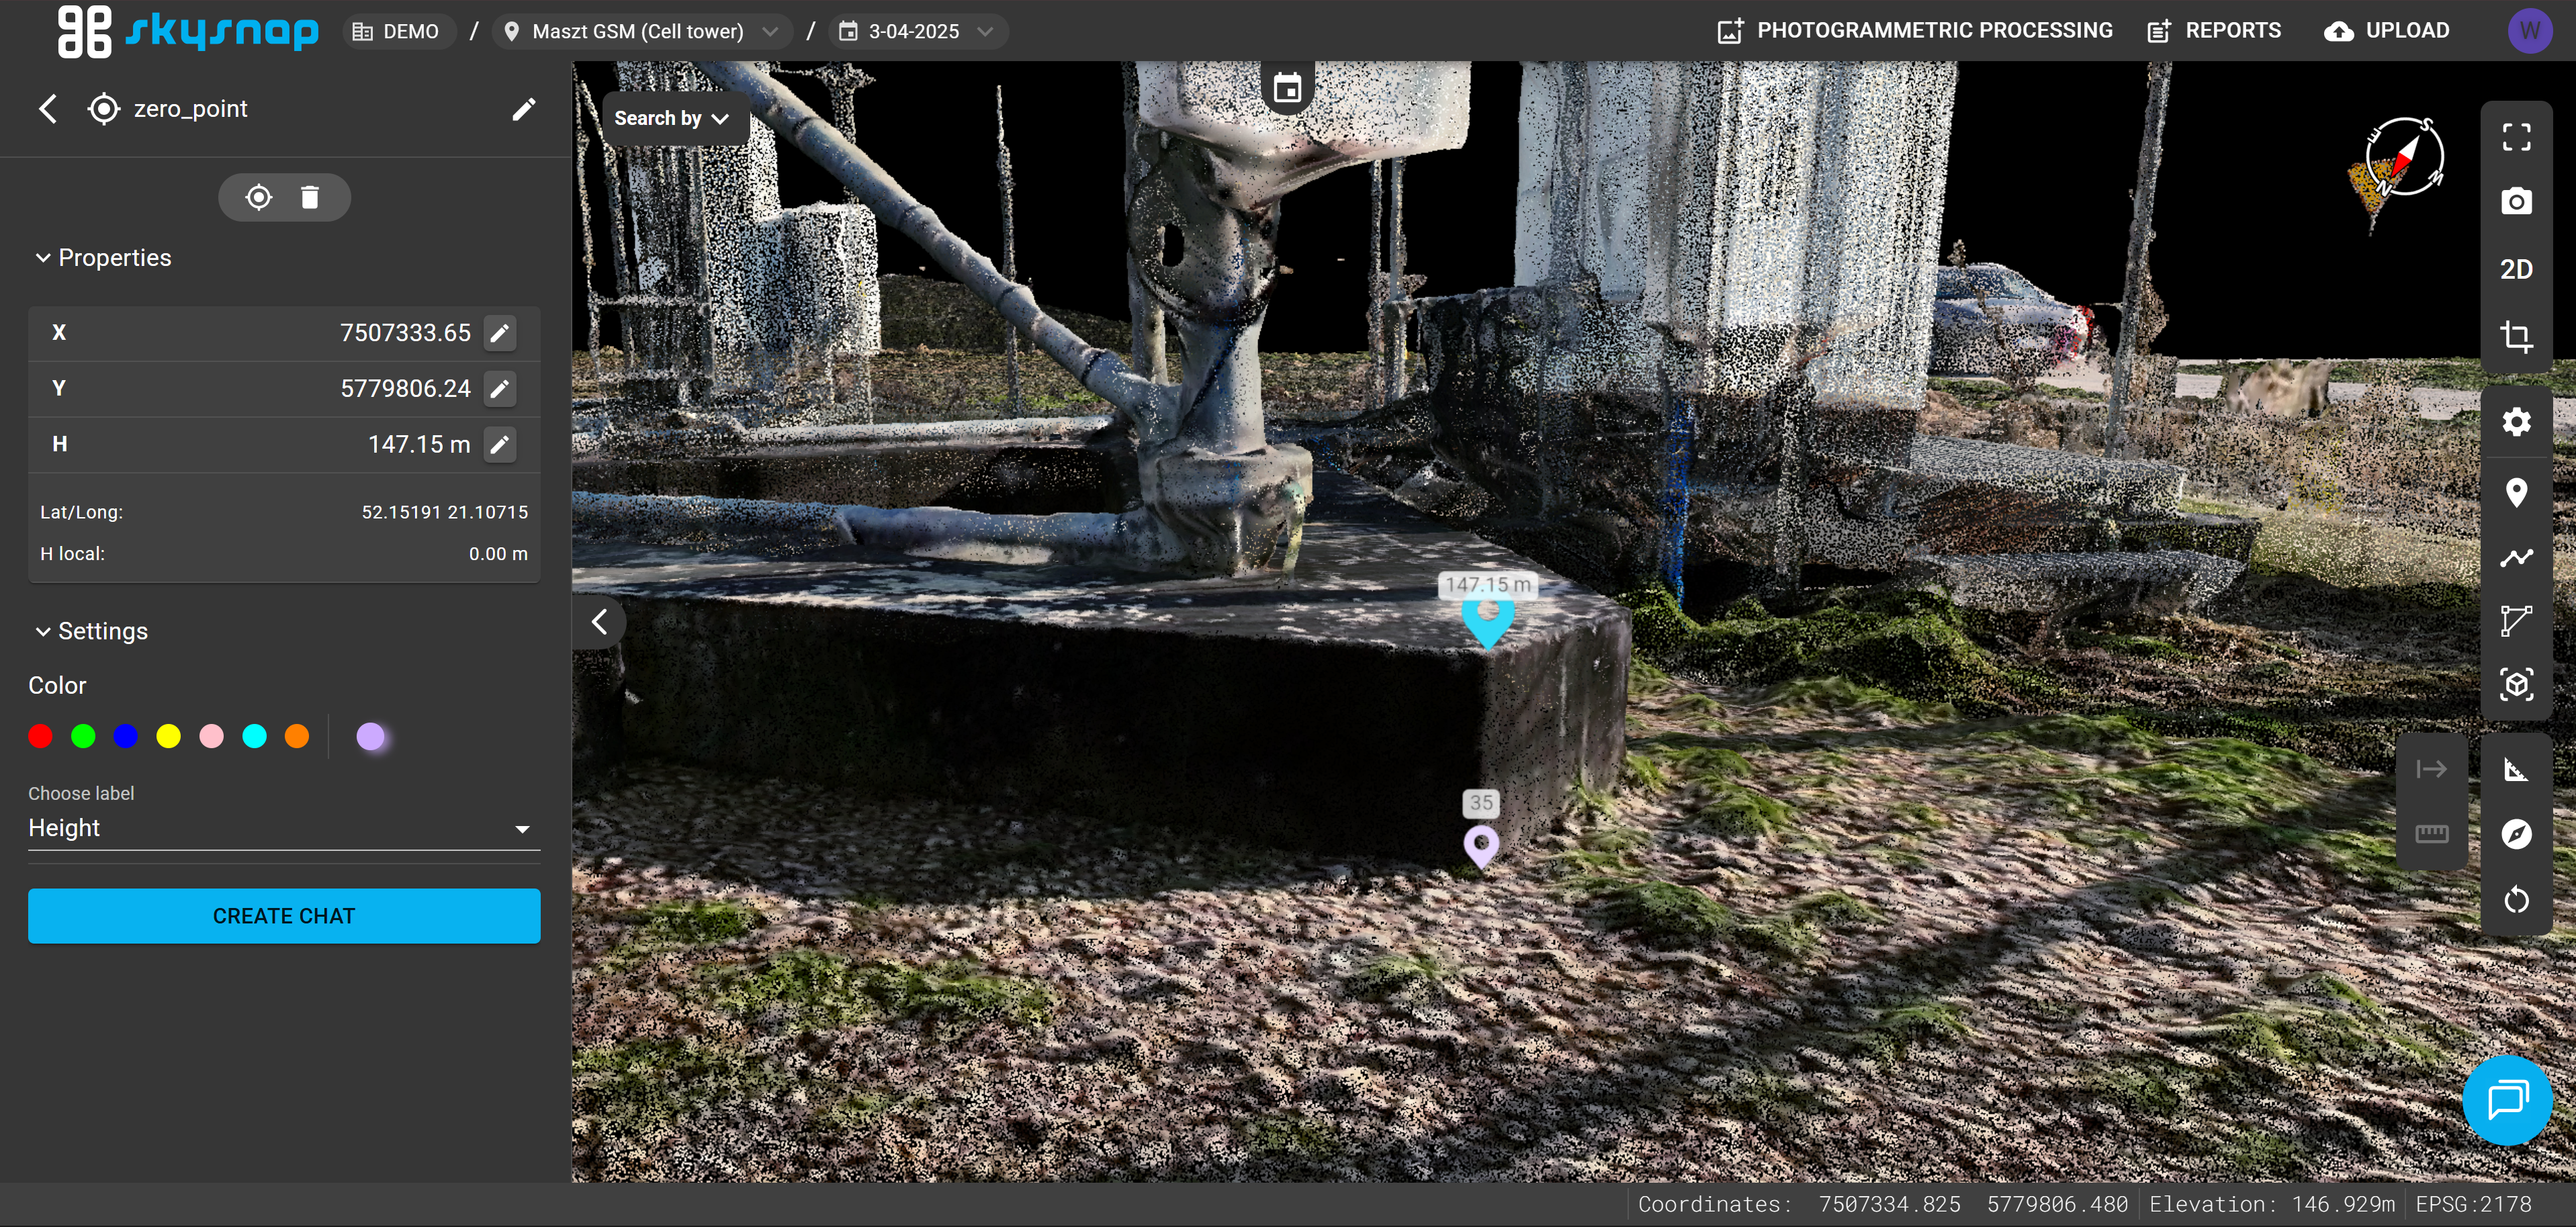
The determined point is located in the Analytics tab.